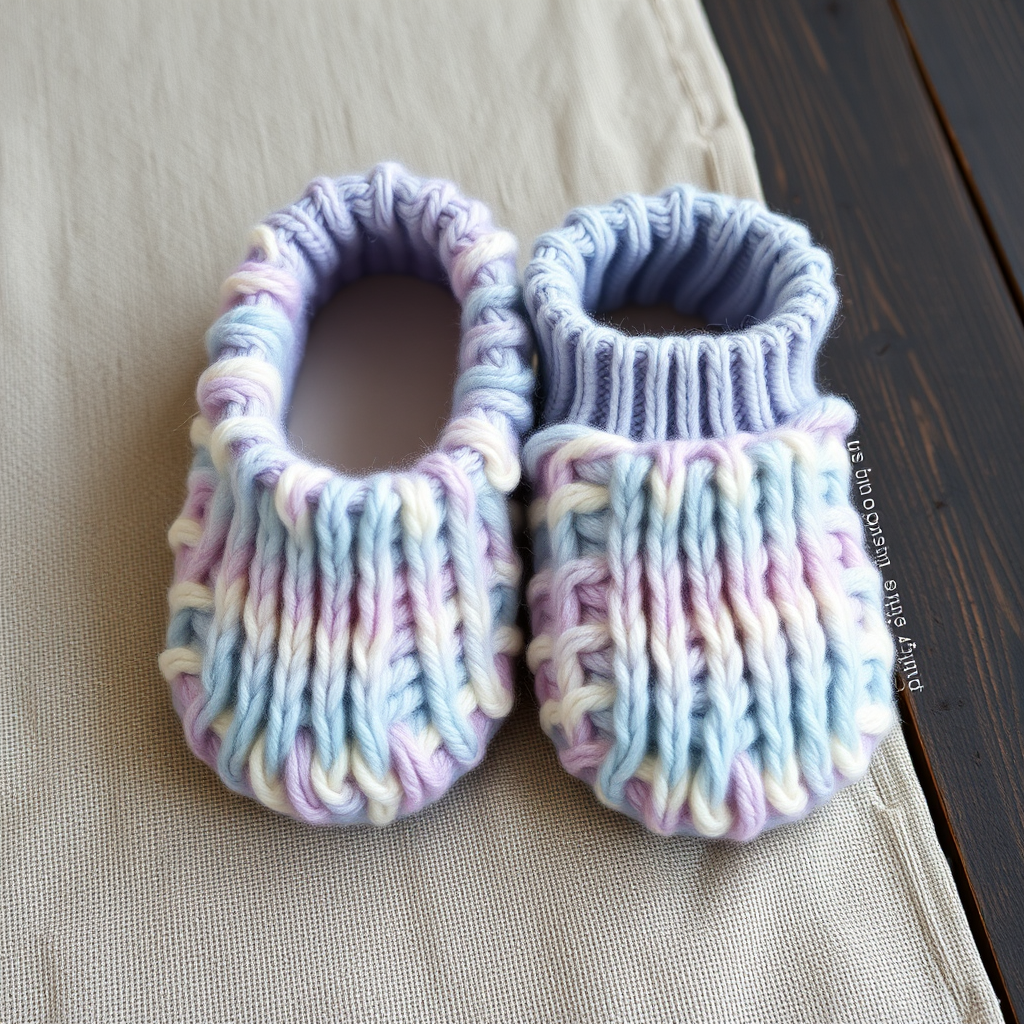
Willowmere Button Strap Slippers Free Pattern – Knit Cozy Cottage Slippers

Willowmere Button Strap Slippers: A Cozy Cottage Knitting Pattern
There is something deeply satisfying about slipping your feet into a pair of hand-knit slippers after a long day. The Willowmere Button Strap Slippers are the perfect embodiment of cottagecore comfort—featuring a textured ribbed cuff, a smooth stockinette foot, and a charming dusty rose button strap that adds both function and flair. This beginner-friendly pattern is ideal for cozy evenings in, and the finished slippers make a thoughtful, heartfelt gift for anyone on your list. Whether you are new to knitting or a seasoned maker looking for a quick project, these slippers are sure to become a favorite.
In this comprehensive guide, we will walk you through every step, from gathering your materials to sewing on the final button. By the end, you will have a beautiful pair of slippers that are as comfortable as they are stylish.
Materials Needed
Before you begin, gather the following supplies. Having everything ready will make your knitting experience smooth and enjoyable.
Yarn
- Worsted weight yarn (e.g., Lion Brand Wool-Ease) in two colors:
- Main Color (MC): Soft heather gray – approximately 200 yards
- Contrast Color (CC): Dusty rose – approximately 30 yards
Needles and Notions
- US 7 (4.5 mm) knitting needles (or size needed to obtain gauge)
- Tapestry needle for weaving in ends and sewing seams
- Stitch markers (at least 2)
- 2 buttons (1 inch diameter) – wooden or natural material recommended for the cottagecore look
Gauge
20 stitches x 26 rows = 4 inches in stockinette stitch. Always knit a gauge swatch before starting to ensure your slippers fit correctly. If your gauge is off, adjust your needle size accordingly.
Step-by-Step Instructions
This pattern is written for three sizes: Small (Medium, Large), fitting US women's shoe sizes 5-7 (8-10, 11-13). The finished foot length is 9 (10, 11) inches. Follow the numbers in parentheses for your desired size.
Abbreviations
- CO: Cast on
- K: Knit
- P: Purl
- K2tog: Knit two together (right-leaning decrease)
- SSK: Slip, slip, knit (left-leaning decrease)
- St(s): Stitch(es)
- MC: Main color
- CC: Contrast color
- RS: Right side
- WS: Wrong side
Slipper (Make 2)
Cuff
- Cast on: With MC, CO 40 (44, 48) sts.
- Row 1 (RS): *K2, P2; repeat from * across.
- Row 2 (WS): *P2, K2; repeat from * across.
- Repeat Rows 1-2 until the cuff measures 2 inches from the cast-on edge, ending with a WS row.
- Increase row (RS): K all sts, increasing 4 (4, 6) sts evenly across the row. You should now have 44 (48, 54) sts on your needle.
Foot
- Work in stockinette stitch (K on RS, P on WS) for 3 (3.5, 4) inches, ending with a WS row. This section forms the top of your foot.
Heel Shaping
This is the classic short-row heel technique. You will work back and forth, gradually incorporating more stitches until all side stitches are worked.
- Row 1 (RS): K28 (30, 34), SSK, K1, turn. (Leave the remaining sts unworked on the needle.)
- Row 2 (WS): Slip 1 purlwise, P7 (8, 9), P2tog, P1, turn.
- Row 3: Slip 1 purlwise, K8 (9, 10), SSK, K1, turn.
- Continue in this manner, working one more stitch before the decrease each row, until all side stitches have been worked. You will now have 20 (22, 24) sts on the needle.
Gusset and Sole
- Pick up stitches: With RS facing, pick up and knit 10 (11, 12) sts along the left side of the heel flap. Then K across the 20 (22, 24) heel sts. Finally, pick up and knit 10 (11, 12) sts along the right side of the heel flap. You should now have 40 (44, 48) sts on your needle.
- Place a marker at the center of the heel (between the 20 (22, 24) sts). This marker will guide your decreases.
- Work in stockinette stitch, decreasing 1 st on each side of the marker every other row until 24 (26, 28) sts remain. To decrease: K2tog before the marker and SSK after the marker.
- Work even in stockinette stitch until the foot measures 7 (8, 9) inches from the heel, or 1 inch less than your desired total foot length. This extra inch will be taken up by the toe shaping.
Toe Shaping
- Row 1 (RS): K1, SSK, K to last 3 sts, K2tog, K1 – you will have 22 (24, 26) sts.
- Row 2 (WS): P all sts.
- Repeat Rows 1-2 until 10 (12, 14) sts remain.
- Finish: Cut the yarn, leaving a 12-inch tail. Thread the tail through a tapestry needle, slide it through the remaining stitches, pull tight to close the toe, and secure with a knot.
Button Strap (Make 2)
- With CC, CO 8 sts.
- Work in garter stitch (K every row) for 4 inches.
- Bind off all sts. Make a second strap for the other slipper.
Finishing
- Sew the back seam: Using the tapestry needle and MC yarn, sew the back seam of the slipper from the cuff down to the heel. Use a mattress stitch or whip stitch for a neat finish.
- Position the strap: Place the button strap across the top of the foot, about 1 inch from the cuff edge. Sew one end of the strap securely to the outside of the slipper.
- Attach the button: Sew a button on the inside of the slipper, opposite the strap end. The strap should button over the instep, creating a snug and adjustable fit.
- Weave in all ends to hide any loose yarn. Repeat the entire process for the second slipper.
Tips for Success
- Gauge matters: Take the time to knit a swatch. Slippers that are too tight or too loose are no fun to wear.
- Use stitch markers: They are your best friend during heel shaping and gusset decreases. They prevent mistakes and save you from counting repeatedly.
- Choose the right button: A wooden or natural button enhances the cottagecore aesthetic, but any 1-inch button will work beautifully.
- Customize: Feel free to swap the colors to match your wardrobe or the recipient's taste. These slippers look lovely in any combination.
Care Instructions
To keep your Willowmere slippers looking their best, hand wash them in cool water with a gentle wool wash. Gently squeeze out excess water (do not wring), then lay flat to dry on a towel. Reshape while damp for the perfect fit.
These slippers are more than just footwear—they are a little piece of handmade warmth. Whether you keep them for yourself or gift them to someone special, the Willowmere Button Strap Slippers are sure to bring comfort and joy. Happy knitting!