Aurora Cloud Slippers Free Pattern – Knit Plush Gradient House Socks
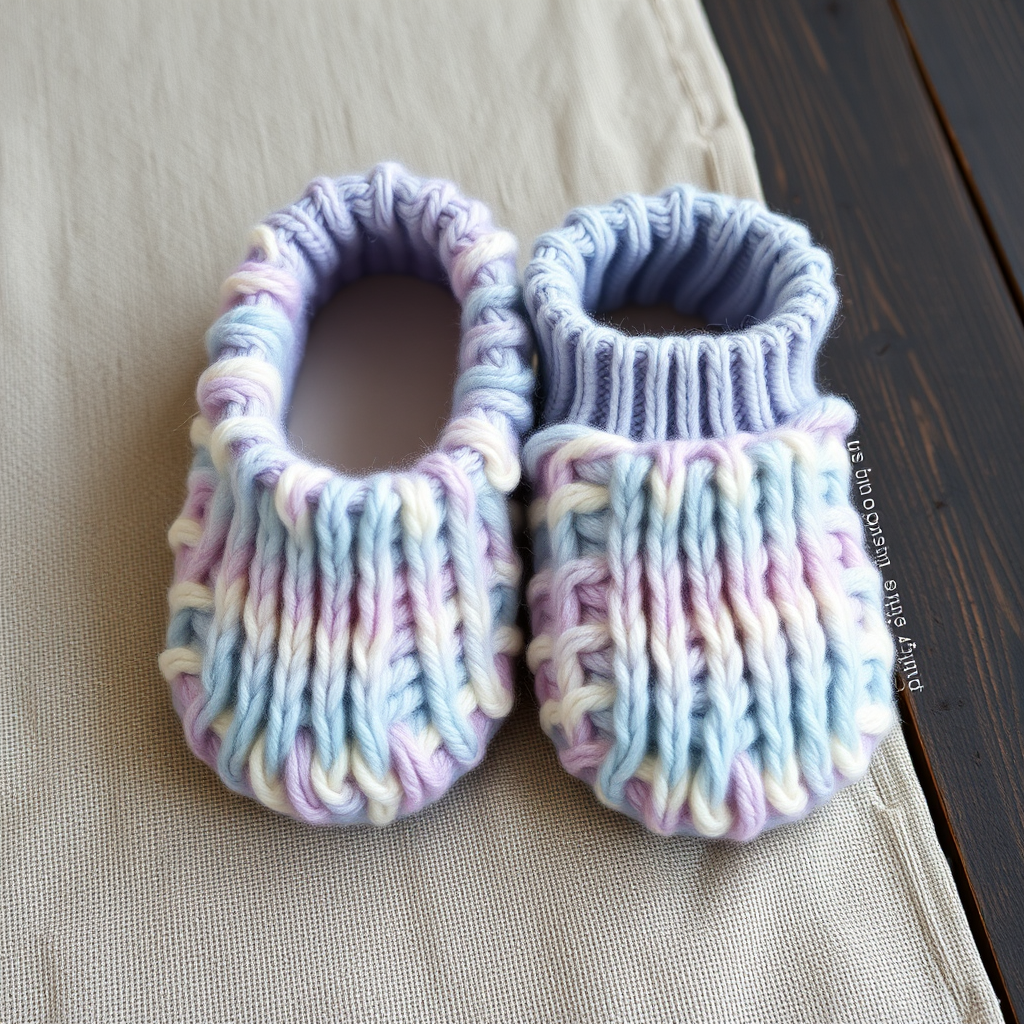
Aurora Cloud Slippers Free Pattern – Knit Plush Gradient House Socks
Wrap your feet in a hand-knitted cloud of gradient color with these cozy, seamless house slippers. The Aurora Cloud Slippers feature a plush, rolled cuff and a dense, squishy sole that feels like walking on marshmallows. This beginner-friendly pattern is worked from the toe up, with a short-row heel and a stretchy, seamless bind-off—no sewing required! The finished slippers showcase a smooth stockinette stitch with subtle increases at the toe, and the ribbed cuff folds over for a snug, comfortable fit. Whether you're curling up with a book or padding around on cold mornings, these slippers are the ultimate handmade luxury.
Materials Needed
Before you begin, gather the following supplies:
- Yarn: Worsted weight superwash wool or wool-blend (approx. 200-250 yards for a pair), in a gradient or self-striping colorway. The sample uses a soft pastel gradient of blues, lavenders, and creamy whites.
- Needles: US 7 (4.5 mm) 16-inch circular needles and double-pointed needles (or size needed to obtain gauge).
- Gauge: 20 stitches and 28 rows = 4 inches in stockinette stitch. Always check your gauge to ensure a proper fit.
- Notions: Stitch markers, tapestry needle for weaving in ends, and a tape measure.
Step-by-Step Instructions
This pattern is worked from the toe up, with a short-row heel and a seamless, stretchy bind-off. It fits women's US sizes 6-8 (adjustable by changing foot length). Make two slippers identically.
Abbreviations
- CO: cast on
- K: knit
- P: purl
- K2tog: knit two together
- SSK: slip slip knit
- M1L: make one left (lift bar between stitches and knit through back loop)
- M1R: make one right (lift bar between stitches and knit through front loop)
- W&T: wrap and turn (bring yarn to front, slip next stitch purlwise, bring yarn to back, turn work)
- PM: place marker
- RM: remove marker
- BO: bind off
Toe
- Using the magic cast-on method, CO 16 stitches (8 on each needle). If you're new to magic cast-on, it creates a seamless, rounded toe—perfect for this pattern.
- Round 1: Knit all stitches.
- Round 2: K1, M1L, knit to last stitch on first needle, M1R, K1; repeat on second needle. (You now have 20 stitches total.)
- Repeat Round 2 until you have 40 stitches total (20 on each needle). This creates a gentle, rounded toe shape.
- Knit every round until the toe measures 2.5 inches from the cast-on edge. This gives you a comfortable, roomy toe box.
Foot
- Continue knitting in the round until the foot measures 6 inches from the toe (or 1.5 inches less than your desired foot length). To customize, measure your foot from toe to heel and subtract 1.5 inches—this accounts for the heel and cuff.
Heel (Short-Row)
- Place a marker at the center of the round (20 stitches on each side). This marker will guide your short-row shaping.
- Row 1 (right side): Knit across the first 20 stitches, W&T. This wraps the last stitch and turns your work.
- Row 2: Purl back to the marker, W&T. You'll now have wrapped stitches on both sides.
- Row 3: Knit to 1 stitch before the wrapped stitch, W&T. This means you'll stop one stitch before the previously wrapped stitch, wrap it, and turn.
- Row 4: Purl to 1 stitch before the wrapped stitch, W&T.
- Repeat Rows 3-4 until you have 8 wrapped stitches on each side of the heel (12 unwrapped stitches in the center). This creates a cup-shaped heel that hugs your foot.
- Row 13: Knit to the first wrapped stitch, pick up the wrap and knit it together with the wrapped stitch, W&T. This closes the wrap and prevents holes.
- Row 14: Purl to the next wrapped stitch, pick up the wrap and purl it together with the wrapped stitch, W&T.
- Repeat Rows 13-14 until all wraps are worked and you are back to 40 stitches total. Your heel is now complete and seamless.
Cuff
- Knit 2 rounds even to stabilize the heel shaping.
- Next round: *K2, P2* repeat to end of round. Continue in ribbing for 2 inches. The ribbing creates a stretchy, snug cuff that folds over beautifully.
- Bind off loosely in pattern (use a needle one size larger if needed). A loose bind-off ensures the cuff is stretchy enough to slip on and off easily.
Finishing
- Weave in all ends with a tapestry needle. Block gently to shape—this helps the stitches settle and the slippers hold their form. Repeat the entire process for the second slipper.
And there you have it—a pair of cloud-soft, gradient slippers that are as beautiful as they are cozy. The seamless construction makes them a joy to knit and wear, and the short-row heel ensures a perfect fit every time. Whether you're a seasoned knitter or just starting out, these slippers are a rewarding project that you'll love showing off. Happy knitting!


