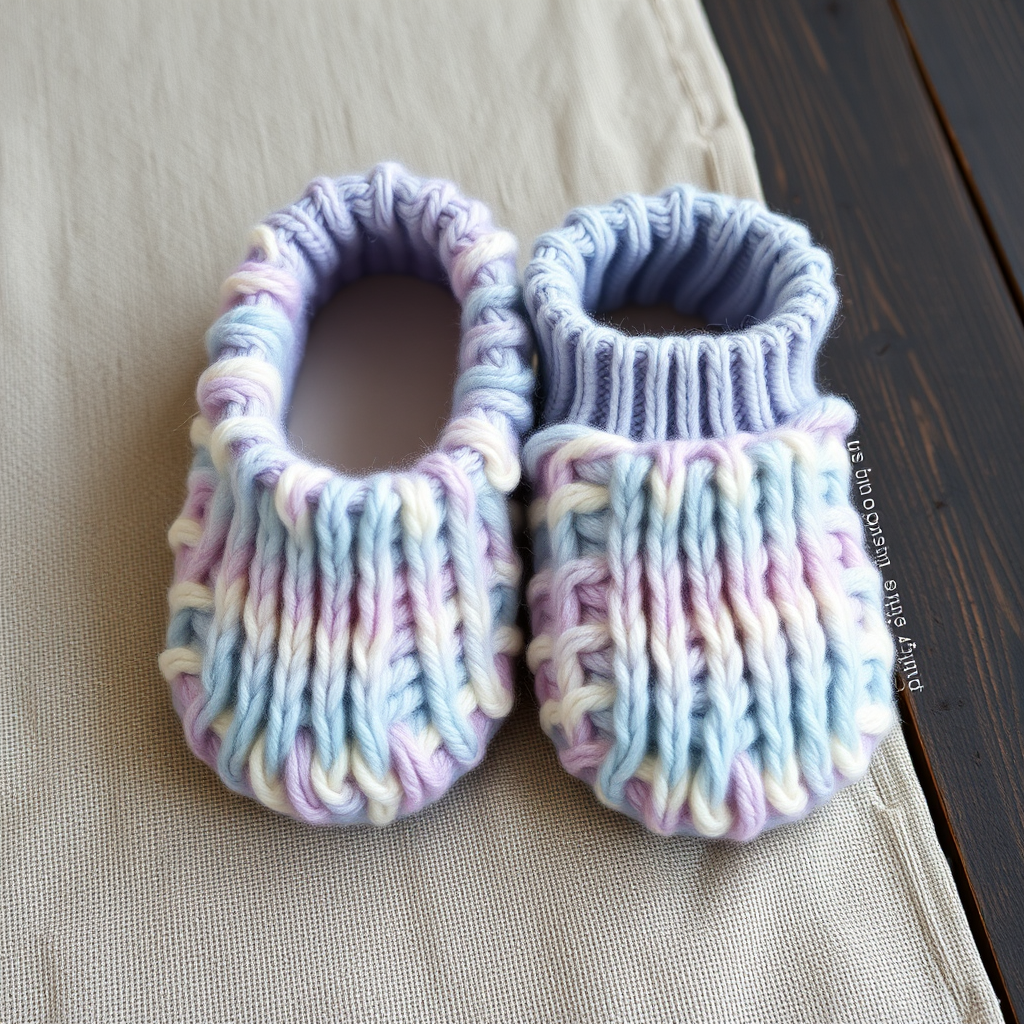
The Velvet Dune Slippers Free Pattern – Knitted Chunky Ballet Flats with a Twisted Rib Sole

The Velvet Dune Slippers: A Free Knitting Pattern for Chunky Ballet Flats
Step into cloud-soft comfort with these chunky ballet slippers, knitted in a rich gradient of desert rose and sand. The twisted rib sole and delicate crossover strap make them a cozy, elegant staple for lounging at home. This free pattern is perfect for beginners looking to create a luxurious, handmade gift for themselves or a loved one. With super bulky yarn and simple knit/purl stitches, these slippers come together quickly and easily.
Materials Needed
Before you begin, gather the following materials to ensure a smooth knitting experience:
- Yarn: Super bulky weight yarn (size 6), approx. 200-250 yards in two colors:
- Main Color (MC) – Desert Rose (approx. 150-175 yards)
- Contrast Color (CC) – Warm Sand (approx. 50-75 yards)
- Needles: US 11 (8.0 mm) knitting needles
- Notions: Tapestry needle for weaving in ends and seaming
- Optional: Suede patches or puff paint for non-slip soles
Gauge: 12 stitches and 16 rows = 4 inches in stockinette stitch (after blocking).
Note: Gauge is important for achieving the correct size. Always knit a swatch first to ensure your tension matches.
Step-by-Step Instructions
These instructions are for women's US sizes 6-8. To adjust the size, add or remove stitches in multiples of 2 (each stitch added/removed changes the width by approximately 0.33 inches).
Abbreviations
- CO: Cast on
- K: Knit
- P: Purl
- K2tog: Knit two together (right-leaning decrease)
- SSK: Slip slip knit (left-leaning decrease)
- St(s): Stitch(es)
- Rep: Repeat
- RS: Right side
- WS: Wrong side
Slipper (Make 2)
Each slipper is worked flat in two pieces: the sole and the upper strap. The sole is knitted first, then the strap is created separately and sewn on.
Part 1: The Sole
Step 1: Cast On
With Main Color (MC), CO 34 sts. Leave a 6-inch tail for seaming later.
Step 2: Knit the Main Body
Row 1 (RS): K all stitches.
Row 2 (WS): P all stitches.
Repeat Rows 1-2 until the piece measures 4 inches from the cast-on edge, ending with a WS row. This creates a stockinette stitch rectangle that will form the base of the sole.
Step 3: Shape the Toe
Now we will decrease stitches to create a rounded toe shape. Work the following rows carefully:
- Row 1 (RS): K1, SSK, K to last 3 sts, K2tog, K1. (32 sts)
Explanation: This row decreases 2 stitches, one at each edge. The SSK leans left, and the K2tog leans right, creating a symmetrical shape. - Row 2 (WS): P all stitches.
- Rows 3-6: Repeat Rows 1-2 two more times. (28 sts)
Note: After completing these repeats, you will have decreased 6 stitches total from the original 34. - Next Row (RS): K1, SSK, K to last 3 sts, K2tog, K1. (26 sts)
- Next Row (WS): P all stitches.
- Next Row (RS): K1, SSK, K to last 3 sts, K2tog, K1. (24 sts)
- Next Row (WS): P all stitches.
Step 4: Close the Toe
Cut the yarn, leaving a long tail (at least 12 inches). Thread the tail onto a tapestry needle. Slide the needle through all 24 remaining stitches as if to purl, removing them from the knitting needle. Pull the yarn tight to gather the stitches into a closed toe shape. Secure with a knot and set aside. Do not weave in this end yet—you will use it to sew the toe seam.
Part 2: The Upper (Crossover Strap)
Step 1: Cast On
With Contrast Color (CC), CO 6 sts.
Step 2: Knit the Strap
Row 1 (RS): K all stitches.
Row 2 (WS): P all stitches.
Repeat Rows 1-2 until the strap measures 8 inches, or long enough to wrap diagonally over the instep and reach the sole edge on the opposite side. To check the length, hold the strap against your foot—it should stretch comfortably from the inner side of the sole near the toe, over the top of your foot, to the outer side near the heel.
Step 3: Bind Off
Bind off all stitches loosely. Cut yarn, leaving a 6-inch tail for weaving in later.
Finishing
Step 1: Sew the Toe Seam
Using the long tail from the toe closure, use the mattress stitch to sew the toe seam. Fold the gathered toe area so the edges meet, and stitch them together securely. This creates a seamless, rounded toe.
Step 2: Attach the Strap
Position the strap diagonally across the top of the foot. One end should be sewn to the inside of the sole near the toe (on the big toe side), and the other end should be sewn to the inside of the sole near the heel (on the pinky toe side). Use the tapestry needle and the CC yarn tails to sew both ends securely to the inside of the sole. Make sure the strap lies flat and comfortable against the instep.
Step 3: Weave in All Ends
Using the tapestry needle, weave in all remaining yarn tails on the inside of the slipper. Trim any excess yarn.
Step 4: Optional Non-Slip Sole
For added safety on smooth floors, you can sew a piece of suede or leather to the bottom of the sole, or apply a few dots of puff paint in a grid pattern. Allow the paint to dry completely before wearing.
Final Thoughts
Repeat the entire process to create the second slipper. Once both are complete, you'll have a beautiful pair of Velvet Dune Slippers that are as stylish as they are comfortable. The gradient effect is achieved naturally by the two yarn colors, and the chunky knit makes them incredibly plush. These slippers also make a wonderful handmade gift for housewarmings, birthdays, or holiday presents. Enjoy your cozy, luxurious new footwear!