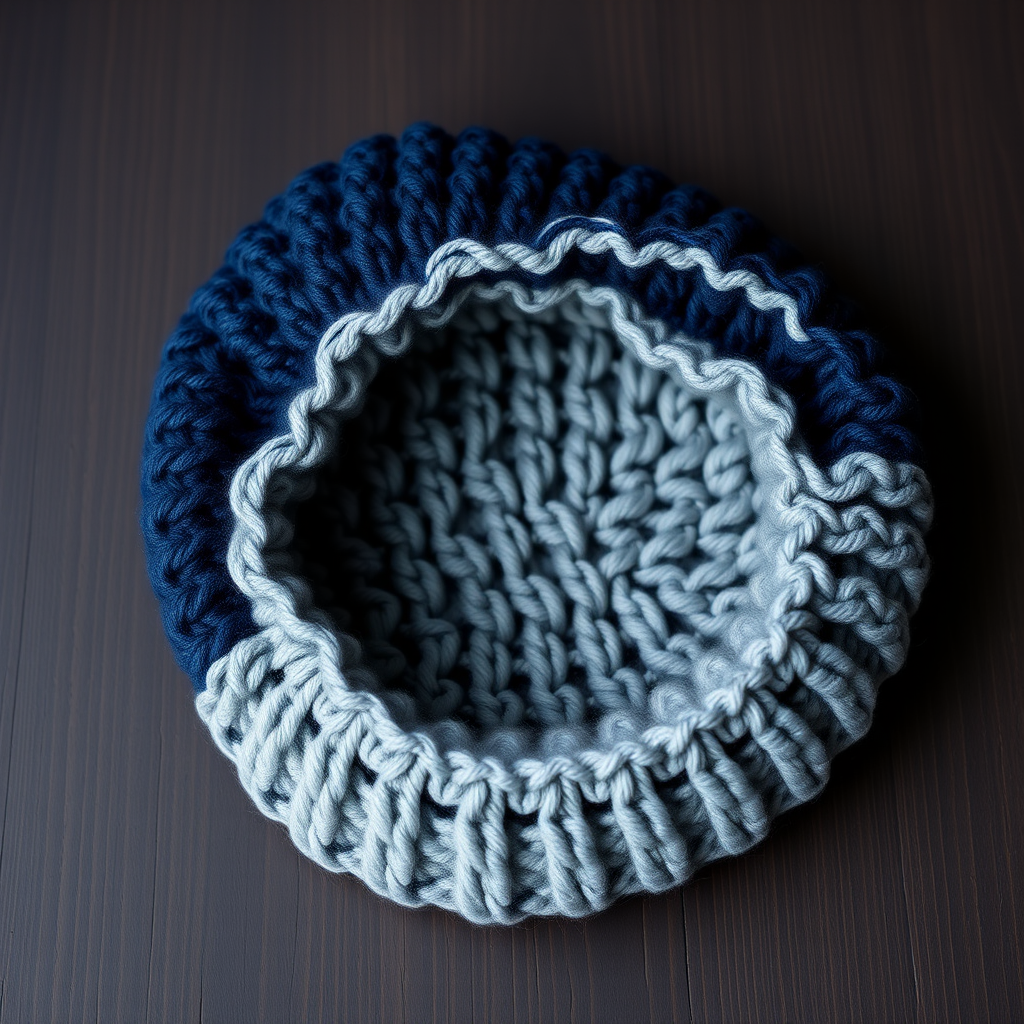
Whispering Pines Slouchy Beanie Free Pattern
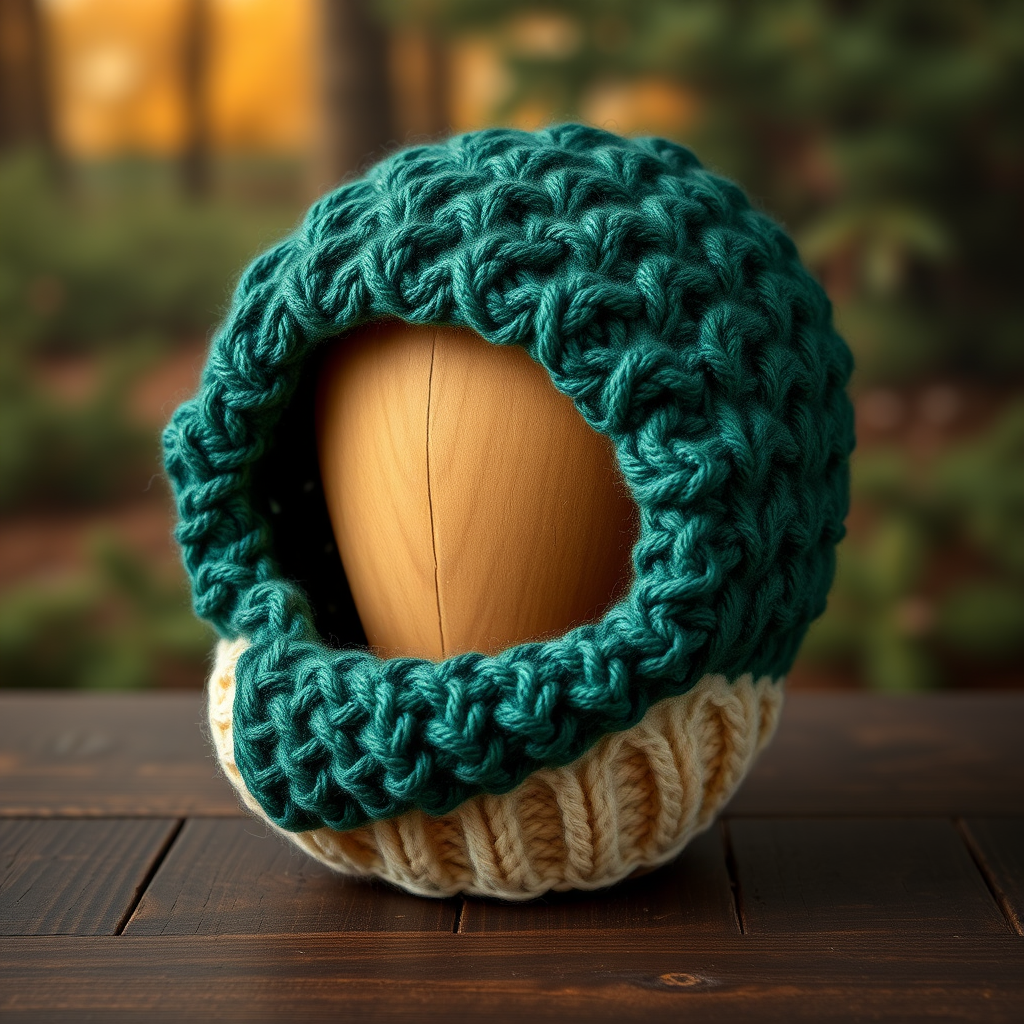
Whispering Pines Slouchy Beanie: A Free Crochet Pattern for Cozy, Forest-Inspired Warmth
Wrap yourself in the serene comfort of a forest-inspired slouchy beanie, featuring a rich texture that mimics the quiet beauty of pine needles. This quick-to-craft design is perfect for adding a touch of handmade warmth to any chilly day. The Whispering Pines Slouchy Beanie is an intermediate-level crochet project that works up fast with super bulky yarn, making it an ideal weekend make or a thoughtful handmade gift. The combination of deep forest green and cream creates a striking, nature-inspired aesthetic that pairs beautifully with winter coats and sweaters.
This pattern is designed to be accessible for confident beginners who are comfortable with basic stitches and ready to learn a new textured technique. The crossed post stitches create a dense, warm fabric that looks far more complex than it actually is. Plus, with sizes ranging from toddler to adult large, you can make one for everyone in your family!
Materials Needed
Before you begin, gather the following supplies. The beauty of this pattern lies in its simplicity—you only need two colors of yarn and two hook sizes to create a stunning, professional-looking beanie.
Yarn
- Super Bulky (Weight 6) Yarn in two complementary shades:
- Main Color (MC): Forest Green — approximately 120–150 yards
- Contrast Color (CC): Cream or Soft White — approximately 30–40 yards
Pro tip: Look for a super bulky yarn that has good stitch definition so the textured pine stitch pattern really stands out. Wool blends work beautifully, but a high-quality acrylic is also a great budget-friendly choice that will hold its shape well.
Hooks
- Size K/10.5 (6.5 mm) crochet hook — for the crown increases
- Size L/11 (8 mm) crochet hook — for the body and brim
Additional Supplies
- Yarn needle for weaving in ends
- Scissors
- Stitch marker (optional, but helpful for keeping track of rounds)
Gauge
With the larger hook (L/11), 8 half double crochet stitches and 6 rows = 4 inches. While exact gauge is not critical for this project (the ribbed brim is very stretchy and forgiving), it will affect the final size. If you crochet very tightly or loosely, you may want to adjust your hook size to achieve the correct gauge for your desired fit.
Understanding the Pattern
This slouchy beanie is worked from the top down in continuous rounds. The crown begins with simple half double crochet increases, then transitions to a beautifully textured body using front post and back post double crochet stitches. The cleverly designed Pine Stitch creates a crossed, woven effect that resembles pine needles or tree bark. Finally, the brim is worked in back loops only for a stretchy, comfortable ribbed finish that folds up neatly.
Sizes and Finished Measurements
| Size | Finished Circumference (unstretched) | Body Length (before brim) | Brim Rounds |
|---|---|---|---|
| Toddler | 16 inches | 6 inches | 4 |
| Child | 18 inches | 7 inches | 5 |
| Adult Small | 20 inches | 8 inches | 6 |
| Adult Large | 22 inches | 9 inches | 6 |
The ribbed brim is highly stretchy and will comfortably fit a range of head sizes within each category. When in doubt, size up—a slouchy beanie looks great with a little extra room!
Stitch Abbreviations (US Terms)
- ch: chain
- hdc: half double crochet
- fpdc: front post double crochet
- bpdc: back post double crochet
- sc: single crochet
- sl st: slip stitch
- MC: Main Color
- CC: Contrast Color
Special Stitch
Pine Stitch (worked over 2 stitches): Skip the next stitch, work a front post double crochet (fpdc) in the following stitch, then work a back post double crochet (bpdc) in the skipped stitch (working behind the fpdc you just made). This creates a crossed, textured effect that mimics pine needles. When you repeat this stitch around, you'll create a beautiful woven pattern.
Step-by-Step Instructions
Follow these detailed instructions carefully, and you'll have a beautiful slouchy beanie in no time. Remember to work in continuous rounds for the crown (without joining) until specified, and use a stitch marker to keep track of your rounds.
Crown (Worked with smaller hook K/10.5 and MC)
Round 1: Make a magic ring. Ch 2 (does not count as a stitch), work 8 hdc into the ring. Pull ring tight to close. Join with a sl st to the first hdc. (8 hdc)
Round 2: Ch 2, work 2 hdc in each stitch around. Join with a sl st to the first hdc. (16 hdc)
Round 3: Ch 2, *2 hdc in next stitch, hdc in next stitch*; repeat from * to * around. Join with a sl st. (24 hdc)
Round 4: Ch 2, *2 hdc in next stitch, hdc in next 2 stitches*; repeat from * to * around. Join with a sl st. (32 hdc)
Round 5: Ch 2, *2 hdc in next stitch, hdc in next 3 stitches*; repeat from * to * around. Join with a sl st. (40 hdc)
For Toddler size, skip to Round 6 instructions below (your crown is complete at 32 stitches).
Round 6: Ch 2, *2 hdc in next stitch, hdc in next 4 stitches*; repeat from * to * around. Join with a sl st. (48 hdc)
For Child size, skip to Round 7 instructions below (your crown is complete at 40 stitches).
Round 7: Ch 2, *2 hdc in next stitch, hdc in next 5 stitches*; repeat from * to * around. Join with a sl st. (56 hdc)
For Adult Small, skip to Round 8 instructions below (your crown is complete at 48 stitches).
Round 8: Ch 2, *2 hdc in next stitch, hdc in next 6 stitches*; repeat from * to * around. Join with a sl st. (64 hdc)
For Adult Large, your crown is now complete at 56 stitches.
Important: The number of stitches you have at the end of your crown determines your size. Toddler = 32 stitches, Child = 40 stitches, Adult Small = 48 stitches, Adult Large = 56 stitches. If you're unsure which size you're making, count your stitches before moving on.
Body (Switch to larger hook L/11)
Now you'll switch to the larger hook for the textured body of the beanie. The body is worked in joined rounds, and the ch 2 at the beginning of each round counts as your first hdc.
Round 1 (all sizes): Ch 2, work 1 hdc in each stitch around. Join with a sl st to the top of the ch-2. Do not turn. (32, 40, 48, or 56 hdc)
Round 2: Ch 2, *skip next stitch, fpdc in the next stitch, bpdc in the skipped stitch (working behind the fpdc)*; repeat from * to * around, ending with hdc in the last stitch (which is the skipped stitch from the beginning of the round). Join with a sl st. (You will have a pattern of crossed stitches.)
Round 3: Ch 2, *bpdc in the next stitch, fpdc in the next stitch*; repeat from * to * around. Join with a sl st. (This alternates the direction of the crosses, creating a woven pine effect.)
Rounds 4–7 (Toddler), 4–9 (Child), 4–11 (Adult Small), 4–13 (Adult Large): Continue by alternating Rounds 2 and 3. Work until the body measures approximately 6 (7, 8, 9) inches from the crown, or your desired length before adding the brim.
Tip: To check your length, place the beanie on your head (or the recipient's head) and see how much slouch you have. The body should extend past the ears before you add the brim, since the brim will be folded up.
Brim (Worked in Back Loops Only)
The brim is worked in the back loop only (BLO) of each stitch to create a stretchy, ribbed fabric that will fold up comfortably. This technique creates horizontal ridges that give the brim its elasticity.
Turning Ridge Round: Ch 2, work 1 hdc in the back loop only of each stitch around. Join with a sl st. (This creates a subtle ridge that marks where the brim will fold.)
Brim Rounds: Ch 2, work 1 hdc in the back loop only of each stitch around. Join with a sl st. Repeat this round for a total of 4 (5, 6, 6) rounds. Fasten off MC and weave in the end.
Edging with Contrast Color (CC)
Now you'll add a crisp, clean edge to the bottom of the brim using your contrast color. This simple single crochet edging gives the beanie a polished, professional finish.
Join CC with a sl st to any stitch on the last brim round. Ch 1, work 1 sc in the same stitch and in each stitch around. Join with a sl st to the first sc. Fasten off CC and weave in all ends.
Finishing Touches
Fold the brim up over the body of the beanie. The ribbed texture will naturally fold along the ridge you created. The contrast color edging will peek out at the bottom, adding a beautiful finishing touch.
Optional embellishment: For extra flair, you can add a pom-pom made from CC yarn. A fluffy cream pom-pom at the crown would beautifully echo the cream edging and complete the woodland aesthetic. You can make a pom-pom using a pom-pom maker, a piece of cardboard, or even your hand—just wrap the yarn many times, tie it tightly in the middle, and trim the loops to create a full, round pom-pom.
Care Instructions
To keep your Whispering Pines Slouchy Beanie looking its best, hand wash it in cool water with a gentle wool wash or mild detergent. Gently squeeze out excess water (never wring or twist), then lay it flat on a towel to dry, reshaping it as needed. Store it folded flat in a drawer or on a shelf, away from direct sunlight to prevent fading.
Tips for Success
- Count your stitches after each increase round to ensure you're on track for your chosen size.
- Use a stitch marker at the beginning of each round to help you keep your place, especially when working the textured body rounds.
- Don't overtighten your post stitches—they should be snug but still flexible so the fabric remains soft and drapey.
- When working the Pine Stitch, make sure your bpdc is worked behind the fpdc, not in front of it, to achieve the proper crossed effect.
- If your brim feels too tight, try going up a hook size for the brim rounds. The back-loop-only technique naturally creates a snugger fabric.
This pattern is perfect for using up those single skeins of super bulky yarn you've been saving. The quick project works up in just a few hours, making it an excellent last-minute gift idea. Whether you're making one for yourself to enjoy on crisp autumn walks or crafting a set for the whole family, the Whispering Pines Slouchy Beanie is sure to become a beloved staple in your handmade wardrobe.
Happy crocheting, and may your stitches always be cozy!