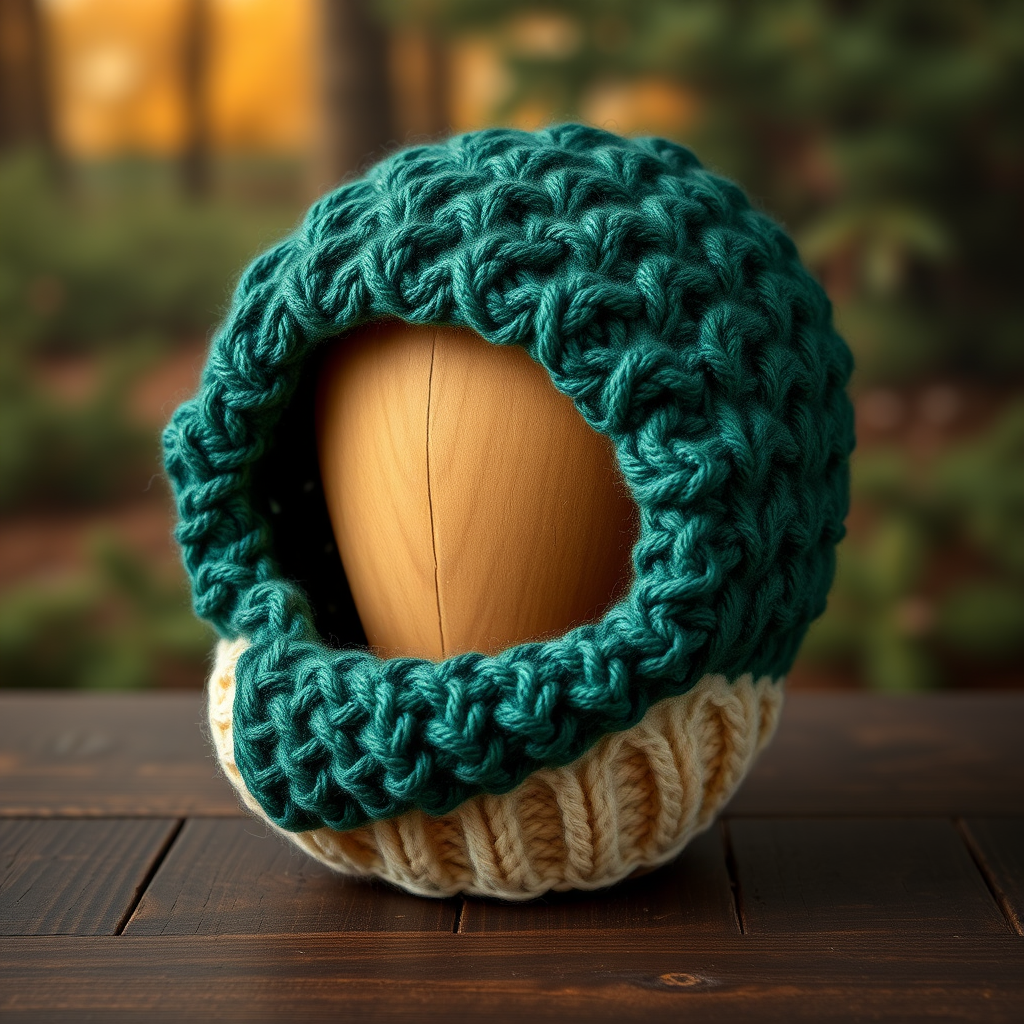
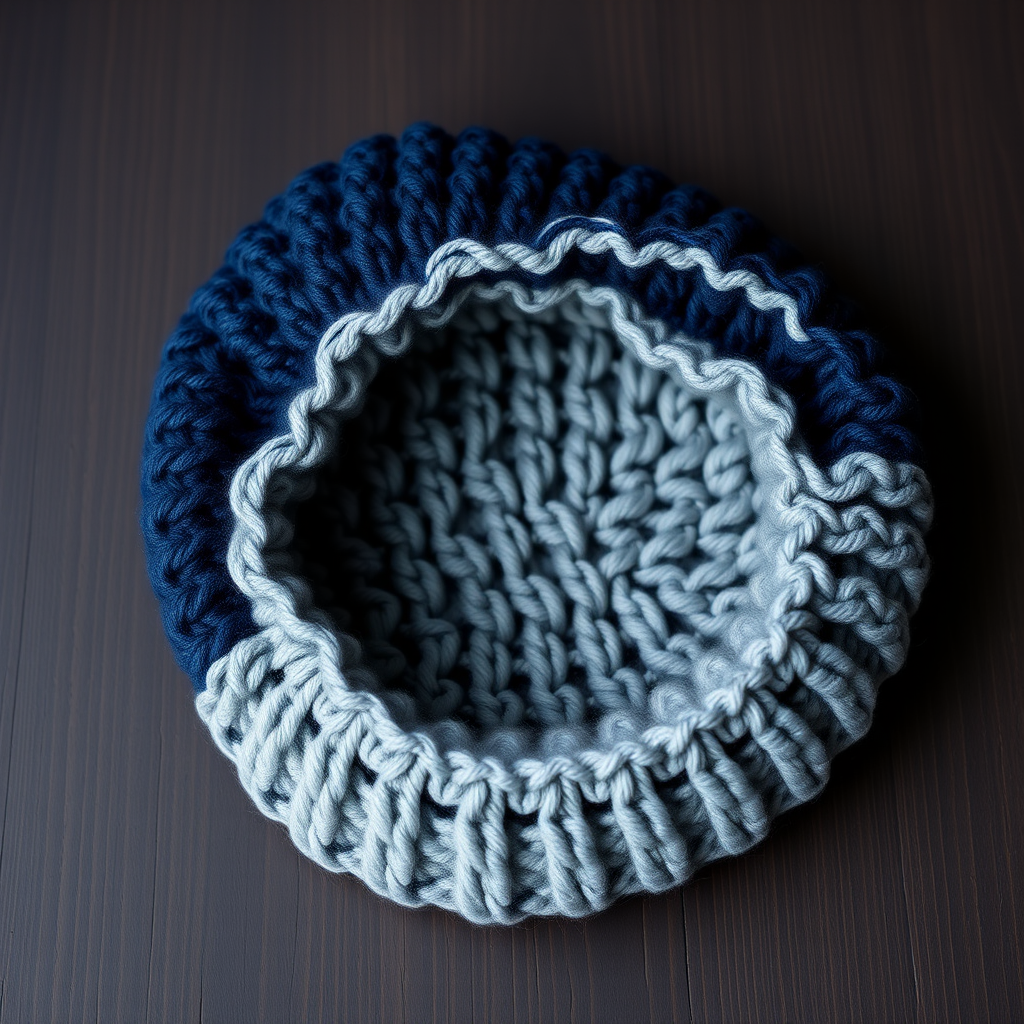
The Meadow Mosaic Hat: A Free Crochet Pattern for an Interchangeable Flower Crown Beanie

Introducing the Meadow Mosaic Hat: Your New Favorite Interchangeable Flower Crown Beanie
Imagine a single crochet hat that transforms with your mood, the season, or your outfit. The Meadow Mosaic Hat is exactly that—a cozy, textured beanie with a detachable flower crown band. Using a clever button-and-loop system, you can swap out floral motifs in different colors and sizes, creating a truly personalized accessory. Whether you're channeling boho-chic vibes or adding a pop of color to a winter coat, this pattern is designed for versatility and handmade charm. Perfect for beginners and experienced crocheters alike, this hat is a delightful project that yields a stunning, functional piece.
Materials Needed
Before you begin, gather these supplies. All yarn is worsted weight (#4) cotton or acrylic.
- Yarn:
- Main Color (MC): Approximately 180 yards for the hat base (e.g., warm cream).
- Contrast Colors (CC1, CC2, CC3, CC4): Approximately 30 yards each for flowers (e.g., dusty rose, sage green, mustard yellow, lavender).
- Hook: US Size H/8 (5.0 mm) crochet hook.
- Notions: Yarn needle, stitch markers, small buttons (about 1/2 inch diameter, one per flower), scissors.
- Gauge: 16 half double crochet (hdc) x 12 rows = 4 inches (10 cm). Accurate gauge ensures proper fit.
Step-by-Step Instructions
Sizes: Adult S (20-21" head circumference), Adult M (22-23"), Adult L (24-25"). Instructions are for size S, with M and L in parentheses.
Abbreviations: ch = chain, sl st = slip stitch, sc = single crochet, hdc = half double crochet, dc = double crochet, st(s) = stitch(es), rnd(s) = round(s), MC = main color, CC = contrast color.
Part 1: Crochet the Hat Base
Worked in continuous rounds (do not join unless specified). Use MC throughout.
- Magic Ring: Make a magic ring. Rnd 1: Ch 1 (does not count as stitch), work 8 hdc into ring. Pull ring tight. (8 sts)
- Rnd 2: Work 2 hdc in each stitch around. (16 sts)
- Rnd 3: *Hdc in next stitch, 2 hdc in next stitch; repeat from * around. (24 sts)
- Rnd 4: *Hdc in next 2 stitches, 2 hdc in next stitch; repeat from * around. (32 sts)
- Rnd 5: *Hdc in next 3 stitches, 2 hdc in next stitch; repeat from * around. (40 sts)
- Rnd 6: *Hdc in next 4 stitches, 2 hdc in next stitch; repeat from * around. (48 sts)
- Rnd 7: *Hdc in next 5 stitches, 2 hdc in next stitch; repeat from * around. (56 sts)
- Rnd 8: *Hdc in next 6 stitches, 2 hdc in next stitch; repeat from * around. (64 sts)
- Size Adjustment:
- For size S: Proceed to Rnd 10 (skip Rnd 9).
- For size M: Rnd 9: *Hdc in next 7 stitches, 2 hdc in next stitch; repeat from * around. (72 sts). Then proceed to Rnd 10.
- For size L: Rnd 9: *Hdc in next 7 stitches, 2 hdc in next stitch; repeat from * around. (72 sts). Rnd 10: *Hdc in next 8 stitches, 2 hdc in next stitch; repeat from * around. (80 sts). Then proceed to Rnd 10 (for L, this is the even round).
- Work Even: Hdc in each stitch around until hat measures 6.5 (7, 7.5) inches from crown to edge. Do not fasten off.
Part 2: Create the Ribbed Brim
Worked in back loops only for a stretchy, ribbed look.
- Rnd 1: Ch 1, sc in back loop only of each stitch around. Join with sl st to first sc. (64 (72, 80) sts)
- Rnds 2-4: Repeat Rnd 1 (sc in back loop only, join). Fasten off MC and weave in ends.
Part 3: Make the Button Loop Band
This band holds the flowers and attaches to the hat.
- With MC, ch 6. Sc in 2nd ch from hook and in each ch across. (5 sc)
- Ch 1, turn. Sc in each stitch across. Repeat this row until band measures 1 inch less than hat brim circumference (approx 19-24 inches, depending on size). Fasten off, leaving a long tail for sewing.
- Sew the short ends of the band together to form a ring. Sew small buttons (about 1/2 inch diameter) evenly spaced along the band, about 1 inch apart. Set aside.
Part 4: Crochet the Flower Motifs
Make 5-7 flowers using CCs. You can make all the same color or mix and match.
Small Flower (makes one):
- With CC, make a magic ring. Rnd 1: Ch 1, work 6 sc into ring. Pull ring tight. Join with sl st to first sc. (6 sts)
- Rnd 2: *Ch 3, skip next stitch, sl st in next stitch; repeat from * around. (3 ch-3 spaces)
- Rnd 3: In each ch-3 space, work (sc, hdc, 3 dc, hdc, sc). Join with sl st to first sc. Fasten off, leaving a 12-inch tail for sewing.
Large Flower (optional, for variety):
- Repeat Rnds 1-3 of small flower.
- Rnd 4: *Ch 5, skip next petal, sl st between petals; repeat from * around. (3 ch-5 spaces)
- Rnd 5: In each ch-5 space, work (sc, hdc, 5 dc, hdc, sc). Fasten off, leaving a 12-inch tail.
Part 5: Assemble the Hat
- Attach Loops to Flowers: Sew a small loop of yarn (about 1/2 inch long) to the back of each flower. These loops will go over the buttons on the band.
- Sew Band to Hat: Place the button loop band around the hat brim, positioning it about 1 inch up from the bottom edge. Sew the band securely to the hat using the long tail, stitching through the back of the band and the hat.
- Attach Flowers: Attach the flowers to the band by looping their yarn loops over the buttons. Arrange them as desired, overlapping slightly for a lush look.
- Finish: Weave in all ends. Hand wash in cool water and lay flat to dry.
Your Meadow Mosaic Hat is complete! Swap flowers for different seasons or moods, and enjoy your versatile, handmade accessory.