Cloud Bunny Slouch Beanie Free Crochet Pattern

Cloud Bunny Slouch Beanie Free Crochet Pattern
Introduction
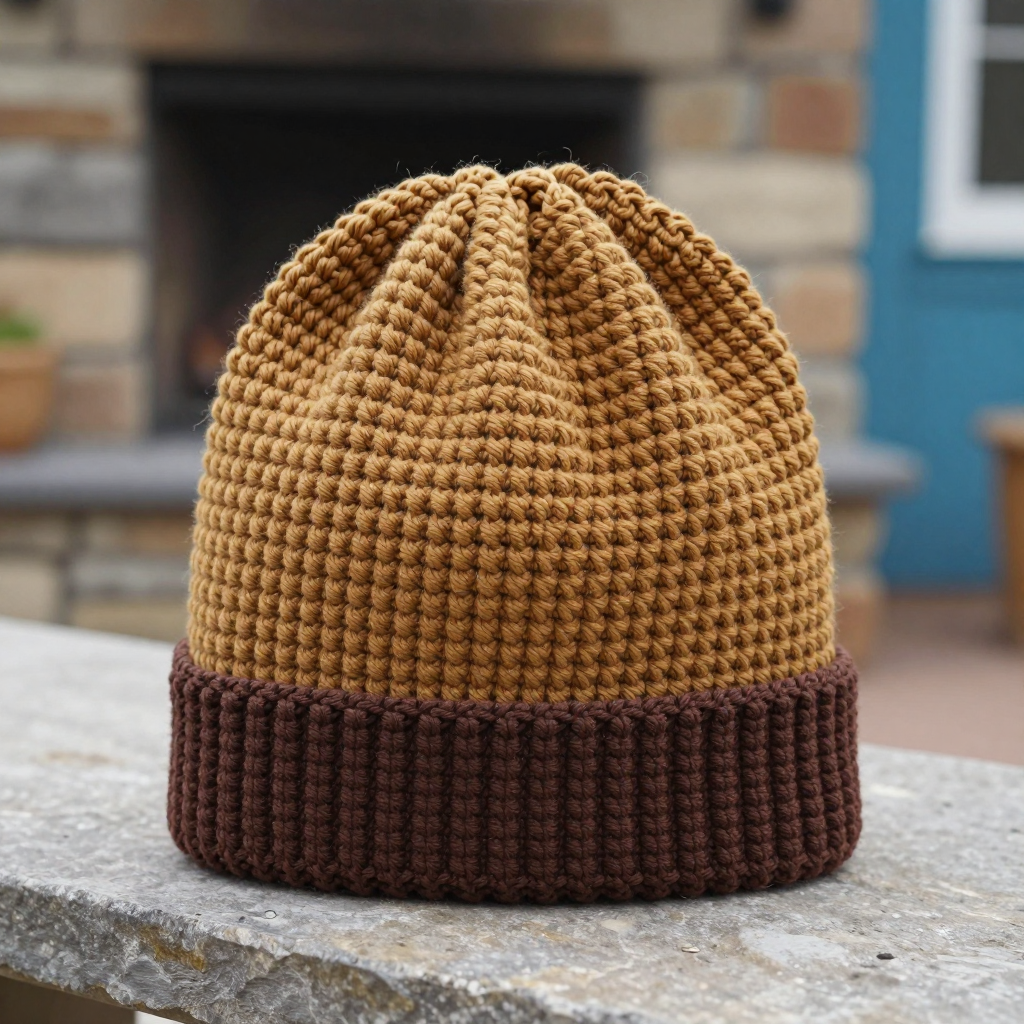
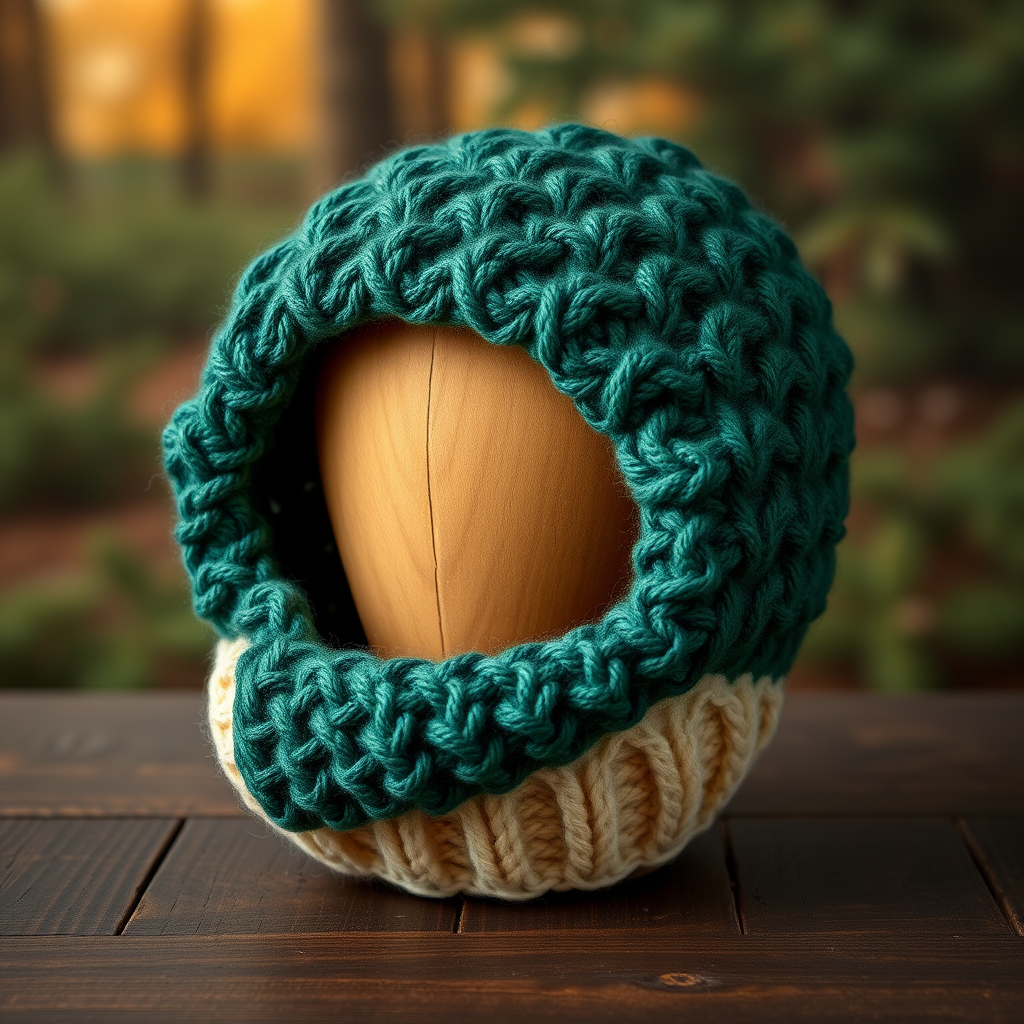
If you have ever wanted to make something that looks like it hopped straight out of a dream, this Cloud Bunny Slouch Beanie is for you. It is perfect for brand-new crocheters who have just learned a few basic stitches and want a project that feels genuinely magical but is secretly very simple. The hat is a soft, slouchy tube of undyed natural cream yarn with a gently flared brim, and it is topped with two rounded bunny ears and tiny embroidered sleeping eyes on the front. When finished, it feels like a warm, huggable cloud that drapes back on your head, and the little sleepy face makes everyone who sees it smile. You only need one stitch for almost the whole hat, so grab your hook and let's make something adorable.
Materials Needed
- Yarn: Worsted weight (category 4) yarn, undyed natural cream wool or wool-blend. Approx. 220–250 yards (200–230 m) for the hat, plus 40–50 yards for the ears.
- Main hook: US G/6 (4.0 mm) crochet hook for the hat body.
- Smaller hook: US E/4 (3.5 mm) crochet hook for the ears (a smaller hook makes the ears firmer and neater).
- Stitch marker (one is enough, but a few are handy).
- Tapestry needle (a blunt, large-eyed needle for sewing and weaving in ends).
- Small amount of black or dark brown worsted yarn for the embroidered sleeping eyes.
- Scissors.
- Finished size: Fits head circumference 21–23 inches (53–58 cm). Hat body circumference approx. 21 inches (53 cm) unstretched, height from brim to crown approx. 10 inches (25 cm) with slouch. Each ear is approx. 4.5 inches (11.5 cm) tall.
Abbreviations and Beginner Glossary
Every abbreviation used in this pattern is explained below in plain English. Read this once before you begin and you will never feel lost.
- ch – chain: yarn over the hook, pull the yarn through the loop on your hook. This makes one chain stitch.
- sc – single crochet: insert your hook into the stitch, yarn over, pull up a loop (2 loops on hook), yarn over again, pull through both loops. One single crochet made.
- sc2tog – single crochet 2 together (a decrease): insert hook into the first stitch, yarn over, pull up a loop; insert hook into the next stitch, yarn over, pull up a loop (3 loops on hook); yarn over and pull through all 3 loops. Two stitches become one.
- sl st – slip stitch: insert hook into the stitch, yarn over, and pull the yarn straight through both the stitch and the loop on your hook in one motion. It makes a smooth, flat edge.
- st(s) – stitch(es): one completed loop or "V" in your fabric.
- rnd – round: one full circle of stitches worked around the hat.
- BLO – back loop only: each stitch has two top loops (a front loop and a back loop). Working in BLO means you insert your hook only under the loop farthest from you, leaving a little ridge on the front.
- 2 sc in next st – an increase: work two single crochets into the same stitch to add one stitch.
- magic ring – an adjustable loop of yarn you crochet into to start a circle with no hole in the middle. If you prefer, chain 2 and work your first stitches into the first chain instead.
- fasten off – cut the yarn, pull the tail all the way through the last loop, and pull tight to lock it.
- weave in ends – thread a yarn tail onto a tapestry needle and sew it back and forth through the inside of the fabric so it disappears.
Gauge
16 sc x 18 rounds = 4 x 4 inches (10 x 10 cm) in single crochet worked in the round with the 4.0 mm hook.
Why gauge matters: Gauge is simply how big your stitches come out. If your stitches are bigger than the pattern's, the hat will be too loose; if smaller, it will be too tight. Checking first saves you from finishing a hat that does not fit.
How to make a gauge swatch: With your 4.0 mm hook and cream yarn, chain 20. Work 1 sc in the second chain from the hook and in each chain across (19 sc). Work 18 more rows of sc, turning at the end of each row. Lay the swatch flat and measure a 4-inch square in the middle. Count the stitches across and the rows up. If you have more than 16 stitches, switch to a larger hook; if fewer, switch to a smaller hook. Repeat until it matches.
Beginner Tips Before You Start
- Use your stitch marker every single round. This hat is worked in a continuous spiral, so there is no seam to tell you where a round begins. Place the marker in the first stitch of each round and move it up as you go.
- Do not pull your yarn too tight. Tension is how firmly you hold the yarn. Keep it relaxed and even so your stitches stay soft and your hat stays stretchy.
- Count your stitches at the end of every increase round. The number in parentheses tells you exactly how many stitches you should have. If it is off, fix it now rather than later.
- Work the crown increases loosely. Tight increases make the top of the hat pucker instead of lying flat.
- Try the hat on as you go. Once the crown is about 6.5–7 inches across, slip it onto your head to check the fit before working the long even section.
- Keep your ears firm. The smaller 3.5 mm hook is intentional — it makes the ears stand up neatly instead of flopping.
Step-by-Step Instructions
Hat Body (Crown and Tube)
With the 4.0 mm hook and cream yarn, make a magic ring. The hat is worked in a continuous spiral — do not join rounds unless told to.
Rnd 1: 6 sc into the magic ring. (6 sc)
Rnd 2: 2 sc in each st around. (12 sc)
Rnd 3: [2 sc in next st, 1 sc in next st] around. (18 sc)
Rnd 4: [2 sc in next st, 1 sc in each of next 2 sts] around. (24 sc)
Rnd 5: [2 sc in next st, 1 sc in each of next 3 sts] around. (30 sc)
Rnd 6: [2 sc in next st, 1 sc in each of next 4 sts] around. (36 sc)
Rnd 7: [2 sc in next st, 1 sc in each of next 5 sts] around. (42 sc)
Rnd 8: [2 sc in next st, 1 sc in each of next 6 sts] around. (48 sc)
Rnd 9: [2 sc in next st, 1 sc in each of next 7 sts] around. (54 sc)
Rnd 10: [2 sc in next st, 1 sc in each of next 8 sts] around. (60 sc)
Rnd 11: [2 sc in next st, 1 sc in each of next 9 sts] around. (66 sc)
Rnd 12: [2 sc in next st, 1 sc in each of next 10 sts] around. (72 sc)
Rnd 13: [2 sc in next st, 1 sc in each of next 11 sts] around. (78 sc)
Rnd 14: [2 sc in next st, 1 sc in each of next 12 sts] around. (84 sc)
The crown should now measure approx. 6.5–7 inches (16.5–18 cm) across.
Rnds 15–40: Sc in each st around. (84 sc) — this works the tube even for 26 rounds, until the hat measures approx. 9 inches (23 cm) from the crown.
Brim (Slouchy Flare)
Rnd 41: Sc in each st around, working in BLO. (84 sc)
Rnds 42–46: Sc in each st around. (84 sc)
Rnd 47: Sl st in each st around. Fasten off and weave in ends. (84 sts) The brim measures approx. 1.5 inches (4 cm) deep and flares slightly for the slouch.
Ears (Make 2)
With the 3.5 mm hook and cream yarn, make a magic ring.
Rnd 1: 6 sc into the magic ring. (6 sc)
Rnd 2: 2 sc in each st around. (12 sc)
Rnd 3: [2 sc in next st, 1 sc in next st] around. (18 sc)
Rnd 4: [2 sc in next st, 1 sc in each of next 2 sts] around. (24 sc)
Rnds 5–12: Sc in each st around. (24 sc)
Rnd 13: [Sc2tog, 1 sc in each of next 2 sts] around. (18 sc)
Rnd 14: [Sc2tog, 1 sc in next st] around. (12 sc)
Rnd 15: Sc2tog around. (6 sc)
Fasten off, leaving a long tail for sewing. Do not stuff — flatten the ear slightly instead. Make a second ear the same way.
Assembly and Finishing
1. Place the ears. Fold each ear in half at its base and pin it to the top of the hat, approx. 2 inches (5 cm) apart, with the rounded tips pointing up and slightly outward. Try the hat on to check the placement before you sew.
2. Sew the ears on. Thread one long ear tail onto your tapestry needle. Sew each ear securely to the crown, stitching through both layers of the folded ear base and the hat fabric, going back and forth a few times so it cannot wobble. Weave in the ends on the inside of the hat.
3. Embroider the sleeping eyes. With black or dark brown yarn and your tapestry needle, embroider two small closed-eye lines on the front of the brim, approx. 3 inches (7.5 cm) apart and 1 inch (2.5 cm) above the bottom edge of the brim. Each eye is a gentle downward-curving arc approx. 0.5 inch (1.2 cm) wide, like a sleepy closed eye. If you like, add a tiny straight-stitch lash at the outer corner of each eye. Weave in the ends on the inside of the hat.
4. Weave in all remaining ends. Run each tail back and forth through the inside of the fabric for about an inch, then trim close.
5. Block the hat. Lightly steam block the hat and ears to shape them: hold a steam iron a few inches above the fabric (never press it down) and gently smooth the crown and brim with your hands. Be careful not to flatten the ear tips. Let everything dry completely, and your hat is ready to wear.
Pro Tips and Variations
- Change the color: This hat looks lovely in any soft shade — try pale grey, blush pink, or a gentle oatmeal. You could also work the ears in a contrasting color for a two-tone bunny.
- Adjust the size: For a smaller child's hat, stop the crown increases at Rnd 12 (72 sc) and work fewer even rounds. For a larger adult hat, add one more increase round to reach 90 sc, then work the tube even.
- Substitute yarn: A soft acrylic or cotton-blend worsted works just as well as wool. Always crochet a new gauge swatch, since different fibers stretch differently.
- Add extra charm: Sew a tiny pom-pom to the back of the crown, or embroider a small pink nose between the eyes for an even sweeter kawaii face.