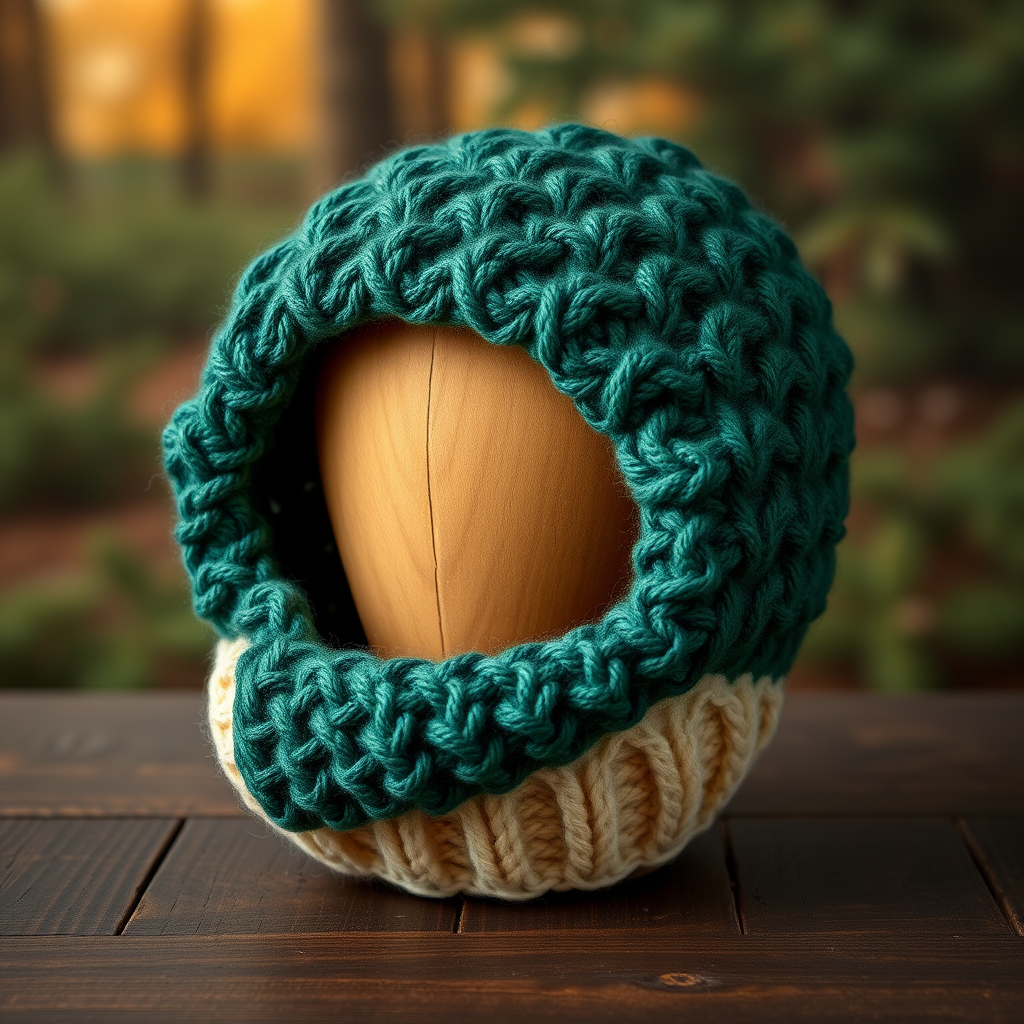
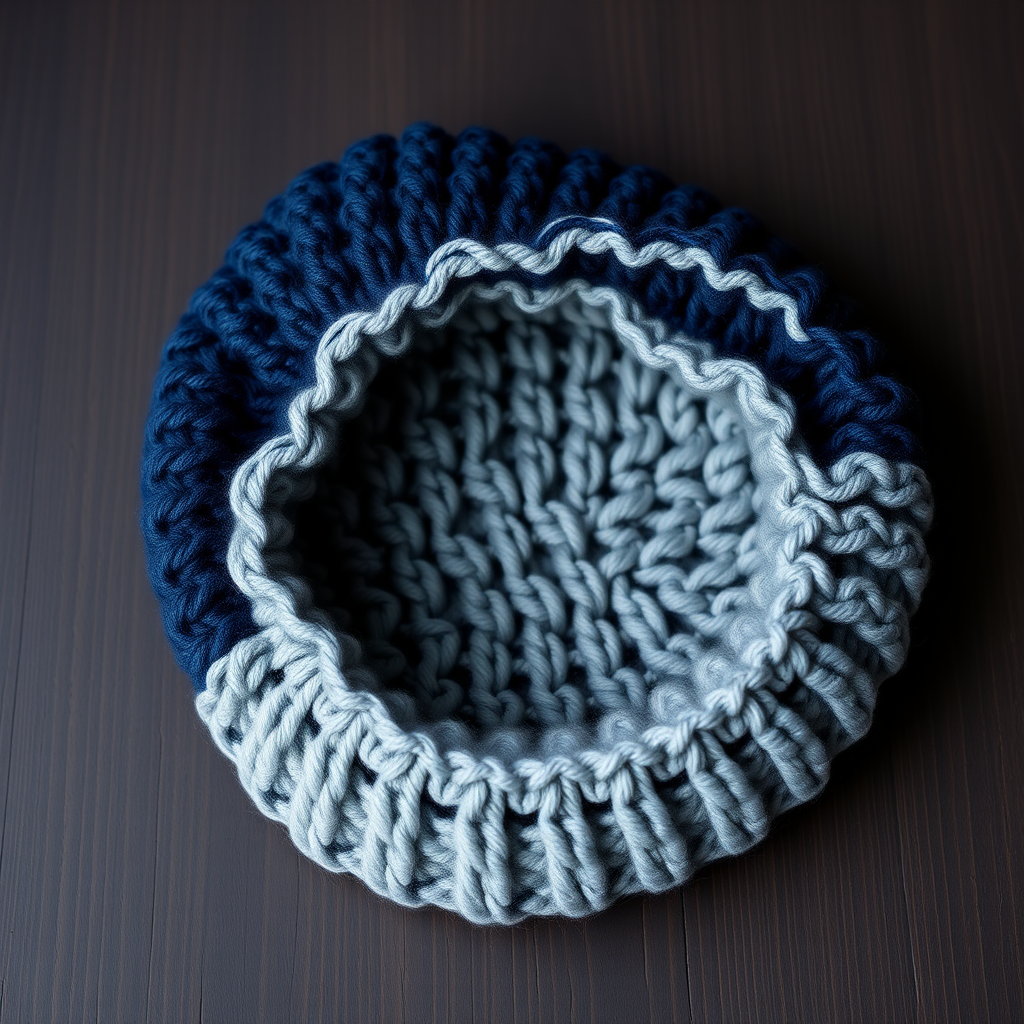
Ruched Slouch Beanie Free Crochet Pattern: Caramel & Chocolate Half-Double Crochet Tube Hat
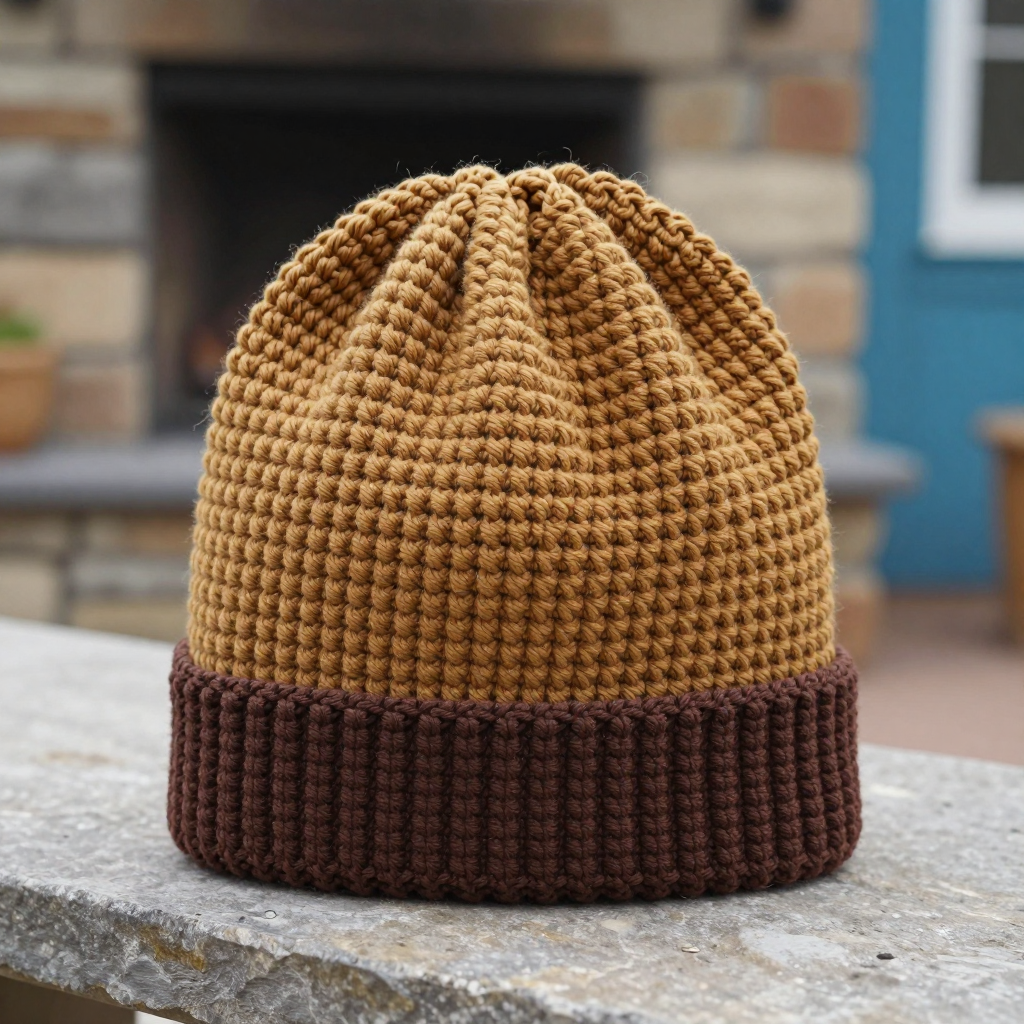
Ruched Slouch Beanie Free Crochet Pattern: Caramel & Chocolate Half-Double Crochet Tube Hat
Introduction
This ruched slouch beanie is the perfect first "real" hat project for a brand-new crocheter who has already learned a couple of basic stitches and wants to make something they will actually wear. It is worked as one long, simple tube of half double crochet rounds, then gathered at the top to create soft, romantic folds — that gathered look is called "ruching," and it is far easier than it appears. The finished hat is a warm, drapey caramel tube about 13 inches long with a firm chocolate brown brim band, giving it a cozy dark academia mood that suits absolutely anyone. Because almost every round is identical, you get lots of relaxing practice with one stitch, and the color change halfway through keeps it exciting. When it is done, the fabric feels soft and slightly stretchy, the brim holds its shape, and the slouchy crown folds give it that relaxed, handcrafted charm.
Materials Needed
- Yarn: Worsted weight (category 4) acrylic or wool-blend yarn, approximately 220–250 yards total. You need 150–170 yards of caramel (Color A) and 70–80 yards of chocolate brown (Color B). The sample uses a smooth worsted yarn at 4 oz / 200 yd per skein.
- Crochet hook: US H/8 (5.0 mm), or whatever size you need to match the gauge below.
- Stitch markers: at least 1 (a scrap of contrasting yarn works too) to mark the first stitch of each round.
- Tapestry needle (yarn needle): a blunt, large-eyed needle for weaving in ends and doing the gathering.
- Scissors for cutting yarn.
- Measuring tape for checking gauge and length.
- Finished size: Adult average. Circumference 20–22 inches unstretched (fits a 21–23 inch head). Finished length approximately 13 inches from the brim edge to the gathered crown, before the slouch folds.
Abbreviations and Beginner Glossary
Read this list once before you start. Every term used in the pattern is explained here in plain English — no prior knowledge assumed.
- ch – chain. Make a loop of yarn on your hook (a "slip knot"), then wrap yarn over the hook and pull it through the loop on your hook. That is one chain.
- hdc – half double crochet. Wrap the yarn over your hook, insert the hook into the next stitch, wrap yarn over and pull up a loop (you now have 3 loops on the hook), wrap yarn over again, and pull through all 3 loops at once. One hdc made.
- hdc2tog – half double crochet two stitches together (a decrease). Wrap yarn over, insert hook into the next stitch, pull up a loop (3 loops on hook), wrap yarn over, insert hook into the following stitch, pull up a loop (5 loops on hook), wrap yarn over, pull through all 5 loops. This turns 2 stitches into 1.
- sl st – slip stitch. Insert hook into the stitch, wrap yarn over, and pull it through both the stitch and the loop on your hook at once. Very flat and quick.
- st / sts – stitch / stitches. One completed unit of crochet.
- BLO – back loop only. Every stitch has two top loops (a front loop nearer you and a back loop farther away). "In BLO" means you insert your hook only under the back loop, leaving the front loop free — this creates a ribbed, firmer texture.
- A – Color A, caramel.
- B – Color B, chocolate brown.
- Magic ring – an adjustable loop of yarn you crochet into, then pull closed so there is no hole in the center. If you have never made one: lay the yarn end over your fingers in a loop, insert the hook into the loop, pull up a strand, chain 1 to secure, then work your stitches into the loop and pull the tail to close it.
- Round – one complete circle of stitches worked around the tube.
- Continuous rounds – you spiral around and around without joining at the end of each round, so there is no seam.
- Fasten off – cut the yarn a few inches from your work and pull the tail all the way through the last loop to lock it.
- Weave in ends – thread a yarn tail onto the tapestry needle and run it back and forth through the inside of the fabric so it disappears and will not unravel.
Gauge
Gauge: 14 hdc x 12 rounds = 4 inches (10 cm) in half double crochet worked in the round, measured after light blocking.
Why gauge matters: Gauge is how many stitches and rounds fit into 4 inches. If your stitches are bigger than the pattern's, the hat will come out too large and floppy; if smaller, it may be too tight to fit. Matching gauge is the single best way to make sure your hat fits like the sample.
How to make a gauge swatch: With your chosen yarn and hook, make a magic ring and work 6 rounds of plain hdc, increasing as needed so the piece stays flat (for example, work 2 hdc in each stitch on Round 2, then add evenly spaced increases on later rounds). Make the swatch at least 5 inches across. Lay it flat, gently smooth it (do not stretch it), and measure 4 inches across the middle. Count how many hdc fit in those 4 inches and how many rounds fit in 4 inches vertically. If you have more stitches than 14, your tension is tight — try a larger hook. If you have fewer, try a smaller hook. Change hook size and swatch again until you match.
Beginner Tips Before You Start
- Use a stitch marker every single round. Because the hat is worked in continuous rounds, it is very easy to lose track of where a round begins. Place a marker in the first stitch of each round and move it up as you go.
- Do not pull your yarn too tight. Beginners often crochet tightly, which makes a stiff, small hat. Keep a relaxed, even tension so the caramel body stays soft and drapey.
- Count your stitches at the end of every round. The pattern tells you the count in parentheses, like (64 hdc). If your count is off, fix it right away rather than discovering it many rounds later.
- Work the brim band in the back loop only exactly as written. That one round (Round 10) is what gives the chocolate band its firm, ribbed look — do not skip it.
- Change color at the start of Round 15 by simply dropping Color B and picking up Color A. Leave a 6-inch tail of each color hanging inside the hat to weave in later. No need to cut B until you are sure you are done with it.
- Try the hat on as you go. Once the tube is a few inches long, slip it over your head (or a large bowl) to check the fit before you commit to the full length.
Step-by-Step Instructions
Notes
- The hat is worked as one long straight tube from the brim upward, then gathered at the top to create the ruched slouch.
- Work in continuous rounds; do not join or turn unless instructed. Place a stitch marker in the first stitch of each round.
- The first round is worked into a magic ring. If you prefer, ch 4 and join with a sl st to form a ring, then work Round 1 into the ring.
- The brim band is worked in BLO hdc on Round 10 to create a firm, defined band. The body is worked in regular hdc for a softer, drapier fabric.
Brim Band (Color B – chocolate)
With B, make a magic ring.
Round 1: ch 1 (does not count as a st), work 8 hdc into the ring, pull ring closed, do not join. (8 hdc)
Round 2: 2 hdc in each st around. (16 hdc)
Round 3: [2 hdc in next st, hdc in next st] around. (24 hdc)
Round 4: [2 hdc in next st, hdc in next 2 sts] around. (32 hdc)
Round 5: [2 hdc in next st, hdc in next 3 sts] around. (40 hdc)
Round 6: [2 hdc in next st, hdc in next 4 sts] around. (48 hdc)
Round 7: [2 hdc in next st, hdc in next 5 sts] around. (56 hdc)
Round 8: [2 hdc in next st, hdc in next 6 sts] around. (64 hdc)
Round 9: hdc in each st around. (64 hdc)
Round 10: hdc in BLO of each st around. (64 hdc)
Rounds 11–14: hdc in each st around. (64 hdc)
Do not fasten off. Change to Color A.
Body (Color A – caramel)
Round 15: With A, hdc in each st around. (64 hdc)
Rounds 16–58: hdc in each st around. (64 hdc)
The body measures approximately 9 inches from the top of the brim band to the final round. Do not fasten off yet.
Gathering and Crown
Round 59 (decrease round): [hdc in next 6 sts, hdc2tog] around. (56 hdc)
Round 60: [hdc in next 5 sts, hdc2tog] around. (48 hdc)
Round 61: [hdc in next 4 sts, hdc2tog] around. (40 hdc)
Round 62: [hdc in next 3 sts, hdc2tog] around. (32 hdc)
Round 63: [hdc in next 2 sts, hdc2tog] around. (24 hdc)
Round 64: [hdc in next st, hdc2tog] around. (16 hdc)
Round 65: [hdc2tog] around. (8 hdc)
Fasten off A, leaving a 12-inch tail. Thread the tail onto a yarn needle and draw it through the front loop of each of the 8 remaining stitches. Pull tight to close the crown. Weave in the end securely on the inside.
Ruching
Turn the hat inside out. Using a length of Color A yarn and a yarn needle, run a gathering stitch around the tube approximately 1 inch below the closed crown, working through the inside of the fabric. Pull gently to create soft folds and secure with a few stitches. Repeat with a second gathering line approximately 2 inches below the first, offsetting the folds so the ruching looks natural. Do not pull so tightly that the hat loses its slouch. Fasten off and weave in ends.
Assembly and Finishing
This hat is made in one piece, so there are no seams to sew — the "assembly" is all about tidying and shaping.
- Weave in all remaining ends. Thread each yarn tail onto the tapestry needle. Working on the inside of the hat, run the needle back and forth through the backs of several stitches (about 2 inches), then reverse direction and go back through a few more stitches. This locks the tail so it will not work loose in the wash. Trim the yarn close to the fabric.
- Check the color change. Gently tug the caramel and chocolate tails at the color-change round so the join sits neatly, then weave both in as above.
- Block the brim band only. Lightly steam the chocolate band with an iron held an inch or two above the fabric (never press the iron directly onto acrylic, which can melt), or mist it with water and pat it flat. Keep the caramel body unstretched so it stays soft and slouchy. Let it dry completely.
- Shape the slouch. With your fingers, arrange the ruched folds at the crown so they fall naturally, then let the hat rest. It can be worn with the brim folded up once for a closer fit or left long for a deeper slouch.
Pro Tips and Variations
- Change the colors. Swap the caramel and chocolate for any two shades you love — mustard and charcoal, cream and rust, or a single solid color for a minimalist look. Just keep Color B for the brim band so the firm band stands out.
- Adjust the size. To make the hat smaller or larger, add or remove increase rounds in the brim band (each extra increase round adds 8 stitches) and then work the body rounds until the tube reaches your desired length. A child's version works well with the brim band ending at Round 7 (56 sts).
- Substitute yarn. Any worsted weight (category 4) yarn works — acrylic for easy care, wool for warmth, or a wool-blend for drape. Always swatch first, because a different fiber can change your gauge.
- Add a pompom or button. A faux-fur pompom or a large decorative button stitched at the gathered crown hides the closure and adds a playful finishing touch.