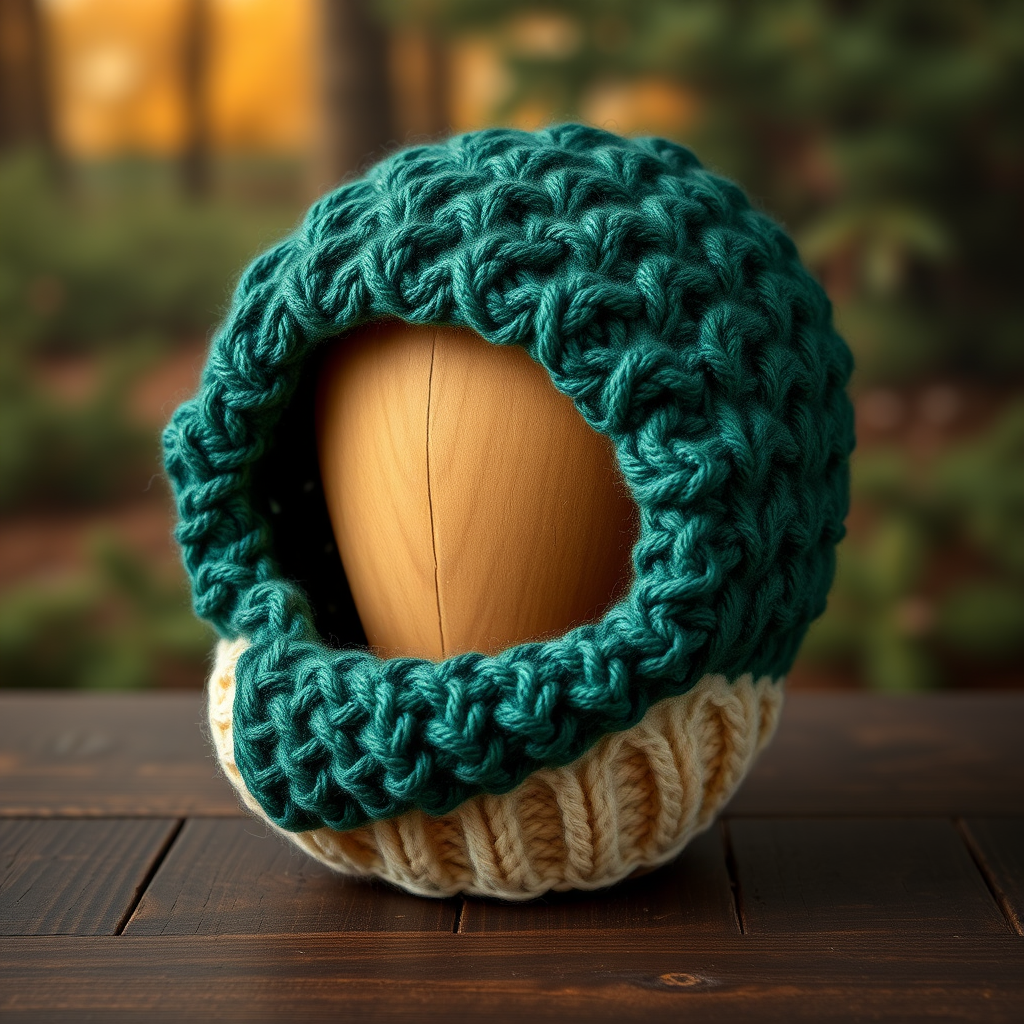
Stella Hat 88439 Free Pattern – Crochet a Celestial Slouchy Beanie
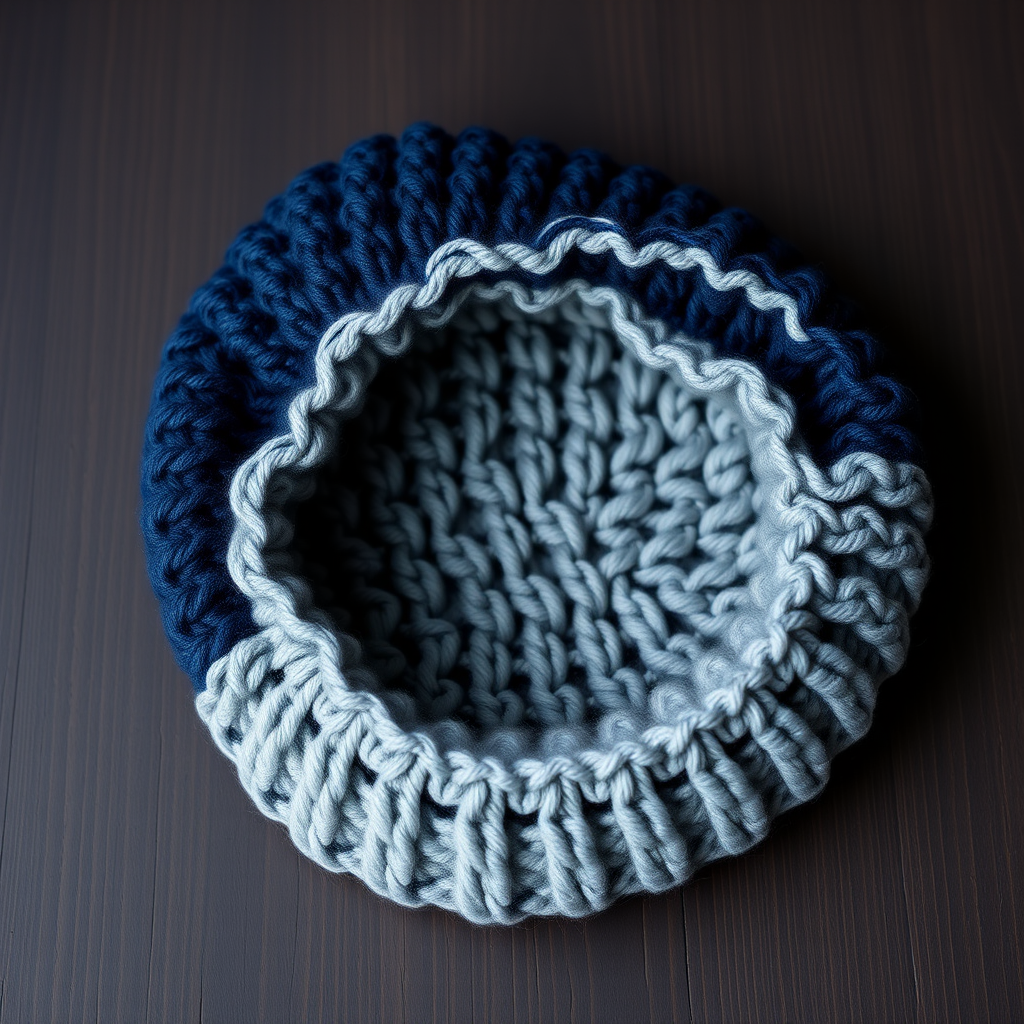
Stella Hat Free Crochet Pattern: A Celestial Slouchy Beanie
Wrap your head in the night sky with the Stella Hat—a uniquely textured crochet beanie that transitions from deep indigo to soft silver, just like twilight fading into starry darkness. This slouchy, cozy hat features a subtle cable-like stitch pattern created with front and back post double crochet, adding dimension and warmth to every row. Whether you're a beginner looking for a rewarding project or an experienced crocheter seeking a stylish new accessory, this free pattern is perfect for chilly days and handmade gifts.
In this comprehensive guide, I'll walk you through every step, from gathering materials to weaving in your final ends. By the end, you'll have a gorgeous, gradient beanie that looks like it was plucked from the heavens.
Materials Needed
Before you begin, gather the following supplies. All items are readily available at craft stores or online.
Yarn
- Worsted weight yarn in three shades (approximately 200g total):
- Yarn A: Deep Indigo (for the crown)
- Yarn B: Midnight Blue (for the middle section)
- Yarn C: Silver Mist (for the brim and lower body)
Hook and Notions
- 5.5mm (I-9) crochet hook
- Yarn needle (for weaving in ends)
- Scissors
- Stitch marker (optional, but helpful for tracking rounds)
Gauge
14 stitches and 12 rows in half double crochet = 4 inches (10 cm). Always make a gauge swatch to ensure your hat fits as intended. If your gauge is off, adjust your hook size accordingly.
Step-by-Step Instructions
This pattern is worked in the round from the top down. You'll start with a magic ring and increase evenly until you reach 60 stitches, then work even rounds with color changes and post stitches for texture. Follow along carefully, and don't hesitate to re-read a step if needed.
Getting Started: The Crown
Round 1: With Yarn A (Deep Indigo), make a magic ring. Chain 2 (this counts as your first half double crochet). Work 10 half double crochet (hdc) into the ring. Slip stitch (sl st) to join with the top of the beginning chain 2. You should have 10 stitches.
Round 2: Chain 2 (counts as hdc). Work 1 hdc in the same stitch (this is your increase). Work 2 hdc in each stitch around. Slip stitch to join. You now have 20 stitches.
Round 3: Chain 2. Hdc in the same stitch. Hdc in the next stitch. *2 hdc in the next stitch, hdc in the next stitch.* Repeat from * to * around. Slip stitch to join. You now have 30 stitches.
Round 4: Chain 2. Hdc in the same stitch. Hdc in the next 2 stitches. *2 hdc in the next stitch, hdc in the next 2 stitches.* Repeat from * to * around. Slip stitch to join. You now have 40 stitches.
Round 5: Chain 2. Hdc in the same stitch. Hdc in the next 3 stitches. *2 hdc in the next stitch, hdc in the next 3 stitches.* Repeat from * to * around. Slip stitch to join. You now have 50 stitches.
Round 6: Chain 2. Hdc in the same stitch. Hdc in the next 4 stitches. *2 hdc in the next stitch, hdc in the next 4 stitches.* Repeat from * to * around. Slip stitch to join. You now have 60 stitches.
Tip: Place a stitch marker at the beginning of each round to keep track of your place, especially as the hat grows.
Working Even: First Color Section
Rounds 7-9: With Yarn A, chain 2. Hdc in each stitch around. Slip stitch to join at the end of each round. Maintain 60 stitches throughout.
Color Transition to Midnight Blue
Round 10: Switch to Yarn B (Midnight Blue). Chain 2. Hdc in each stitch around. Slip stitch to join. (60 sts)
Rounds 11-12: Repeat Round 10. Continue with Yarn B, working hdc in each stitch around and joining with a slip stitch. (60 sts each round)
Adding Texture: Post Stitch Ribbing
Now we'll create the beautiful cable-like texture using front post double crochet (fpdc) and back post double crochet (bpdc). These stitches wrap around the post of the stitch below, creating raised ridges.
Round 13: Chain 2. *Front post double crochet (fpdc) around the next stitch, back post double crochet (bpdc) around the next stitch.* Repeat from * to * around. Slip stitch to join. (60 sts)
Round 14: Chain 2. *Bpdc around the next stitch, fpdc around the next stitch.* Repeat from * to * around. Slip stitch to join. (60 sts)
Rounds 15-16: Repeat Rounds 13 and 14. This alternation creates a reversible ribbed texture that mimics cables.
Rounds 17-19: Chain 2. Hdc in each stitch around. Slip stitch to join. (60 sts each round)
Color Transition to Silver Mist
Round 20: Switch to Yarn C (Silver Mist). Chain 2. Hdc in each stitch around. Slip stitch to join. (60 sts)
Rounds 21-22: Repeat Round 20. Continue with Yarn C, working hdc in each stitch around. (60 sts each round)
Second Textured Section
Round 23: Chain 2. *Fpdc around the next stitch, bpdc around the next stitch.* Repeat from * to * around. Slip stitch to join. (60 sts)
Round 24: Chain 2. *Bpdc around the next stitch, fpdc around the next stitch.* Repeat from * to * around. Slip stitch to join. (60 sts)
Rounds 25-26: Repeat Rounds 23 and 24. This mirrors the texture from the middle section, creating a balanced design.
Finishing the Body
Rounds 27-29: Chain 2. Hdc in each stitch around. Slip stitch to join. (60 sts each round)
Round 30: Chain 1 (does not count as a stitch). Single crochet (sc) in each stitch around. Slip stitch to join. This creates a neat, finished edge.
Fasten off, leaving a 6-inch tail. Thread your yarn needle and weave in all ends securely, trimming any excess.
Final Touch: The Folded Brim
Fold up the bottom edge of the hat about 2 inches to create a cozy, slouchy brim. The silver mist section will form the cuff, and the textured ribbing will peek out beautifully. Adjust the fold to your preference—some like a deeper fold for extra warmth, others prefer a shallower one for a more relaxed slouch.
Tips for Perfect Results
- Keep your tension consistent. This is especially important when switching between hdc and post stitches. If your post stitches are tighter than your hdc, the hat may pucker slightly.
- Count your stitches after each round. It's easy to accidentally add or drop a stitch, especially during the increase rounds. A quick count prevents frustration later.
- Use a stitch marker to mark the first stitch of each round. This is a lifesaver for beginners and experts alike.
- Block your hat if desired. Lightly steam or wet-block to even out the stitches and enhance the drape of the slouchy fit.
Wear and Care
The Stella Hat is designed to be slightly oversized and slouchy, sitting loosely on the head. The gradient colors evoke a night sky, and the textured stitch pattern adds a handcrafted, cozy feel. To care for your hat, hand wash in cold water with a gentle detergent, lay flat to dry, and reshape while damp. Avoid wringing or machine drying to maintain the shape and stitch definition.
This pattern is perfect for gifting—imagine presenting a loved one with a hat that looks like a piece of the cosmos! Whether you're crocheting for yourself or someone special, the Stella Hat is sure to become a favorite.
Happy crocheting, and may your stitches always be even and your yarn never tangle!