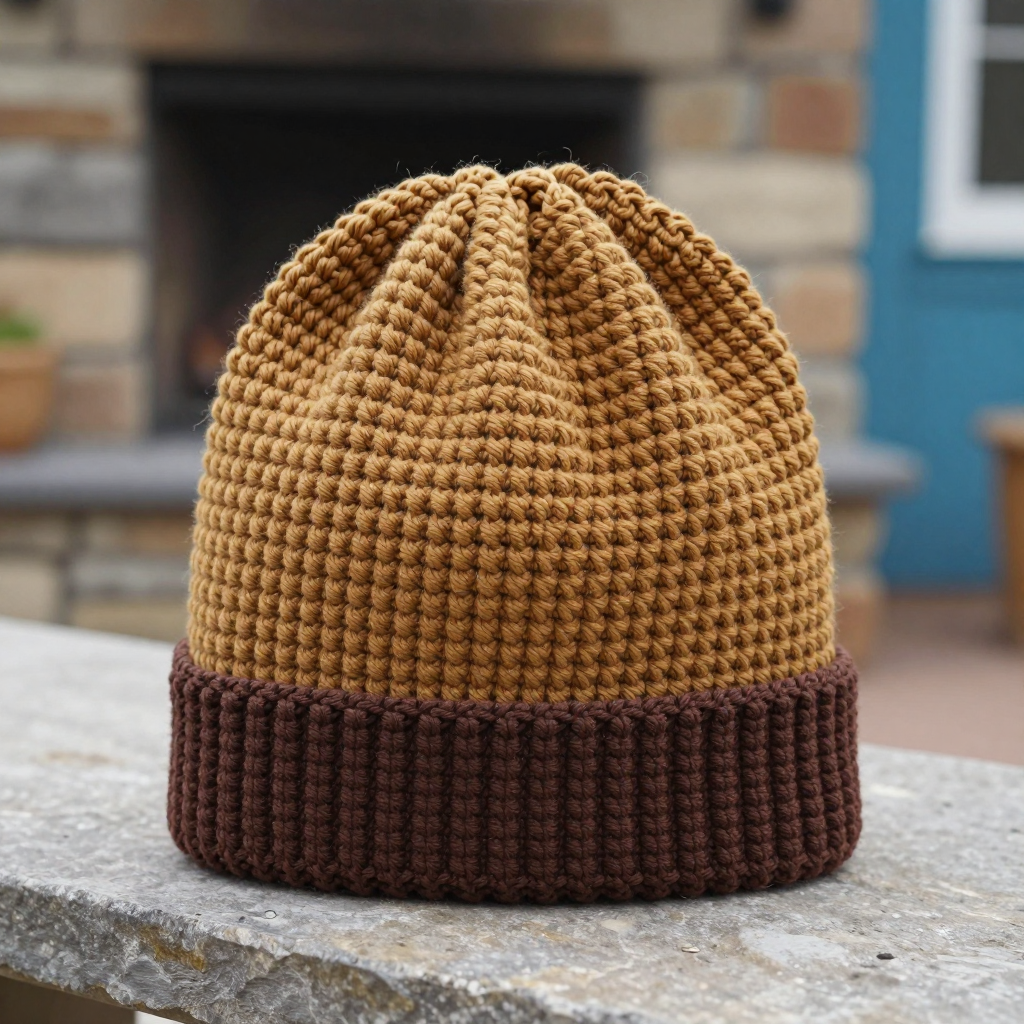
Little Folk Hexagon Granny Hat Free Crochet Pattern

Little Folk Hexagon Granny Hat — Free Beginner Crochet Pattern
Introduction
If you have never held a crochet hook before but you have always wanted to make something with your own two hands, this is the project for you. The Little Folk Hexagon Granny Hat is made from just four small hexagon motifs — six-sided shapes worked in the round — that get joined into a flat rectangle, folded into a tube, and gathered at the top to become a cozy little hat for a toddler. It is special because it uses only the most basic crochet stitches, yet the finished hat looks like a piece of 1970s folk art, with warm avocado green, burnt orange, and cream motifs arranged in a cheerful patchwork. The finished hat is soft, slightly stretchy, and about 7 inches tall, with a gently puckered crown and a little crocheted flower appliqué near the top. Every single stitch is explained below, so you can truly start from zero.
Materials Needed
- Yarn: Worsted weight yarn (Category 4) — acrylic or a cotton blend. You will need approximately 60 yards avocado green, 40 yards burnt orange, and 40 yards cream.
- Crochet hook: 5.0 mm (US H-8).
- Stitch markers: At least 4 (or use small safety pins or scrap yarn).
- Tapestry needle: A large-eyed, blunt-tipped needle for seaming and weaving in ends.
- Scissors: Any small, sharp pair.
- Finished size: Fits ages 1–3 years (head circumference approx. 18–19 inches / 46–48 cm). The flat rectangle before seaming measures approx. 7 inches wide x 7 inches tall. Each hexagon motif measures approx. 3.5 inches across, flat side to flat side.
Abbreviations and Beginner Glossary
All terms are US crochet terms. Read every definition once before you begin — nothing here is assumed.
- ch — chain: yarn over the hook (wrap the yarn around it), pull the hook through the loop on your hook. This makes one chain stitch.
- sl st — slip stitch: insert your hook into the stitch, yarn over, and pull the yarn straight through both the stitch and the loop on your hook at the same time. It makes a nearly invisible joining stitch.
- sc — single crochet: insert hook into stitch, yarn over, pull up a loop (2 loops on hook), yarn over, pull through both loops. One loop remains.
- hdc — half double crochet: yarn over first, insert hook into stitch, yarn over, pull up a loop (3 loops on hook), yarn over, pull through all 3 loops at once.
- dc — double crochet: yarn over first, insert hook into stitch, yarn over, pull up a loop (3 loops on hook), yarn over, pull through 2 loops, yarn over, pull through the last 2 loops.
- st — stitch (one completed stitch).
- sts — stitches (more than one).
- sp — space: the little gap under a chain from the previous round. You work into the gap, not into a stitch.
- beg — beginning.
- magic ring — an adjustable loop of yarn you make with your fingers, then crochet into. It lets you pull the center hole completely closed. (If it feels tricky, you may instead ch 4 and join with a sl st into a ring, then work into that ring.)
- fasten off — cut the yarn leaving a 4–6 inch tail, then pull the tail all the way through the last loop on your hook to lock it.
- join with sl st — after your last stitch, insert the hook into the top of the first stitch of the round and work a slip stitch to close the circle.
- right sides together — placing the two "good" (front, public) faces of your work touching each other, so the seam hides on the inside.
- whip stitch — a simple seaming stitch: bring the needle up through both layers, then over the edge and back up, repeating in small even stitches.
Gauge
Gauge: One finished hexagon motif measures 3.5 inches (9 cm) across, flat side to flat side. In single crochet, 4 sc = 1 inch.
Gauge means how big your stitches come out. It matters because the hat's size depends entirely on the size of your hexagons: four hexagons at 3.5 inches each make a 7-inch-wide rectangle, which becomes a 14-inch tube that stretches to fit an 18–19 inch head. If your hexagons come out larger or smaller, the hat will not fit. To make a gauge swatch: work one complete hexagon motif exactly as written below, then lay it flat and measure straight across from one flat side to the opposite flat side. If it measures more than 3.5 inches, try again with a smaller hook (4.5 mm); if less, try a larger hook (5.5 mm). Your first hexagon is your swatch — nothing is wasted, because you need four of them anyway!
Beginner Tips Before You Start
- Use a stitch marker in the first stitch of every round. Place it in the very first dc you make; when you reach it again, you know the round is complete. This prevents the most common beginner mistake: losing your place.
- Do not pull your yarn too tight. Keep an easy, relaxed tension. Tight stitches make the hexagons too small and make your hook hard to insert.
- Count out loud. Every round below ends with a stitch count in parentheses, like (12 dc). Count your stitches at the end of each round and compare — catching a mistake early is much easier than fixing it later.
- Chain-2 spaces are worked into, not skipped over. When a round says "in next ch-2 sp," you put your hook into the hole under those two chains, not into a stitch.
- Keep your tails long. Leave 4–6 inch tails every time you fasten off. You will use them for seaming and weaving in later.
- It is only yarn. If a motif looks lumpy at first, keep going — steam blocking at the end smooths everything out beautifully.
Step-by-Step Instructions
Part 1: Hexagon Motifs (make 4)
Each motif is worked in the round (in a circle, joining at the end of each round) using three colors — one per round. Make one motif in each of these four colorways:
- Motif A: Round 1 burnt orange, Round 2 cream, Round 3 avocado.
- Motif B: Round 1 avocado, Round 2 cream, Round 3 burnt orange.
- Motif C: Round 1 cream, Round 2 burnt orange, Round 3 avocado.
- Motif D: Round 1 burnt orange, Round 2 avocado, Round 3 cream.
Round 1 (center color): Make a magic ring. Ch 3 (this counts as your first dc). Work 11 dc into the ring. Join with sl st to the top of the beg ch-3. (12 dc) Fasten off center color.
Round 2 (second color): Join second color with sl st in any dc. Ch 3 (counts as first dc). Dc in the same st. *Ch 2, skip next dc, 2 dc in next dc. Repeat from * around, ending with ch 2, then sl st to top of beg ch-3. (6 groups of 2 dc, 6 ch-2 sps) Fasten off second color.
Round 3 (border color): Join border color with sl st in any ch-2 sp. Ch 3 (counts as first dc). Work 2 dc in the same ch-2 sp (this makes a 3-dc cluster). *Ch 1, 3 dc in next ch-2 sp. Repeat from * around, ending with ch 1, then sl st to top of beg ch-3. (6 groups of 3 dc, 6 ch-1 sps) Fasten off and weave in ends.
Each hexagon now has 6 flat sides and 6 corners and should measure about 3.5 inches across, flat side to flat side. Repeat the three rounds for all four colorways above.
Part 2: Joining the Hexagons
Arrange the four hexagons in a 2x2 grid (two across, two tall), alternating colorways so no two identical motifs sit side by side. Join them with a sc seam (right sides together) or with whip stitch using the tapestry needle and cream yarn. Work along the shared flat edges only.
- Seam 1: Place Motif A and Motif B side by side, matching flat edges. Join along one flat edge. (A-B unit made)
- Seam 2: Place Motif C and Motif D side by side, matching flat edges. Join along one flat edge. (C-D unit made)
- Seam 3: Place the A-B unit above the C-D unit, matching flat edges. Join along the horizontal seam between them. (4 motifs joined)
- You now have a flat rectangle of four hexagons, approximately 7 inches wide x 7 inches tall.
Part 3: Forming the Hat
- Fold the rectangle in half with right sides together, matching the two short ends (the 7-inch sides).
- Join the short ends with sc or whip stitch to form a tube. This is the back seam of the hat.
- Turn the tube right side out.
- Thread the tapestry needle with cream yarn. Run a gathering stitch around one open end of the tube (this will be the top of the hat), passing through the edge of each hexagon all the way around. Pull the yarn tight to close the crown, then secure with a knot and weave in the end.
- The bottom opening is the hat brim. Optional brim edging: join avocado green with sl st anywhere along the bottom edge, ch 1, then work 1 round of sc evenly around the entire bottom edge. (36–40 sc) Join with sl st to first sc and fasten off.
Part 4: Button Flower Appliqué (make 1)
Worked in burnt orange with an avocado center.
Round 1 (center): With avocado, make a magic ring. Ch 1, work 6 sc into the ring. Join with sl st to first sc. (6 sc) Fasten off avocado.
Round 2 (petals): Join burnt orange with sl st in any sc. *Ch 3, sl st in the same sc (one petal made), then sl st in the next sc. Repeat from * around for 6 petals total. Join with sl st to the base of the first petal. (6 petals) Fasten off, leaving a 6-inch tail for sewing.
Assembly and Finishing
- Attach the flower: Position the button flower appliqué at the top of the hat, slightly off-center near the crown gathering point. Thread the 6-inch burnt orange tail onto the tapestry needle and sew the flower in place securely with small stitches around its center, going through both the flower and the hat.
- Weave in ends: Thread each remaining yarn tail onto the tapestry needle. Working on the wrong side (inside) of the hat, run the needle through the backs of several stitches in one direction, then turn and run through a few more in the opposite direction. This locks the tail so it will not work loose. Trim the yarn close to the fabric.
- Steam block: Pin the hat gently into shape on a towel or blocking mat. Hold a steam iron (or a kettle of steaming water) a few inches above the fabric — never press the iron directly onto the stitches, especially with acrylic yarn, which can melt. Let the steam settle the motifs, then leave the hat to dry completely before removing the pins. This evens out the hexagon shapes and softens any lumpy seams.
Your Little Folk Hexagon Granny Hat is complete!
Pro Tips and Variations
- Change the colors: Swap in mustard yellow, rust red, or sage green to match a favorite coat. Keep one color as the "cream" role (the middle round) so the motifs stay visually balanced.
- Adjust the size: For a baby (0–12 months), use a 4.5 mm hook so each hexagon measures about 3 inches — four motifs give a 6-inch rectangle and a smaller hat. For a larger child, use a 5.5 mm hook so each hexagon measures about 4 inches, giving an 8-inch rectangle.
- Substitute yarn: Any worsted weight (Category 4) yarn works — cotton gives crisp stitch definition, acrylic gives softness and easy washing. Just check your hexagon measurement, since different fibers behave differently.
- Add a pom-pom: Instead of (or in addition to) the flower, sew a small yarn pom-pom to the gathered crown for a playful finish.