Sleepy Moon Crochet Beanie Free Pattern: A Pastel Dreamy Mint & Lavender Hat

Sleepy Moon Crochet Beanie: A Pastel Dreamy Mint & Lavender Hat
Introduction
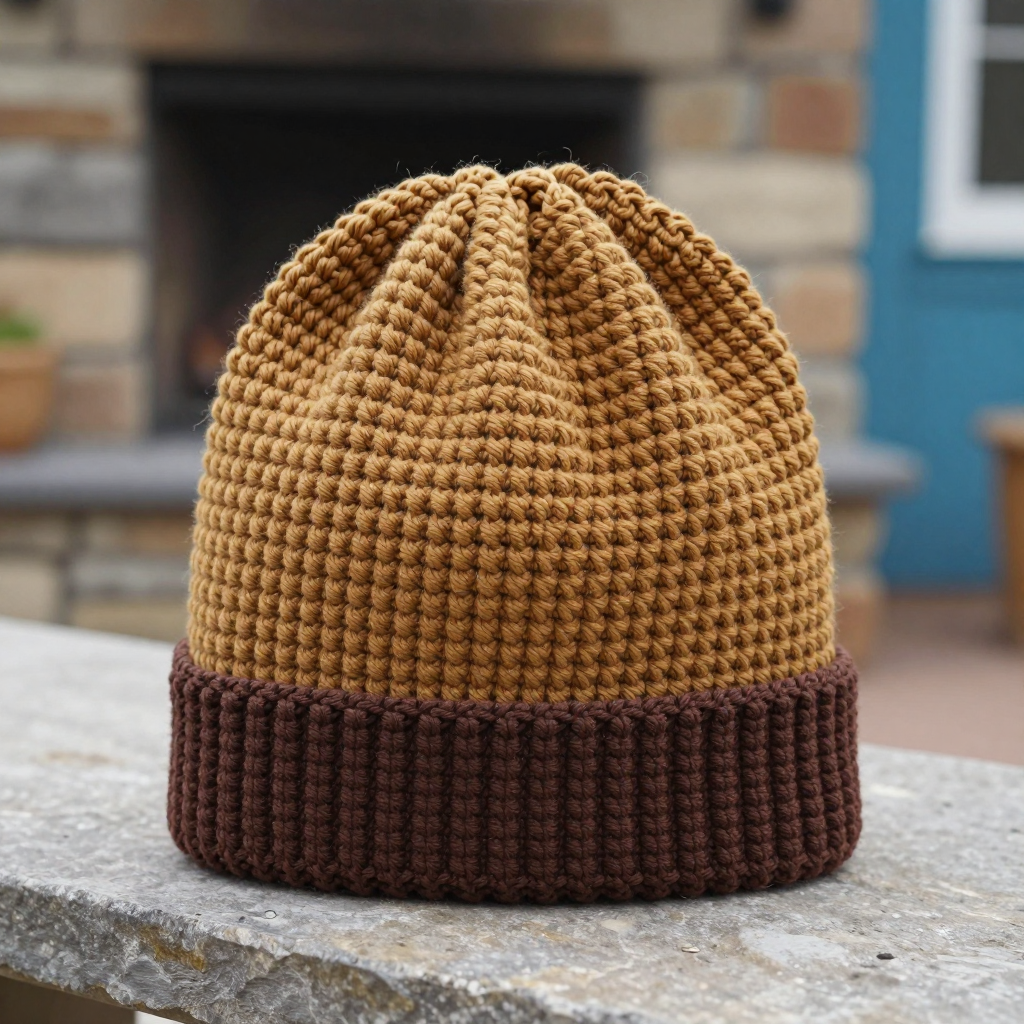
If you have never held a crochet hook before, this is the perfect first hat for you. The Sleepy Moon Beanie is worked as one simple tube of single crochet stitches, so there are no complicated stitch patterns to memorize and no seams to sew on the body. The finished hat is a soft, squishy adult beanie in a dreamy pastel mint, with a gently folded brim and a lavender crescent moon floating above three tiny stars. It feels cozy and lightweight against the skin, and the appliqués add just enough whimsy to make it feel handmade and special. By the end of this pattern you will have a wearable hat and a whole new skill.
Materials Needed
- Yarn: DK / light worsted weight (Category 3) acrylic or cotton-blend yarn. About 150–170 yd (137–155 m) of mint for the hat body.
- Appliqué yarn: Small amount of lavender (about 15 yd) for the moon, and pale yellow or lavender (about 8 yd) for the three stars.
- Main hook: US G/6 (4.0 mm) crochet hook.
- Appliqué hook: US E/4 (3.5 mm) crochet hook.
- Stitch marker (or a scrap of contrasting yarn) to mark the first stitch of each round.
- Tapestry needle (a blunt, large-eyed needle) for sewing on appliqués and weaving in ends.
- Scissors for cutting yarn.
- Finished size: Adult, to fit a head circumference of 21–23 in (53–58 cm). Finished hat measures about 20 in (51 cm) around unstretched and 8.5 in (21.5 cm) tall from crown to brim.
Abbreviations and Beginner Glossary
- ch – chain. Make a loop of yarn on your hook, then pull the yarn through the loop. Each loop you pull through is one chain.
- sc – single crochet. Insert your hook into the stitch, wrap yarn over the hook, pull up a loop (you now have 2 loops on the hook), wrap yarn over again, and pull through both loops. One single crochet made.
- sl st – slip stitch. Insert hook into the stitch, wrap yarn over, and pull it straight through both the stitch and the loop on your hook in one motion. It creates a nearly flat, invisible join.
- sc2tog – single crochet 2 together (a decrease). Insert hook into the first stitch, pull up a loop, insert hook into the next stitch, pull up a loop (3 loops on hook), wrap yarn over and pull through all 3 loops. Two stitches become one.
- st(s) – stitch or stitches. The little V-shaped bumps you work into.
- BLO – back loop only. Every stitch has two loops at the top (a front loop near you and a back loop away from you). Working in the back loop only means you insert your hook under just the far loop, which creates a crisp ridge.
- Magic ring – an adjustable loop of yarn you crochet into, then pull tight to close the center hole. If you prefer, chain 4 and join with a sl st to form a ring instead.
- Turn – flip your work over so you can work back the other way (used for the flat moon piece).
- Fasten off – cut the yarn, pull the tail all the way through the last loop, and tighten.
Gauge
18 sc x 20 rounds = 4 x 4 in (10 x 10 cm) in single crochet worked in the round with the 4.0 mm hook.
Why gauge matters: Gauge is how big your stitches come out. If your stitches are bigger than the pattern's, the hat will be too loose; if smaller, it will be too tight. This pattern's stitch counts are calculated from the gauge above, so matching it means the hat will fit a 21–23 in head.
How to make a gauge swatch: With your 4.0 mm hook and mint yarn, make a magic ring, work 6 sc into it, then increase evenly (2 sc in each stitch, then work rounds of sc with increases as in Rounds 2–6 below) until your swatch is at least 5 in (12.5 cm) wide. Work a few plain rounds. Lay it flat, measure 4 in (10 cm) across the middle, and count your stitches. If you have more than 18, try a larger hook; if fewer, try a smaller hook.
Beginner Tips Before You Start
- Use a stitch marker. Because the hat is worked in a continuous spiral, the rounds blend together. Place a marker in the first stitch of each round and move it up as you go, so you always know where a round begins.
- Do not pull the yarn too tight. Tension is the number one beginner struggle. Keep your loops relaxed and even; tight stitches make a stiff, small hat.
- Count your stitches at the end of every increase round. The number in parentheses tells you exactly how many stitches you should have. If you are off, fix it now rather than later.
- Work the first stitch of each round into the stitch directly under your marker. Skipping it is the most common cause of a hat that slowly shrinks.
- Keep the moon and stars loose. The appliqués are small; work them with a relaxed hand so they lie flat.
- Try the hat on as you go. Once the crown is about 6.5 in (16.5 cm) across, it should sit on your head like a shallow bowl.
Step-by-Step Instructions
Note: The hat is worked in a continuous spiral in the round. Do not join rounds unless told. Place a stitch marker in the first stitch of each round and move it up as you go. All stitches are worked through both loops unless the pattern says BLO.
Hat Body (with mint yarn and 4.0 mm hook)
Round 1: Make a magic ring. Work 6 sc into the ring. Pull the tail to close the ring. (6 sc)
Round 2: Work 2 sc in each st around. (12 sc)
Round 3: *2 sc in next st, 1 sc in next st; repeat from * around. (18 sc)
Round 4: *2 sc in next st, 1 sc in each of next 2 sts; repeat from * around. (24 sc)
Round 5: *2 sc in next st, 1 sc in each of next 3 sts; repeat from * around. (30 sc)
Round 6: *2 sc in next st, 1 sc in each of next 4 sts; repeat from * around. (36 sc)
Round 7: *2 sc in next st, 1 sc in each of next 5 sts; repeat from * around. (42 sc)
Round 8: *2 sc in next st, 1 sc in each of next 6 sts; repeat from * around. (48 sc)
Round 9: *2 sc in next st, 1 sc in each of next 7 sts; repeat from * around. (54 sc)
Round 10: *2 sc in next st, 1 sc in each of next 8 sts; repeat from * around. (60 sc)
Round 11: *2 sc in next st, 1 sc in each of next 9 sts; repeat from * around. (66 sc)
Round 12: *2 sc in next st, 1 sc in each of next 10 sts; repeat from * around. (72 sc)
The crown now measures about 6.5 in (16.5 cm) across, which gives the correct 20–21 in circumference once the sides are worked.
Rounds 13–40: Work 1 sc in each st around, without increasing, until the hat measures about 8 in (20 cm) from the crown. (72 sc per round; 28 even rounds)
Brim (worked in BLO for a crisp folded edge)
Round 41: Working in the back loop only of each st, work 1 sc in each st around. (72 sc)
Rounds 42–45: Work 1 sc in each st around through both loops. (72 sc)
Round 46: Sl st in each st around for a neat finish. Fasten off and weave in ends. (72 sl sts)
Lavender Crescent Moon Appliqué (with lavender yarn and 3.5 mm hook)
The moon is worked as a flat crescent using short rows of sc.
Row 1: Ch 12. Starting in the 2nd ch from hook, work 1 sc in each ch across. (11 sc)
Row 2: Ch 1, turn. Sc2tog, 1 sc in each of next 7 sts, sc2tog. (9 sc)
Row 3: Ch 1, turn. Sc2tog, 1 sc in each of next 5 sts, sc2tog. (7 sc)
Row 4: Ch 1, turn. Sc2tog, 1 sc in each of next 3 sts, sc2tog. (5 sc)
Row 5: Ch 1, turn. Sc2tog, 1 sc in next st, sc2tog. (3 sc)
Row 6: Ch 1, turn. Sc2tog, 1 sc in next st. (2 sc)
Row 7: Ch 1, turn. Sc2tog. (1 sc) Fasten off, leaving a 12 in (30 cm) tail for sewing. The piece forms a gentle crescent; use your fingers to curve it into a moon shape and steam-block lightly.
Tiny Star Appliqués (make 3, with pale yellow or lavender yarn and 3.5 mm hook)
Round 1: Make a magic ring. Ch 1, then work (sc, ch 2, sl st) into the ring 5 times to create 5 points. Pull the ring closed. Sl st into the first sc to join. Fasten off, leaving a 6 in (15 cm) tail. Each star measures about 0.75 in (2 cm) across. (5 points)
Assembly and Finishing
1. Weave in ends. Thread each loose end onto your tapestry needle, run it through the back of several stitches (about 1 in / 2.5 cm), then snip close. Leave the sewing tails on the moon and stars free.
2. Sew on the moon. Pin the crescent moon to the front of the hat, centered about 2.5 in (6 cm) up from the brim, with the crescent opening facing upward and to the right. Using the lavender tail and a tapestry needle, sew the moon in place with small whipstitches (tiny stitches that go over the edge of the moon and back into the hat), catching only the surface of the hat so the stitches do not show on the inside.
3. Sew on the stars. Arrange the three stars in a loose diagonal cluster to the upper right of the moon: one star about 1 in (2.5 cm) above the moon's upper tip, one about 1.5 in (4 cm) to the right, and one slightly lower between them. Sew each star in place with a few small stitches through its center.
4. Weave in remaining ends. Tuck all tails to the inside of the hat and weave them through the back of the stitches.
5. Block the hat. Lightly steam the appliqués to flatten them. To block the hat, dampen it with cool water, gently shape it over a bowl or hat form to the finished measurements, and let it air-dry completely. This relaxes the stitches and evens out the fabric. The hat is ready to wear.
Pro Tips and Variations
- Change the colors. Swap the mint for any pastel you love, and make the moon in cream or pale pink. Use up leftover yarn for the stars in a contrasting shade.
- Adjust the size. For a smaller child's hat, stop the increase rounds at Round 10 (60 sc) and work the even rounds until the hat measures about 7 in (18 cm) from the crown. For a larger adult hat, add one more increase round (Round 13: *2 sc in next st, 1 sc in each of next 11 sts; repeat from * around = 78 sc) before the even rounds.
- Substitute yarn. Worsted weight (Category 4) yarn works too; use a 5.0 mm hook and check your gauge, since the hat will grow quickly. Cotton-blend yarn gives a crisper stitch, while acrylic is softer and stretchier.
- Add a pom-pom. A small lavender pom-pom on top of the crown ties the whole pastel theme together and hides the starting ring.