Over the Ridge Slouchy Beanie Free Pattern – Textured Crochet Hat with Brim

Over the Ridge Slouchy Beanie: A Textured Crochet Hat with a Foldable Brim
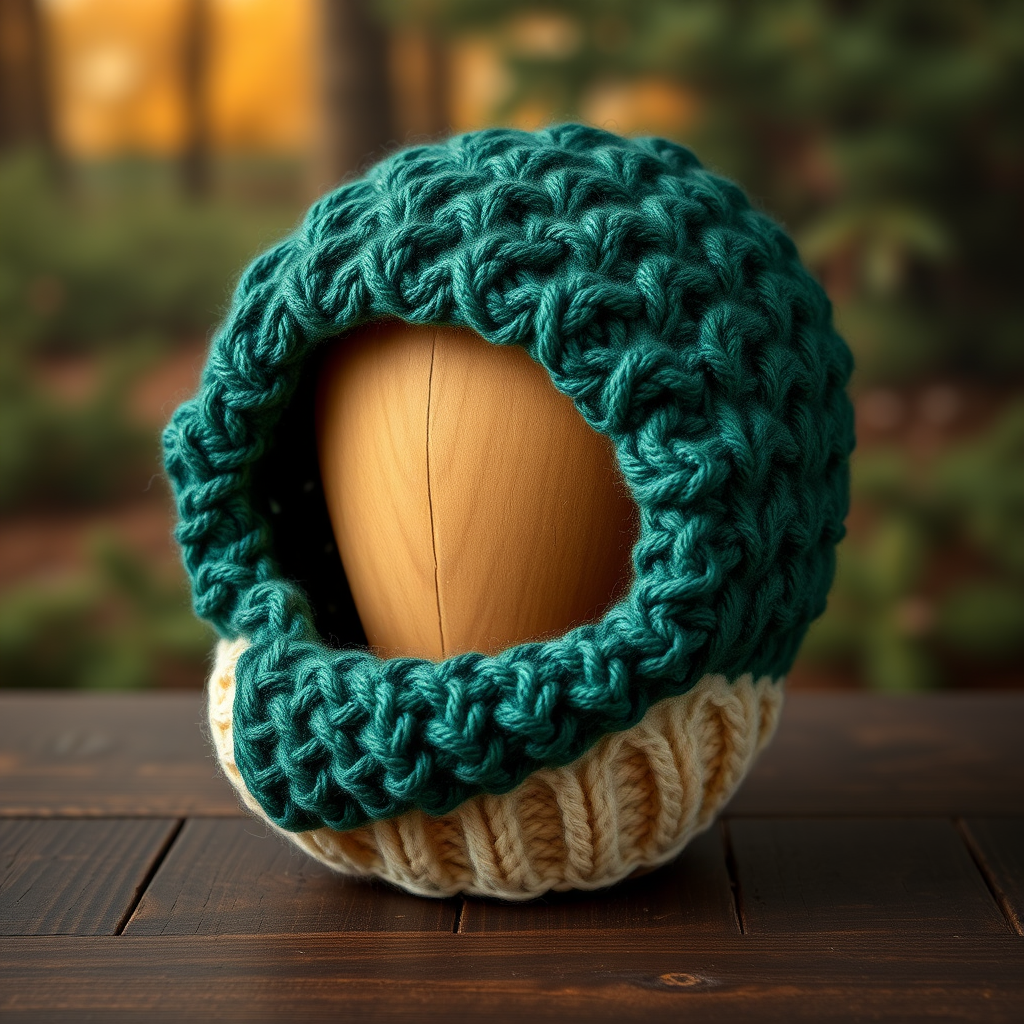
There's something deeply satisfying about a crochet project that looks intricate but works up quickly. The Over the Ridge Slouchy Beanie is exactly that—a modern, cozy accessory featuring a unique ridged texture that flows over the crown like rolling hills. The deep, foldable brim adds warmth and polish, making it perfect for chilly winter days. Whether you're a seasoned crocheter or a confident beginner, this free pattern will guide you through creating a stylish, handcrafted hat you'll be proud to wear or gift.
This pattern uses chunky yarn and a simple half-double crochet technique worked in the back loop only, which creates that beautiful, tactile ridged effect. The result is a slouchy, comfortable beanie with a soft, matte texture that looks professionally made. Let's dive into the materials and step-by-step instructions so you can start crocheting your own Over the Ridge Beanie today.
Materials Needed
Before you begin, gather the following supplies. This project is designed to be beginner-friendly, so the materials list is short and straightforward.
- Yarn: Chunky weight yarn (Category 5) – approximately 220 yards (200 m) in main color (MC) and 50 yards (45 m) in contrast color (CC) for the brim trim. For a classic look, try a dusty rose body with a cream brim, or experiment with your favorite color combinations.
- Crochet Hook: US Size K/10.5 (6.5 mm) crochet hook. This larger hook works perfectly with chunky yarn to create a drapey, slouchy fabric.
- Other Tools: Yarn needle for weaving in ends and sewing seams, scissors, and a tape measure (optional, for checking gauge).
Gauge: 12 stitches x 10 rows = 4 inches (10 cm) in half double crochet (hdc) worked in back loops only. It's always a good idea to make a small swatch first to ensure your tension matches, but this pattern is forgiving—the slouchy fit accommodates slight variations.
Step-by-Step Instructions
This pattern is worked in joined rounds, turning each round to maintain the texture. The ridged effect comes from working half double crochet in the back loop only (BLO) for the body. The brim is created separately and then attached, giving it a clean, foldable structure. Follow these detailed instructions carefully, and you'll have a beautiful beanie in no time.
Notes Before You Start
- The hat is worked from the brim up to the crown.
- Each round is joined with a slip stitch to the top of the beginning chain-2 (which counts as the first hdc).
- Turning each round is essential to keep the ridges consistent and prevent the work from twisting.
Part 1: The Brim
The brim is a rectangular band that you'll sew into a ring. It's worked flat, then folded and attached to the hat body.
- Foundation Chain: Chain 36 (or any multiple of 2 + 2 for your desired head circumference, approximately 20 inches). This chain length will determine the height of the brim once folded.
- Row 1: Half double crochet (hdc) in the 3rd chain from your hook and in each chain across. Turn your work. (You should have 34 hdc stitches.)
- Row 2: Chain 2 (this counts as your first hdc), then work 1 hdc in the back loop only (BLO) of each hdc across. Turn. (34 hdc)
- Repeat Row 2: Continue repeating Row 2 until your brim measures approximately 6 inches (15 cm) when slightly stretched. This will give you a nice, deep foldable band.
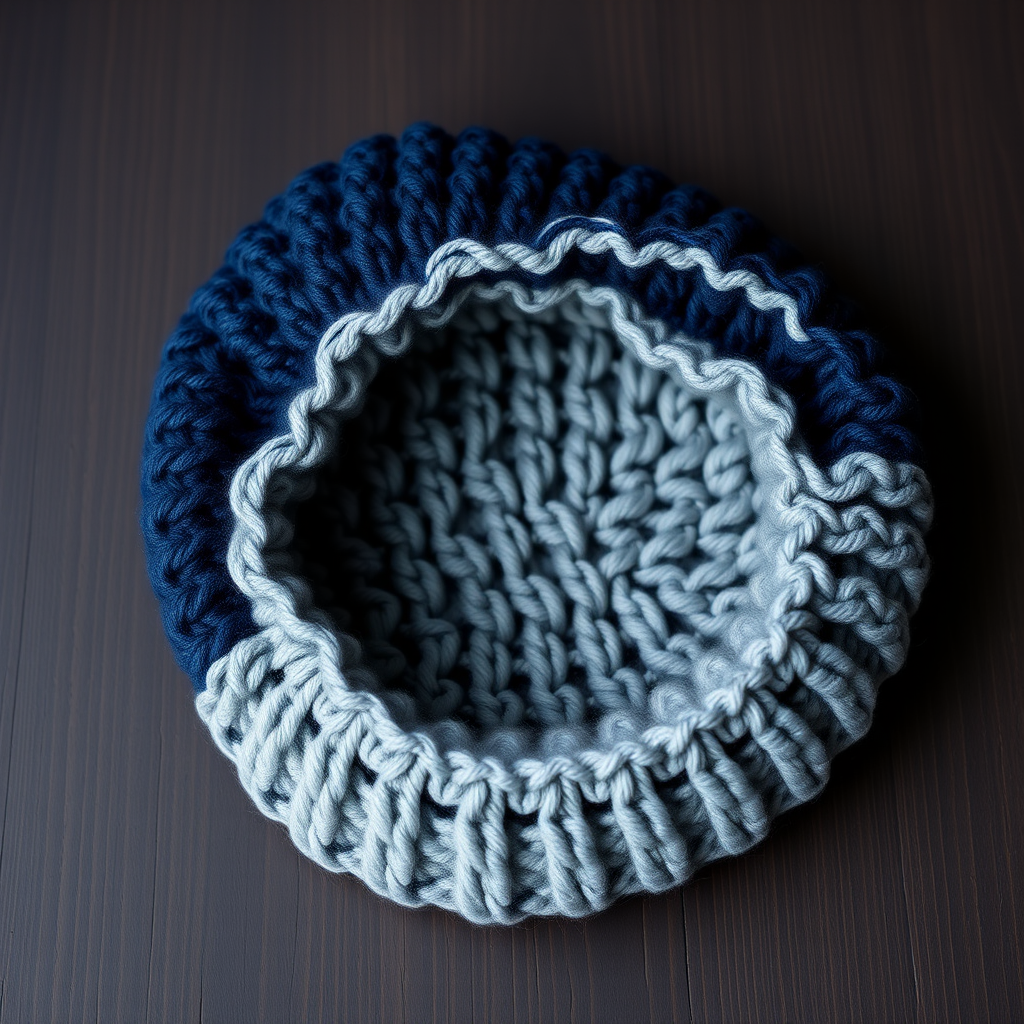
- Finish the Brim: Fasten off, leaving a long tail (about 12 inches) for sewing. Fold the brim in half lengthwise with right sides together, and use your yarn needle to sew the short ends together, forming a ring. Turn the brim right side out. You should now have a circular band with a visible row of front loops along one edge—this is where you'll attach the body.
Part 2: The Hat Body
Now we'll build the slouchy, textured body of the beanie onto the top edge of the brim.
- Join Yarn: With your main color (MC), join the yarn to the top edge of the brim (the edge with the front loops visible) with a slip stitch.
- Round 1 (Increase Round): Chain 2 (counts as hdc). Work 2 hdc in each front loop around the entire edge of the brim. Join with a slip stitch to the top of the beginning chain-2. (You should have 68 hdc stitches.) This increase round ensures the body flares out nicely from the brim.
- Round 2: Chain 2, then work 1 hdc in the back loop only (BLO) of each hdc around. Join with a slip stitch. (68 hdc)
- Repeat Round 2: Continue repeating Round 2 until the hat body measures approximately 8 inches (20 cm) from the brim edge. This length creates the perfect slouchy silhouette. Remember to turn your work at the beginning of each round as indicated.
Part 3: Shaping the Crown
Now we'll decrease gradually to shape the top of the hat, creating a rounded, gathered crown.
- Decrease Round 1: Chain 2, hdc in BLO of the next 15 hdc, then hdc2tog (in BLO) – repeat this pattern around. Join with a slip stitch. (You should have 64 stitches.)
- Decrease Round 2: Chain 2, hdc in BLO of the next 14 hdc, then hdc2tog – repeat around. Join. (60 stitches)
- Continue Decreasing: Keep working decrease rounds in this pattern, reducing the number of hdc between decreases by one each round (e.g., next round: 13 hdc, then hdc2tog; then 12 hdc, then hdc2tog, and so on). Continue until you have only 12 stitches remaining.
- Final Round: Chain 1, work 1 single crochet (sc) in each stitch around. Cut your yarn, leaving a long tail (about 12 inches). Thread the tail through a yarn needle, then weave it through the remaining 12 stitches. Pull tight to close the hole at the top of the hat, and secure the yarn with a knot. Weave in the end.
Part 4: Brim Trim (Optional but Recommended)
This final step adds a beautiful, polished finish to the bottom edge of your beanie using your contrast color (CC).
- Join CC: With your contrast color, join the yarn to the bottom edge of the brim with a slip stitch.
- Single Crochet Round: Work 1 round of single crochet (sc) evenly around the entire bottom edge of the brim. This neatens the edge and adds a subtle pop of color.
- Finish: Fasten off and weave in all remaining ends with your yarn needle.
And there you have it—a beautiful, handcrafted Over the Ridge Slouchy Beanie! The textured ridges and cozy, foldable brim make it a standout accessory for any winter wardrobe. This pattern is perfect for using up chunky yarn from your stash, and it makes a thoughtful handmade gift for friends and family. Enjoy wearing your new creation, and happy crocheting!