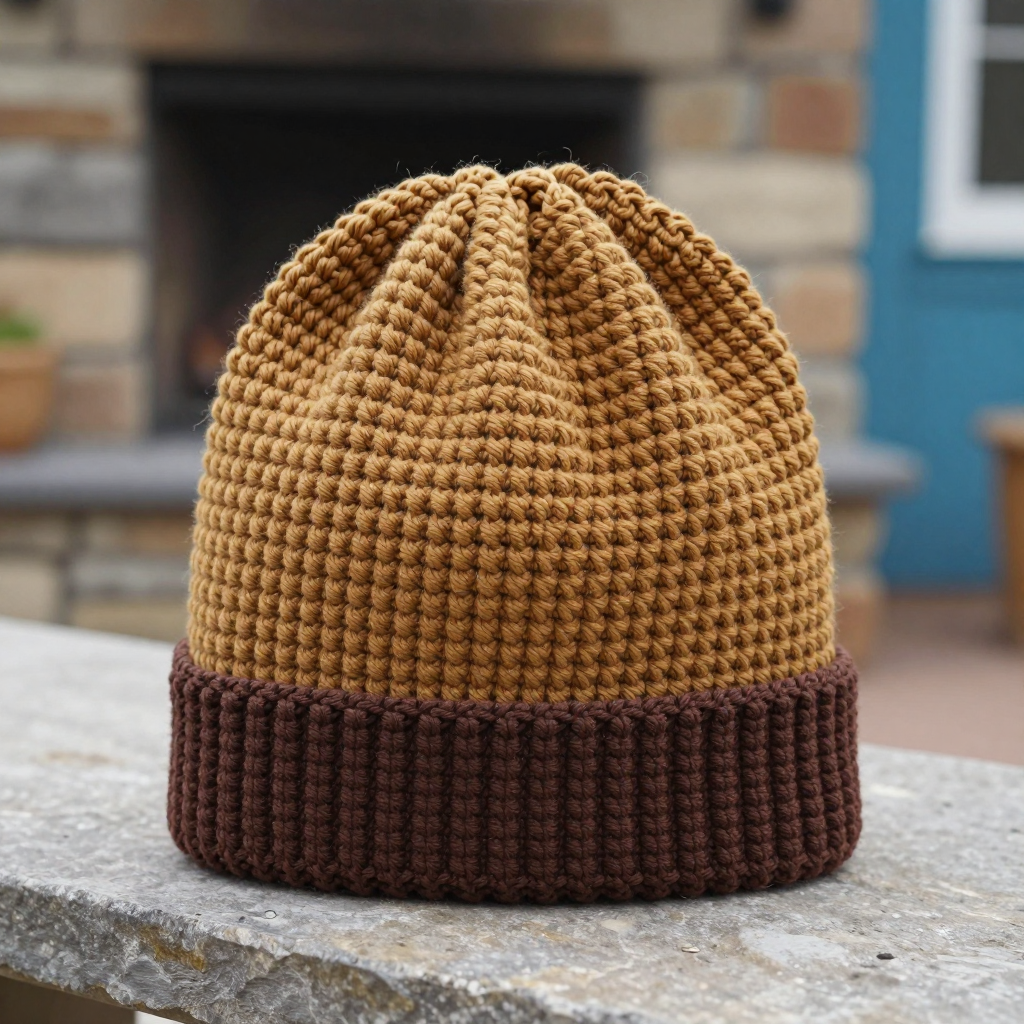
Ribbed Monochrome Crown: Free Beginner Crochet Hat Pattern

Introduction
Welcome to the Ribbed Monochrome Crown — a bold, black-and-white tube hat that looks like something straight off a streetwear runway, but is secretly one of the friendliest projects a brand-new crocheter can make. If you have never held a hook before, this is the perfect first hat: it is worked in simple continuous rounds, and the only "fancy" stitches are just double crochets worked around the post of the stitch below. The finished hat is about 8.5 inches (21.5 cm) tall and 21 inches (53 cm) around, stretchy and snug, with striking vertical ridges and a clean folded-over top edge. It feels dense, warm, and satisfyingly squishy in worsted weight yarn. Let's make one together.
Materials Needed
- Yarn: Worsted weight (#4) acrylic or cotton blend — approximately 120 yds black and 120 yds white.
- Hook: 5.0 mm (US H-8) crochet hook.
- Stitch marker (or a scrap of contrasting yarn) to mark the first stitch of each round.
- Tapestry needle (blunt-tipped, large eye) for weaving in ends and tacking the fold.
- Scissors for cutting yarn.
- Finished size: Approximately 8.5 in (21.5 cm) tall x 21 in (53 cm) circumference, unstretched. Fits most adults.
Abbreviations and Beginner Glossary
- ch — chain: yarn over the hook, pull the loop through the loop on your hook. Makes a small "V."
- sc — single crochet: insert hook into stitch, yarn over, pull up a loop (2 loops on hook), yarn over, pull through both loops.
- dc — double crochet: yarn over, insert hook into stitch, yarn over, pull up a loop (3 loops), yarn over, pull through 2 loops, yarn over, pull through remaining 2 loops.
- fpdc — front post double crochet: work a dc, but instead of going into the top of the stitch, insert your hook from front to back around the vertical "post" (body) of the stitch below.
- bpdc — back post double crochet: same as fpdc, but insert your hook from back to front around the post of the stitch below.
- sl st — slip stitch: insert hook into stitch, yarn over, pull the loop straight through both the stitch and the loop on your hook.
- st(s) — stitch(es).
- rnd — round (one full circle of stitches).
- yarn over — wrap the yarn from back to front over your hook.
Gauge
14 sts x 12 rnds = 4 inches (10 cm) in post-stitch ribbing.
Gauge simply means how big your stitches come out. If your stitches are looser or tighter than mine, your hat will be bigger or smaller than 21 inches around. To check: crochet a small flat swatch of about 20 stitches and 12 rounds in the fpdc/bpdc pattern, lay it flat, and measure 4 inches across the middle. Count the stitches in that 4 inches — you want about 14. If you have more, go up a hook size; if fewer, go down. A quick swatch saves you from a hat that doesn't fit!
Beginner Tips Before You Start
- Mark your first stitch every round. Because you work in a continuous spiral, it is very easy to lose your place. Move the marker up each round.
- Don't pull your yarn tight. Keep an even, relaxed tension — tight stitches make the hat stiff and hard to work into.
- Count your stitches at the end of Rnd 1. You must have 74. If you're off, fix it now before the pattern builds up.
- Carry the unused color loosely up the inside of the hat, or fasten off and rejoin — whichever feels easier. Loose is key; tight carried yarn puckers the hat.
- Work fpdc around fpdc and bpdc around bpdc so the ridges line up in straight vertical columns.
Step-by-Step Instructions
NOTE: The hat is worked in continuous rounds without turning. Do not join rounds unless instructed. Use a stitch marker to mark the first stitch of each round.
Foundation and Body
Foundation: With black yarn, ch 74. Being careful not to twist the chain, join with a sl st to the first ch to form a ring.
Rnd 1 (black): Ch 2 (counts as first dc). Dc in each ch around. Join with a sl st to the top of the beginning ch-2. (74 dc)
Rnd 2 (black): Ch 2. Fpdc around the post of the first dc, bpdc around the post of the next dc. *Fpdc around the next st, bpdc around the next st; repeat from * around. Join with a sl st to the top of the beginning ch-2. (37 fpdc, 37 bpdc = 74 sts)
Rnd 3 (white): Change to white yarn. Ch 2. Fpdc around the first fpdc, bpdc around the next bpdc. *Fpdc around the next fpdc, bpdc around the next bpdc; repeat from * around. Join with a sl st to the top of the beginning ch-2. (74 sts)
Rnd 4 (white): Repeat Rnd 3 in white. (74 sts)
Rnds 5–6 (black): Change to black yarn. Repeat Rnd 3 twice. (74 sts)
Rnds 7–8 (white): Change to white yarn. Repeat Rnd 3 twice. (74 sts)
Rnds 9–24: Continue alternating 2 rounds black and 2 rounds white (Rnds 9–10 black, 11–12 white, 13–14 black, 15–16 white, 17–18 black, 19–20 white, 21–22 black, 23–24 white), always working fpdc around fpdc and bpdc around bpdc. (74 sts each round) The piece now measures approximately 8.5 inches (21.5 cm) from the foundation chain, ending after a white round. Fasten off white.
Folded Top Edge
Rnd 1 (black): With black yarn, join to any stitch at the top edge. Ch 1. Sc in each st around. Join with a sl st to the first sc. (74 sc)
Rnd 2 (black): Ch 1. Sc in each st around. Join with a sl st to the first sc. Fasten off. (74 sc)
Assembly and Finishing
Weave in ends: Thread each yarn tail onto your tapestry needle and weave it back and forth through the inside of the fabric for about 2 inches, then trim. This hides the ends securely.
Fold the top edge: Fold the top sc edge over to the inside of the hat by approximately 1 inch (2.5 cm). Using your tapestry needle and a short length of matching black yarn, tack it in place with a few small invisible stitches spaced around the edge so the fold stays put.
Block lightly: Mist the hat with water, gently pat the ribbing straight, and lay it flat to dry (or slip it over a bowl or hat form). This evens out the post-stitch ridges and gives a crisp, professional finish.
Pro Tips and Variations
- Change the colors: Try 2 rounds of any two contrasting colors, or go solid for a minimalist look — just keep the 2-round band rhythm.
- Adjust the size: For a smaller hat, start with a chain that is a multiple of 2 (e.g., ch 66 for a child); for a larger hat, add pairs of chains (e.g., ch 82). Keep the fpdc/bpdc alternation.
- Substitute yarn: A cotton blend gives a crisper, more structured ridge; acrylic is softer and stretchier. Match the worsted weight and check your gauge again.
- Add a brim: Work 3–4 extra rounds of sc in black at the bottom edge for a folded cuff instead of the top fold.