The Ember & Ash Slouch Hat: A Free Crochet Pattern for a Textured, Messy Bun Hat with a Wrapped Brim

The Ember & Ash Slouch Hat: A Free Crochet Pattern for a Textured, Messy Bun Hat with a Wrapped Brim
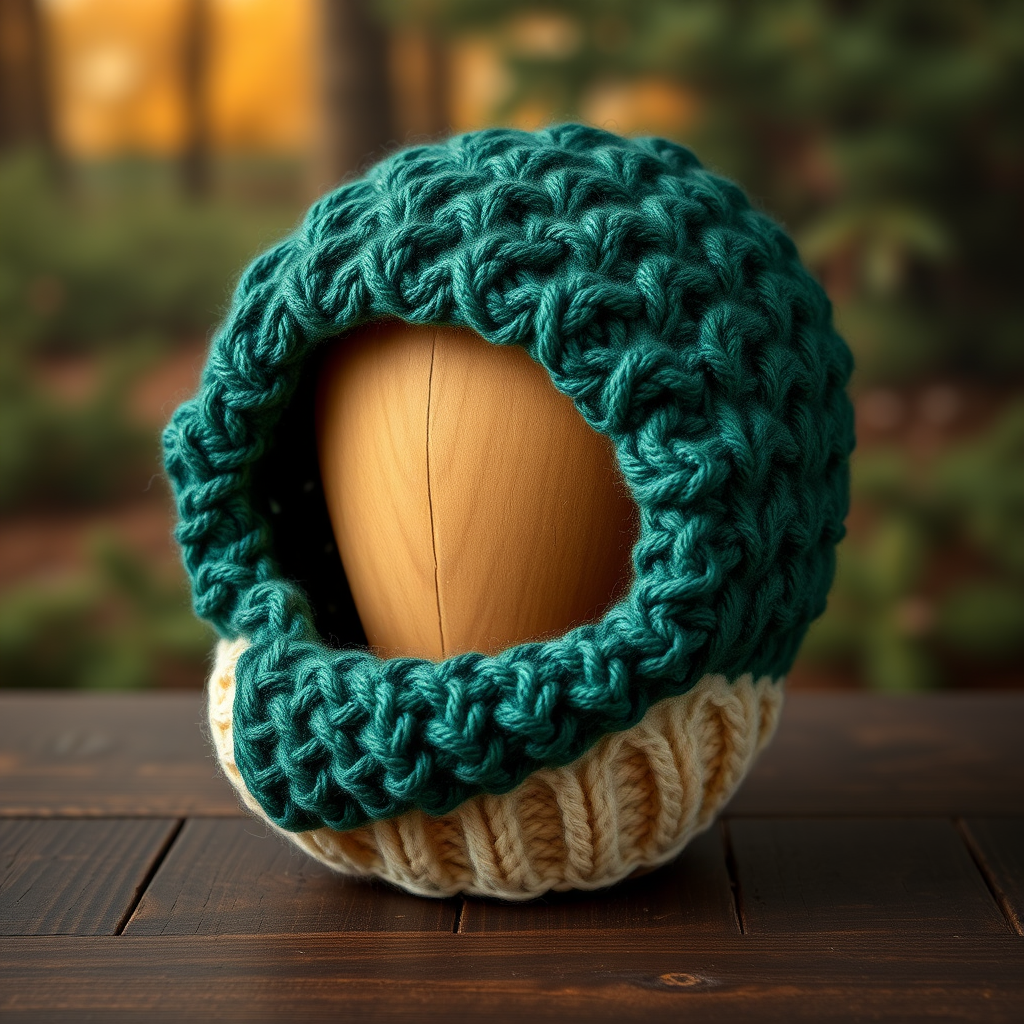
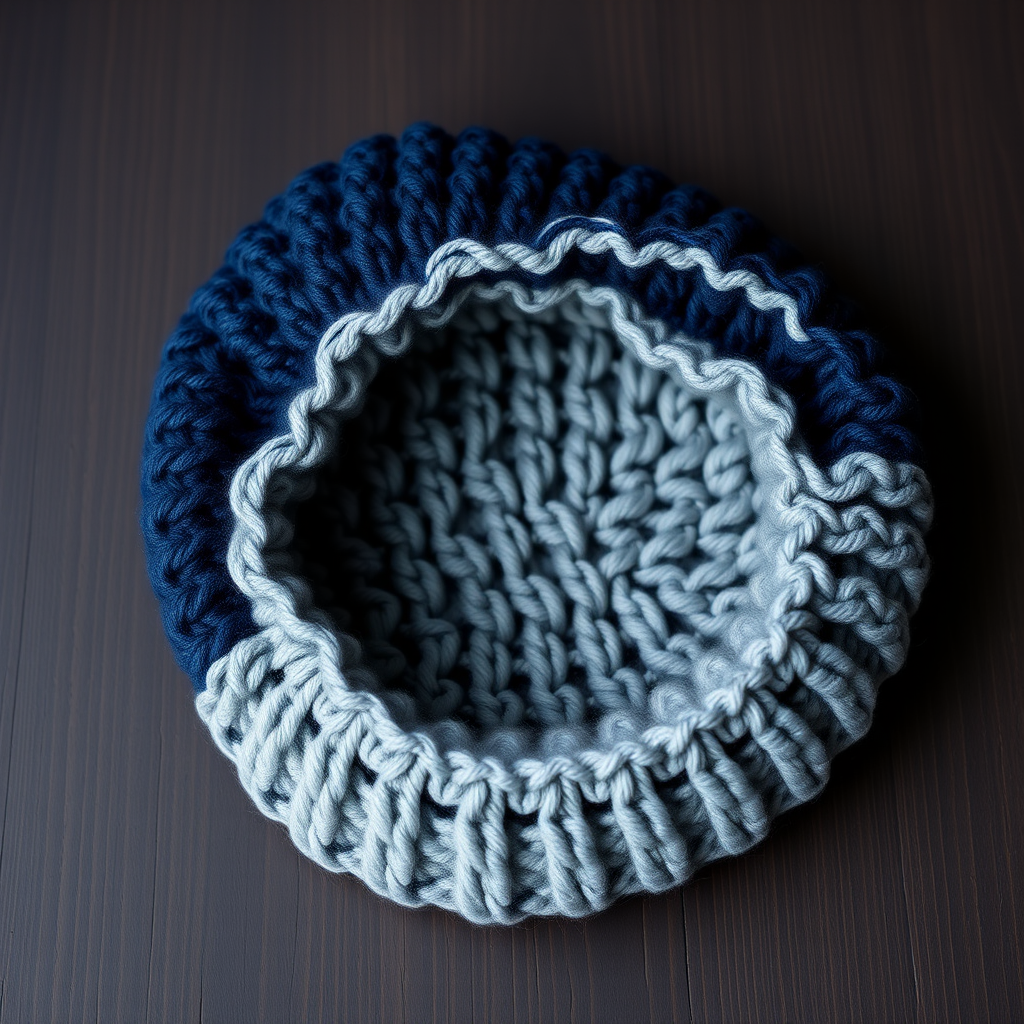
This isn't your basic messy bun hat; it's a study in texture and warmth, featuring a unique wrapped brim and a slouchy body that perfectly cradles a high ponytail or bun. The interplay of a deep charcoal base with a single, vibrant ember-orange stripe creates a modern, sophisticated look that's both cozy and edgy. Whether you're a beginner looking for a rewarding project or an experienced crocheter seeking a quick, stylish make, this pattern delivers. The thick, chunky yarn works up fast, and the clever construction—with a separate brim sewn on for a layered, architectural effect—makes this hat a standout in your winter wardrobe.
Materials Needed
To create this hat, you'll need the following supplies. Gauge is crucial for fit, so please check your tension before starting.
- Yarn: Lion Brand Wool-Ease Thick & Quick (80% Acrylic, 20% Wool; 106 yds / 97 m per 6 oz / 170 g skein): 1 skein Charcoal (MC) and 1 skein Pumpkin (CC), or any super bulky weight yarn.
- Hook: Size N/P (10 mm) crochet hook, or size needed to obtain gauge.
- Notions: Yarn needle for weaving ends, scissors, stitch markers (optional).
- Gauge: 8 hdc x 6 rows = 4 inches (10 cm) in half double crochet. Gauge is crucial for fit.
Step-by-Step Instructions
Sizes: Adult S/M (Adult L/XL). Finished circumference: 20 (22) inches, unstretched. Fits head sizes 21-23 (23-24) inches.
Abbreviations
- ch: chain
- sl st: slip stitch
- sc: single crochet
- hdc: half double crochet
- dc: double crochet
- fpdc: front post double crochet
- bpdc: back post double crochet
- MC: Main Color (Charcoal)
- CC: Contrast Color (Pumpkin)
Pattern Notes
- The hat is worked from the brim up. The brim is a separate piece that is sewn on, creating a wrapped look.
- The hat body is worked in joined rounds, turning at the end of each round to create a neat seam.
- The messy bun opening is created by working the top of the hat in a tube.
Brim (Make 1)
With MC, ch 10.
Row 1: Sc in 2nd ch from hook and in each ch across. Turn. (9 sc)
Row 2: Ch 1, sc in back loop only of each sc across. Turn. (9 sc)
Repeat Row 2 until the brim measures 20 (22) inches unstretched, or desired head circumference. Do not fasten off. Fold the brim in half lengthwise and sl st the short ends together to form a ring. Fasten off and weave in ends.
Hat Body
With MC, make a magic ring.
Round 1: Ch 2 (does not count as a stitch), work 8 hdc into the ring. Join with sl st to first hdc. (8 hdc)
Round 2: Ch 2, 2 hdc in each st around. Join. (16 hdc)
Round 3: Ch 2, *2 hdc in next st, hdc in next st* repeat around. Join. (24 hdc)
Round 4: Ch 2, *2 hdc in next st, hdc in next 2 sts* repeat around. Join. (32 hdc)
Round 5: Ch 2, *2 hdc in next st, hdc in next 3 sts* repeat around. Join. (40 hdc)
Round 6: Ch 2, *2 hdc in next st, hdc in next 4 sts* repeat around. Join. (48 hdc)
Round 7: Ch 2, *2 hdc in next st, hdc in next 5 sts* repeat around. Join. (56 hdc)
Round 8: Ch 2, *2 hdc in next st, hdc in next 6 sts* repeat around. Join. (64 hdc)
For size L/XL only:
Round 9: Ch 2, *2 hdc in next st, hdc in next 7 sts* repeat around. Join. (72 hdc)
Work Even for Slouch
Rounds 9-16 (10-18 for L/XL): Ch 2, hdc in each st around. Join. Turn at the end of each round.
Create Messy Bun Opening
Round 17 (19 for L/XL): Ch 2, hdc in next 24 (28) sts. Ch 16 (18) loosely for the opening. Skip next 16 (18) sts. Hdc in remaining 24 (28) sts. Join. (64 (72) hdc + 16 (18) ch)
Round 18 (20 for L/XL): Ch 2, hdc in each hdc and in each ch around. Join. (64 (72) hdc)
Work Top of Hat (Tube)
Rounds 19-24 (21-26 for L/XL): Ch 2, hdc in each st around. Join. Do not turn.
Fasten off, leaving a long tail for seaming.
Finishing
- Fold the top of the hat flat so the messy bun opening is at the back. Using the long tail, whip stitch the top closed.
- Sew the brim to the bottom edge of the hat, placing the seam of the brim at the back of the hat. The brim will be slightly gathered as you sew.
- Ember Stripe (Optional): With CC, work a round of surface slip stitches around the hat body, approximately 2 inches above the brim. To do this, insert hook from back to front, yarn over, pull through, and continue around. Fasten off and weave in ends.
- Weave in all remaining ends.
Your Ember & Ash Slouch Hat is now complete! Enjoy the cozy, textured warmth and the modern, edgy style. Share your finished hat on social media with the hashtag #EmberAndAshHat—we can't wait to see your creation!