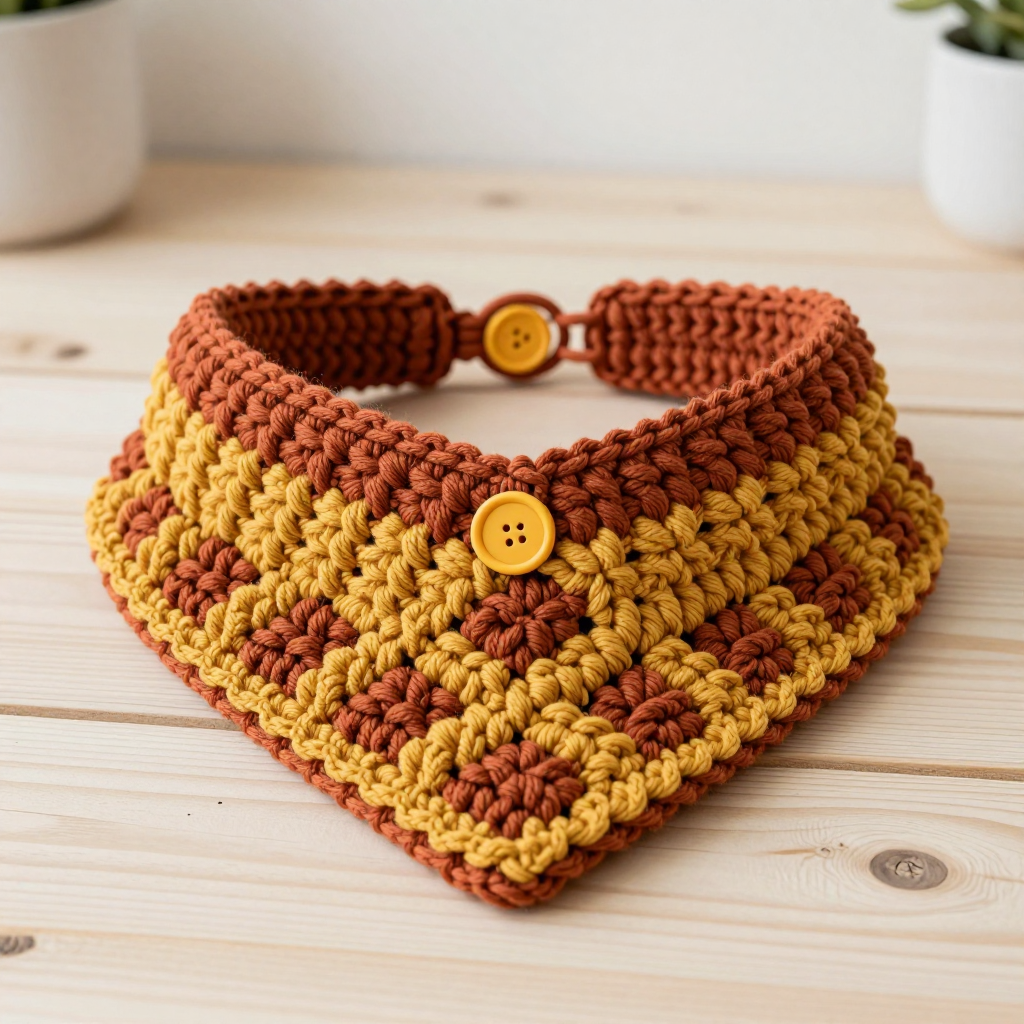
Whirling Vines Cabled Beanie Free Pattern

Whirling Vines Cabled Beanie: A Free Knitting Pattern for Cozy, Woodland Style
Wrap yourself in the enchanting beauty of the forest with this stunning Whirling Vines Cabled Beanie. This free knitting pattern creates a mesmerizing spiral of intertwining cables that flow organically from the ribbed brim to the gathered crown, evoking the feeling of climbing ivy on an ancient tree. The rich, dimensional texture is surprisingly achievable, making this the perfect weekend project for knitters ready to move beyond basic scarves. Whether you choose a deep forest green or a rich burgundy, this textured knit will become the crown jewel of your winter accessory collection.
This pattern is designed for an Adult Medium size, fitting heads measuring 21 to 23 inches comfortably. The snug, classic beanie shape ensures it will stay put on blustery days while adding a touch of handcrafted elegance to any outfit. Let's dive into the materials and steps to create your own woodland masterpiece.
Materials Needed
Before you begin your cabled journey, gather the following supplies. Using the recommended yarn weight and needle size is crucial to achieving the correct gauge and a professional finish.
- Yarn: Worsted weight yarn (e.g., Lion Brand Wool-Ease) in a rich forest green or deep burgundy. You will need approximately 220 yards.
- Needles: US 7 (4.5 mm) 16-inch circular needle and a set of double-pointed needles (DPNs) in the same size for the crown decreases, or the size needed to obtain the correct gauge.
- Notions: Cable needle, stitch markers, tapestry needle for weaving in ends, and scissors.
- Gauge: 20 stitches and 28 rows = 4 inches in stockinette stitch. Always knit a gauge swatch to ensure your hat fits perfectly!
Step-by-Step Instructions
This pattern uses a 12-stitch repeat that creates the beautiful vine motif. The cables and twists may look complex, but by following the written instructions carefully and using a cable needle, you'll find a wonderful rhythm. Let's break it down.
Abbreviations
Familiarize yourself with these abbreviations before you begin:
- CO: Cast on
- K: Knit
- P: Purl
- C4F: Slip 2 stitches to cable needle, hold in front, knit next 2 stitches, then knit 2 from cable needle.
- C4B: Slip 2 stitches to cable needle, hold in back, knit next 2 stitches, then knit 2 from cable needle.
- T3F: Slip 1 stitch to cable needle, hold in front, knit next 2 stitches, then purl 1 from cable needle.
- T3B: Slip 2 stitches to cable needle, hold in back, purl next 1 stitch, then knit 2 from cable needle.
- k2tog: Knit 2 stitches together (decrease).
- p2tog: Purl 2 stitches together (decrease).
- ssk: Slip, slip, knit (a left-leaning decrease).
Knitting the Brim
The ribbed brim provides a sturdy, stretchy foundation for the hat.
- Cast On: CO 96 stitches. Place a stitch marker and join in the round, being extremely careful not to twist your stitches.
- Ribbing: Work in a K2, P2 ribbing pattern for 2 inches. This creates a nice, snug band that will keep your ears warm.
Creating the Whirling Vines Body
Now for the fun part! The body of the hat is worked over a 12-stitch repeat that is repeated 12 times around. The pattern is structured in 4-round sets that create the twisting vine illusion.
- Round 1: *P2, K4, P2, T3F, T3B, P2*; repeat from * to * around (12 repeats).
- Round 2: *P2, C4F, P2, K1, P2, K2, P2*; repeat from * to * around.
- Round 3: *P2, K4, P2, T3B, T3F, P2*; repeat from * to * around.
- Round 4: *P2, C4B, P2, K2, P2, K1, P2*; repeat from * to * around.
- Rounds 5-24: Repeat Rounds 1 through 4 five more times. This will give you a total of 24 rounds of the cable pattern, creating a hat body that is approximately 5-6 inches long from the brim.
Pro-Tip: Place a locking stitch marker after every repeat (every 12 stitches) to help you keep your place in the pattern, especially when you are working the cable twists.
Shaping the Crown with Decreases
Shaping the crown requires careful attention. As you decrease stitches, the cable pattern will naturally begin to disappear. Continue working the cable twists (T3F, T3B) as long as you have enough stitches, and work the remaining stitches in stockinette or as directed. The decreases are strategically placed to create a smooth, gathered finish.
- Decrease Round 1: *P2, k2tog, K2, P2, T3F, T3B, P2*; repeat around. (Decreases 1 stitch per repeat, 12 decreases total, 84 stitches remain).
- Round 2: *P2, K3, P2, K1, P2, K2, P2*; repeat around.
- Decrease Round 3: *P2, k2tog, K1, P2, T3B, T3F, P2*; repeat around. (72 stitches remain).
- Round 4: *P2, K2, P2, K2, P2, K1, P2*; repeat around.
- Decrease Round 5: *P2, k2tog, P2, K1, P2, K2, P2*; repeat around. (60 stitches remain).
- Round 6: *P2, K1, P2, K1, P2, K2, P2*; repeat around.
- Decrease Round 7: *P2, k2tog, P2, T3F, T3B, P2*; repeat around. (48 stitches remain).
- Round 8: *P2, K1, P2, K1, P2, K2, P2*; repeat around.
- Decrease Round 9: *P2, k2tog, P2, K1, P2, K2, P2*; repeat around. (36 stitches remain).
- Round 10: *P2, K1, P2, K1, P2, K2, P2*; repeat around.
- Decrease Round 11: *p2tog, K1, P2, K1, P2, K2, P2*; repeat around. (24 stitches remain).
- Round 12: *P1, K1, P2, K1, P2, K2, P2*; repeat around.
- Decrease Round 13: *p2tog, K1, P1, K1, P1, K2, P1*; repeat around. (12 stitches remain).
- Round 14: *P1, K1, P1, K1, P1, K2, P1*; repeat around.
- Decrease Round 15: *p2tog, K1, P1, K1, P1, K1, P1*; repeat around. (6 stitches remain).
At this point, you should have 6 stitches left on your needles. Cut the yarn, leaving a generous 8-inch tail. Thread the tail onto a tapestry needle, slide the needle through the remaining 6 stitches, and pull tight to gather the crown closed securely.
Finishing Touches
Your Whirling Vines Beanie is almost complete! The final steps will ensure it looks polished and lasts for years.
- Weave in Ends: Use your tapestry needle to carefully weave in all loose ends on the inside of the hat. Be sure to weave them through the purl bumps to hide them completely.
- Blocking: Blocking is essential for cable patterns as it helps to open up the twists and make them look crisp and defined. Lightly wet-block the hat by soaking it in lukewarm water, gently squeezing out excess water (do not wring), and laying it flat to dry on a towel. Shape it gently with your hands to ensure the cables lie flat and the brim is even.
Once dry, your Whirling Vines Cabled Beanie is ready to wear! This textured knit is more than just a winter accessory; it's a testament to your skill and a cozy piece of art that brings a touch of woodland elegance to every chilly day. Happy knitting!