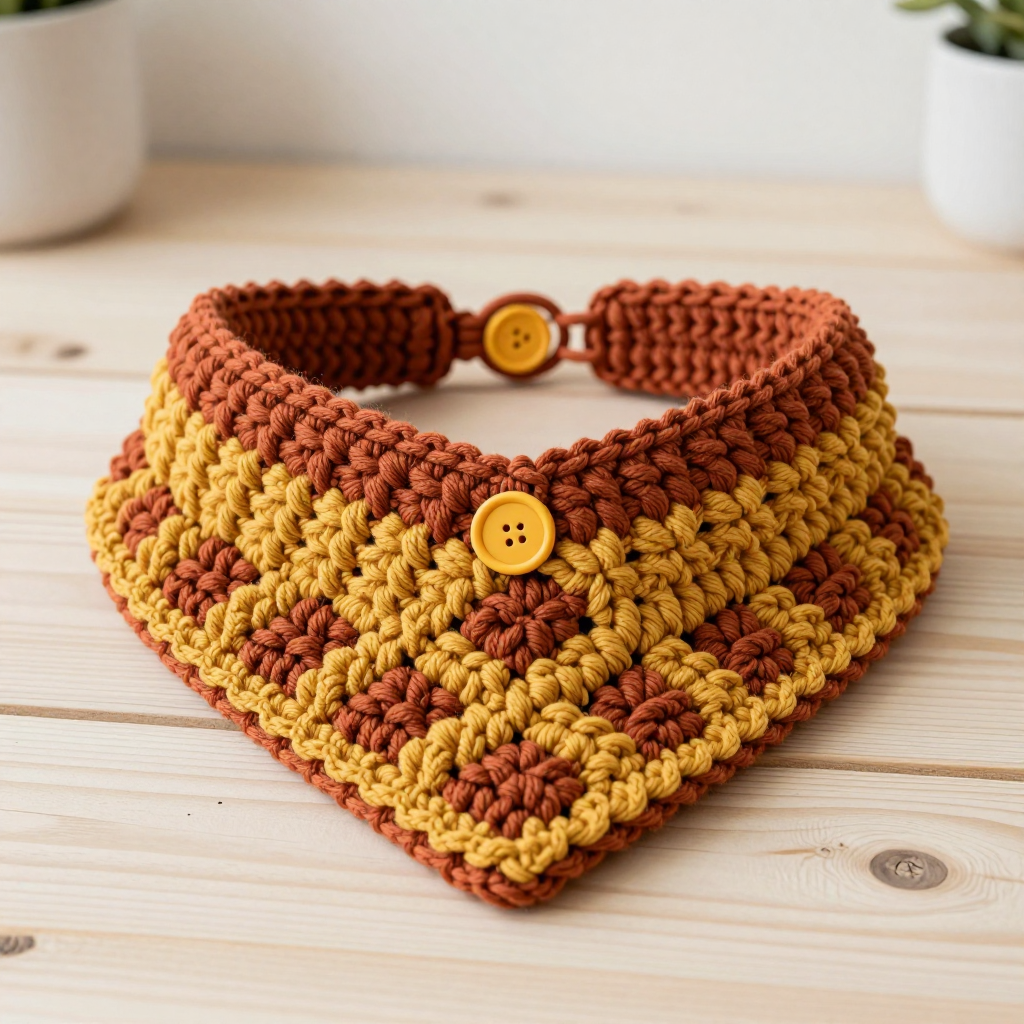
Frosted Berry Puff-Sleeve Doll Dress Free Crochet Pattern

Frosted Berry Puff-Sleeve Doll Dress
A free beginner-friendly crochet pattern for an 11.5-inch fashion doll
Introduction
Welcome to the Frosted Berry Puff-Sleeve Doll Dress, a tiny heirloom project that looks far more complicated than it actually is. This little Nordic-inspired dress is perfect for anyone who has never held a crochet hook before but wants to make something truly special for a doll they love. It features a fitted bodice, sweet balloon puff sleeves, a gently gathered dirndl skirt, and raised bobble-stitch "snowberries" scattered across a dusty rose ground. Crisp white picot edging at the neckline and sleeve cuffs, plus tiny pale sage green knots, give it a frosted, wintry, hand-me-down-from-a-fairy-tale feel. When it is finished it is soft, slightly textured under your fingertips, and small enough to fit in the palm of your hand — a keepsake you will be proud to show off.
Materials Needed
- Yarn: Lace weight (category 0) crochet thread or fine cotton, approximately 220 yards total: 160 yards dusty rose, 40 yards white, 20 yards pale sage green.
- Hook: 2.0 mm steel crochet hook (US size 4 steel hook). Also a 1.75 mm hook (US size 5 steel) if you want a tighter picot edging.
- Stitch markers (at least 4) — small safety pins or split-ring markers work well.
- Tapestry needle (a blunt-tipped needle with a large eye) for weaving in ends and embroidering the berry knots.
- Scissors for cutting yarn.
- One small snap closure (about 4–5 mm) for the back neckline.
- Optional: a blocking mat and rust-proof pins.
- Finished size (after light blocking): Fits an 11.5 inch (29 cm) fashion doll. Chest 5.5 in (14 cm), waist 4.5 in (11.5 cm), skirt length 4.5 in (11.5 cm), sleeve length 1.75 in (4.5 cm).
Abbreviations and Beginner Glossary
Every term below is explained as if you have never crocheted before. Take your time — you only need to learn a handful of moves.
- ch — chain. Make a loop, wrap yarn over the hook, and pull it through the loop on your hook. Each one looks like a tiny braid link.
- sl st — slip stitch. Insert your hook into the stitch, wrap yarn over, and pull it straight through both the stitch and the loop on your hook. It joins things without adding height.
- sc — single crochet. Insert hook into stitch, wrap yarn over, pull up a loop (2 loops on hook), wrap yarn over again, pull through both loops. One loop remains.
- hdc — half double crochet (not used in this pattern but listed for reference). Wrap yarn over first, insert hook, pull up a loop (3 loops), wrap yarn over, pull through all 3 loops.
- dc — double crochet. Wrap yarn over, insert hook, pull up a loop (3 loops), wrap yarn over, pull through 2 loops, wrap yarn over, pull through last 2 loops.
- sc2tog — single crochet 2 together (a decrease). Insert hook into first stitch, pull up a loop; insert hook into next stitch, pull up a loop (3 loops on hook); wrap yarn over and pull through all 3 loops. Two stitches become one.
- FLO — front loop only. Every stitch has two top loops (front and back). Working in the front loop only means you insert your hook under just the loop closest to you.
- BLO — back loop only. Insert your hook under just the loop farthest from you. This creates a ridge.
- bo — bobble. A 4-dc bobble: in the same stitch, work [yarn over, insert hook, pull up a loop, yarn over, pull through 2 loops] four times, then yarn over and pull through all 5 loops on your hook, then ch 1 to close. It makes a raised bump.
- picot — ch 3, then sl st into the 3rd chain from your hook. It makes a tiny decorative bump on an edge.
- Magic ring — an adjustable loop you pull closed after working into it, so there is no hole in the center.
- Join — connect the last stitch of a round to the first with a sl st.
- Turn — flip your work over so you work back the other direction.
Gauge
Gauge: 32 sc x 36 rows = 4 inches (10 cm) in single crochet. One 4-dc bobble cluster measures about 0.25 inch (6 mm) in diameter. Bobble rounds add a little height, so all finished measurements are given after light blocking.
Why gauge matters: Gauge is how many stitches and rows fit into a set measurement. If your stitches are bigger than the pattern's, the dress will be too baggy for the doll; if smaller, it will not fit at all. How to swatch: With your 2.0 mm hook and dusty rose thread, chain 34, then work 36 rows of single crochet. Lay the swatch flat, measure a 4-inch square in the middle, and count your stitches and rows. If you have more than 32 stitches, go up a hook size; if fewer, go down. Always swatch before you begin.
Beginner Tips Before You Start
- Use stitch markers. Place one in the first stitch of every round so you never lose your place. This pattern has many rounds — markers are your best friend.
- Do not pull your yarn too tight. Tension should be relaxed. Tight stitches make the dress stiff and too small for the doll.
- Count after every round. The stitch count in parentheses at the end of each round tells you exactly what you should have. If it is off, fix it before moving on.
- Keep your bobbles on the right side. The bodice and skirt are worked in turned rounds, so follow the "turn" instructions exactly — this keeps the bobbles popping out toward you.
- Work the picot edging with the smaller 1.75 mm hook if your picots look loose. It gives a crisper, tidier finish.
- Embroider the berries last. Do all your crocheting and finishing first, then add the sage green knots so you can place them evenly.
Step-by-Step Instructions
Note: The dress is worked top-down in one piece to the waist, then the skirt is worked downward. The bodice is worked in turned rounds (join, ch 1, turn) so bobbles always pop to the right side. Sleeves are worked in the round from the armhole. All instructions use US terms.
Bodice (dusty rose)
Round 1: Magic ring, ch 1, 8 sc in ring, join with sl st to first sc. (8 sts)
Round 2: Ch 1, 2 sc in each st around, join. (16 sts)
Round 3: Ch 1, [sc in next st, 2 sc in next st] around, join. (24 sts)
Round 4: Ch 1, [sc in next 2 sts, 2 sc in next st] around, join. (32 sts)
Round 5: Ch 1, sc in each st around, join. (32 sts)
Round 6 (armhole split): Ch 1, sc in next 5 sts (right back), ch 6, skip 8 sts (right armhole), sc in next 10 sts (front), ch 6, skip 8 sts (left armhole), sc in next 5 sts (left back), join to first sc. (20 sc + 12 ch = 32 sts)
Round 7: Ch 1, sc in each sc and in each ch-6 space around, join. (32 sts)
Round 8: Ch 1, sc in each st around, join. (32 sts)
Round 9 (bobble row, right side facing): Ch 1, turn, [sc in next 3 sts, bo in next st] around, join. (8 bobbles, 32 sts)
Round 10: Ch 1, turn, sc in each st around, join. (32 sts)
Round 11 (waist shaping): Ch 1, turn, [sc in next 6 sts, sc2tog] around, join. (28 sts)
Round 12: Ch 1, turn, sc in each st around, join. (28 sts)
Round 13 (waistband): Ch 1, turn, sc in BLO of each st around, join. (28 sts)
Fasten off dusty rose; weave in ends.
Skirt (dusty rose, worked downward from waistband)
Round 14: Join dusty rose to front loop of Round 13, ch 1, 2 sc in each FLO around, join. (56 sts)
Round 15 (increase): Ch 1, [sc in next 3 sts, 2 sc in next st] around, join. (70 sts)
Round 16: Ch 1, sc in each st around, join. (70 sts)
Round 17 (bobble row, right side facing): Ch 1, turn, [sc in next 4 sts, bo in next st] around, join. (14 bobbles, 70 sts)
Round 18: Ch 1, turn, sc in each st around, join. (70 sts)
Round 19: Ch 1, turn, sc in each st around, join. (70 sts)
Round 20 (bobble row, offset): Ch 1, turn, [sc in next 2 sts, bo in next st, sc in next 2 sts] around, join. (14 bobbles, 70 sts)
Round 21: Ch 1, turn, sc in each st around, join. (70 sts)
Round 22 (increase): Ch 1, turn, [sc in next 9 sts, 2 sc in next st] around, join. (77 sts)
Round 23: Ch 1, turn, sc in each st around, join. (77 sts)
Round 24 (bobble row): Ch 1, turn, [sc in next 4 sts, bo in next st] around, join. (15 bobbles, 77 sts)
Round 25: Ch 1, turn, sc in each st around, join. (77 sts)
Round 26: Ch 1, turn, sc in each st around, join. (77 sts)
Round 27 (bobble row, offset): Ch 1, turn, [sc in next 2 sts, bo in next st, sc in next 2 sts] around, join. (15 bobbles, 77 sts)
Round 28: Ch 1, turn, sc in each st around, join. (77 sts)
Round 29 (increase): Ch 1, turn, [sc in next 10 sts, 2 sc in next st] around, join. (84 sts)
Round 30: Ch 1, turn, sc in each st around, join. (84 sts)
Round 31 (bobble row): Ch 1, turn, [sc in next 4 sts, bo in next st] around, join. (16 bobbles, 84 sts)
Round 32: Ch 1, turn, sc in each st around, join. (84 sts)
Round 33: Ch 1, turn, sc in each st around, join. (84 sts)
Round 34 (bobble row, offset): Ch 1, turn, [sc in next 2 sts, bo in next st, sc in next 2 sts] around, join. (16 bobbles, 84 sts)
Round 35: Ch 1, turn, sc in each st around, join. (84 sts)
Round 36 (hem): Ch 1, turn, sc in each st around, join. (84 sts)
Round 37 (hem finish): Ch 1, turn, sc in each st around, join. Fasten off dusty rose; weave in ends. (84 sts)
Puff Sleeves (make 2, dusty rose)
Round 1: Join dusty rose to any st of armhole, ch 1, work 14 sc evenly around armhole opening (distribute as follows: 4 sc along the ch-6 space, 5 sc along the skipped sts, 5 sc along the opposite side of the armhole), join. (14 sts)
Round 2: Ch 1, [sc in next st, 2 sc in next st] around, join. (21 sts)
Round 3: Ch 1, [sc in next 2 sts, 2 sc in next st] around, join. (28 sts)
Rounds 4–6: Ch 1, sc in each st around, join. (28 sts)
Round 7 (puff shaping): Ch 1, [sc in next 5 sts, sc2tog] around, join. (24 sts)
Round 8: Ch 1, sc in each st around, join. (24 sts)
Round 9 (cuff): Ch 1, sc in BLO of each st around, join. (24 sts)
Round 10: Ch 1, [sc in next 4 sts, sc2tog] around, join. (20 sts)
Round 11: Ch 1, sc in each st around, join. (20 sts)
Round 12 (white picot cuff): Change to white, ch 1, [sc in next 2 sts, picot] around, join. Fasten off white; weave in ends. (20 sts)
Repeat all rounds for the second sleeve.
White Picot Neckline
Round 1: Join white to neckline edge at center back, ch 1, work 32 sc evenly around neckline, join. (32 sts)
Round 2: Ch 1, sc in each st around, join. (32 sts)
Round 3: Ch 1, [sc in next 2 sts, picot] around, join. Fasten off white; weave in ends. (32 sts)
Snowberry Accents (pale sage green)
Using pale sage green thread and your tapestry needle, embroider 20 small French knots (or 3-wrap bullion knots) scattered across the bodice and skirt, placing them between bobble clusters to suggest frosted berries. Distribute as follows: 4 on the bodice and 16 on the skirt (4 between each pair of bobble rows). Weave in all ends.
Assembly and Finishing
Seaming: This dress is worked in one piece, so there are no side seams to sew. The only joining is the small back neckline opening. Thread your tapestry needle with dusty rose thread and whipstitch the back opening closed from the neckline down to where the bodice meets the skirt, leaving the top ½ inch open for the closure.
Snap closure: Sew one half of the small snap to the inside of the back neckline edge and the other half to the opposite side, so the dress fastens neatly at center back. Use matching thread and take tiny stitches so the snap is secure but invisible from the right side.
Weaving in ends: Thread each loose end onto your tapestry needle and weave it back and forth through the wrong side of the fabric for about ½ inch, then trim close. Never knot your ends — knots create lumps.
Blocking: Soak the dress in cool water for a few minutes, gently squeeze out the excess (do not wring), and lay it flat on a towel. Pin it to the finished measurements (chest 5.5 in, waist 4.5 in, skirt length 4.5 in, sleeve length 1.75 in) using rust-proof pins. Let it dry completely. Do not press the bobbles flat — steam or ironing will crush the texture.
Pro Tips and Variations
- Change the colors: Swap dusty rose for deep plum or icy blue for a different winter mood. Keep the white picot edging for contrast, and choose a berry color that pops against your main shade.
- Adjust the size: To fit a slightly larger doll, add one increase round in the bodice (for example, work Round 5 as [sc in next 7 sts, 2 sc in next st] around) and add extra plain rounds to the skirt before the hem. Always re-check your gauge first.
- Substitute yarn: Size 10 cotton crochet thread works beautifully and is widely available. If you use a thicker thread, go up one hook size and swatch again — the dress must still fit the doll.
- Vary the berries: Use tiny seed beads instead of French knots for a sparkly, frosted look, or add a second berry color for a two-tone effect. Sew beads on securely with matching thread.