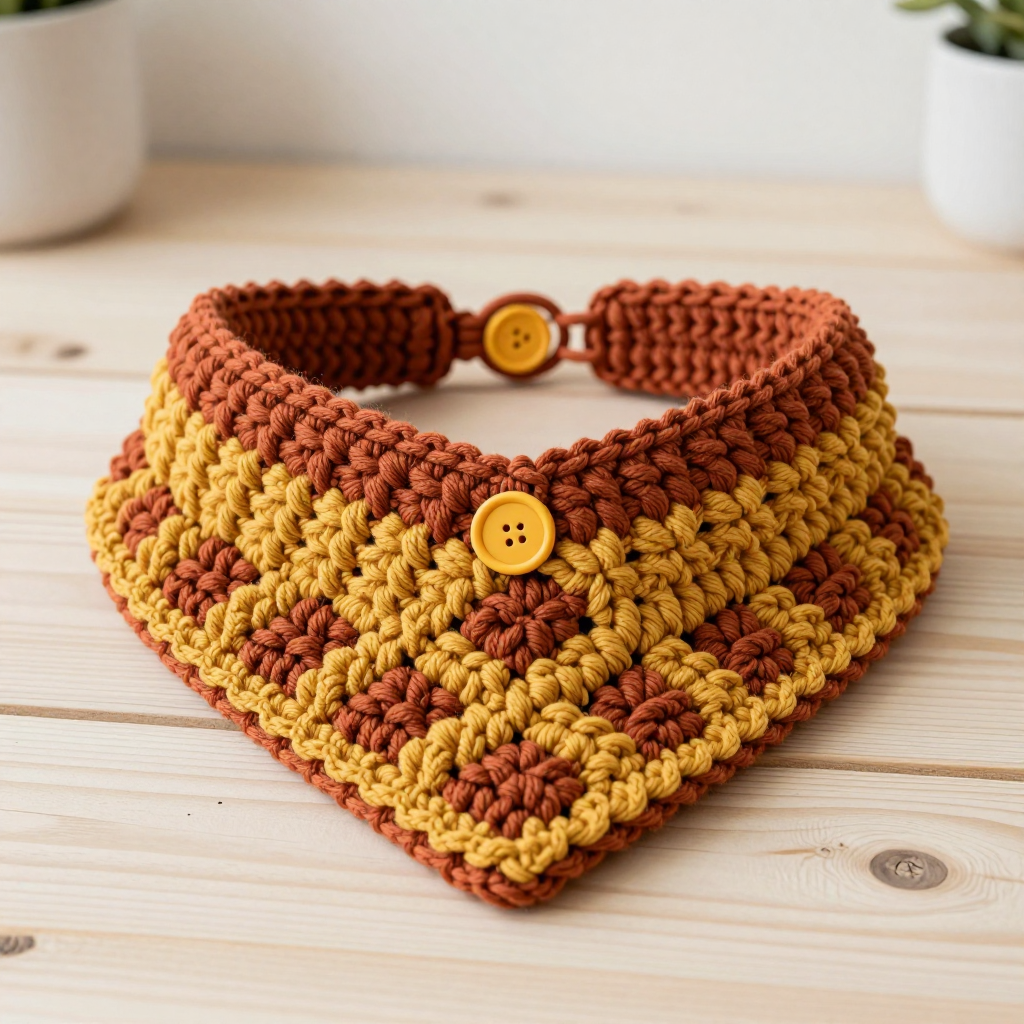
Corral Fence Soap Scrubber Free Crochet Pattern

Corral Fence Soap Scrubber: A Free Beginner Crochet Pattern
Introduction
If you have never held a crochet hook before, this is the perfect very first project for you. The Corral Fence Soap Scrubber is a rustic little soap pouch that looks just like a corral fence, and it is made from nothing more than two flat circles joined at the edge. It is small, quick, and forgiving — you can finish it in an evening while learning the four basic skills every crocheter needs: the magic ring, the single crochet, increasing, and joining two pieces. The finished pouch is about 4 1/2 inches across, dense and slightly ridged from the cotton single crochet, with a warm rust back, a forest green front, and three short chain "fence rails" stitched across the front for that western touch. It feels sturdy and scrubby in your hand, holds a standard bar of soap snugly, and looks charming hanging by the sink or sitting in the shower. Best of all, it uses only about 30 yards of scrap cotton yarn, so there is almost nothing to lose and a lovely little finished object to gain.
Materials Needed
- Yarn: Worsted weight (category 4) cotton yarn, approximately 30 yards total — about 15 yards rust and 15 yards forest green. Cotton is important here because it holds up to water and scrubs well; avoid acrylic, which gets slippery when wet.
- Crochet hook: Size I/9 — that is 5.5 mm. (The number before the slash is the US size; the mm is the metric size. They are the same hook.)
- Stitch marker: One removable marker or a short scrap of contrasting yarn. This marks the first stitch of each round so you never lose your place.
- Tapestry needle: A blunt-tipped yarn needle with an eye big enough for worsted yarn, used for weaving in ends and stitching on the fence bars.
- Scissors: Any sharp pair for cutting yarn.
- Finished size: About 4 1/2 inches (11.5 cm) across and about 1/2 inch thick — sized to hold a standard bar of soap.
Abbreviations and Beginner Glossary
Every abbreviation used in this pattern is listed below with a plain-English explanation. Read through this list once before you begin — you do not need to memorize it.
- ch — chain. Make a loop of yarn on your hook, wrap the yarn over the hook, and pull it through the loop. That is one chain. Chains look like tiny braided links.
- sc — single crochet. Insert your hook into the stitch, wrap the yarn over the hook and pull up a loop (you now have 2 loops on the hook), wrap the yarn over again, and pull it through both loops. One single crochet made.
- sl st — slip stitch. Insert your hook into the stitch, wrap the yarn over, and pull it through both the stitch and the loop on your hook in one motion. It makes a nearly invisible joining stitch.
- st(s) — stitch or stitches. One completed single crochet is one stitch.
- 2 sc in next st — work two single crochets into the same stitch. This is called an increase and it makes the circle grow.
- [ ] — brackets. Everything inside the brackets is repeated as many times as the pattern says after the bracket.
- Magic ring — an adjustable loop of yarn that you crochet into and then pull tight, so the center of your circle has no hole. If you have never made one: lay the yarn end over your fingers in a loop, insert the hook into the loop, pull up a loop of working yarn, chain 1 to secure, then work your stitches into the ring itself, and finally pull the short tail to close it.
- Round — one complete trip around the circle. In this pattern we work in continuous rounds, meaning we spiral around and around without joining at the end of each round.
- Fasten off — cut the yarn a few inches from your work and pull the tail all the way through the last loop to lock it.
- Weave in ends — thread a yarn tail onto the tapestry needle and run it back and forth through the fabric so it disappears and cannot unravel.
- Wrong sides facing — the "wrong side" is the back of the fabric. Placing the two circles wrong sides together means the pretty front faces point outward.
Gauge
Gauge: 12 single crochet and 13 rounds = 4 inches (10 cm) in single crochet worked in the round.
Gauge simply means how big your stitches come out. If your stitches are bigger than the pattern's, your pouch will be too large and the soap will rattle around; if they are smaller, the soap will not fit. To check, crochet a small flat circle of about 4 rounds, lay a ruler across the middle, and count how many single crochet stitches fit in 4 inches. If you get more than 12, try a larger hook; if you get fewer, try a smaller hook. Because this project is tiny, a small difference will not ruin it — but it is a good habit to check, and it teaches you how your own hands tension the yarn.
Beginner Tips Before You Start
- Use a stitch marker every single round. Place it in the first stitch of the round and move it up as you go. In continuous rounds there is no seam to tell you where a round began, and the marker is the only thing that keeps your count honest.
- Do not pull the yarn tight. Beginners tend to choke the hook. Keep your loops relaxed and even; the hook should slide easily. Tight stitches make a stiff, curled circle that is hard to work into.
- Count out loud. Say the numbers as you work each increase round. It feels silly and it works — most beginner mistakes are simply a missed or doubled stitch.
- Keep both circles the same size. Work the green front circle with the same relaxed tension as the rust back. If one comes out noticeably bigger, the edges will not match when you join them.
- Work the increases loosely. When you make "2 sc in next st," the second stitch can feel cramped. Ease the hook in gently rather than forcing it.
- Do not fasten off the green circle after Round 9. You will use the live loop to begin the joining round. This is the one place beginners get stuck, so mark it in your mind now.
Step-by-Step Instructions
Note: Both circles are worked in continuous rounds. Do not join or turn unless told. Move your stitch marker up each round.
Part 1: Rust Back Circle
Work with rust yarn.
- Round 1: Make a magic ring. Work 6 sc into the ring. Pull the tail to close the center. (6 sc)
- Round 2: 2 sc in each st around. (12 sc)
- Round 3: [2 sc in next st, 1 sc in next st] around. (18 sc)
- Round 4: [2 sc in next st, 1 sc in each of next 2 sts] around. (24 sc)
- Round 5: [2 sc in next st, 1 sc in each of next 3 sts] around. (30 sc)
- Round 6: [2 sc in next st, 1 sc in each of next 4 sts] around. (36 sc)
- Round 7: [2 sc in next st, 1 sc in each of next 5 sts] around. (42 sc)
- Round 8: [2 sc in next st, 1 sc in each of next 6 sts] around. (48 sc)
- Round 9: Sc in each st around. (48 sc)
Fasten off rust, leaving a 6-inch tail. Weave in the starting tail only — leave the fastening-off tail loose for now.
Part 2: Forest Green Front Circle
Work with forest green yarn.
- Rounds 1–9: Work exactly as for the rust circle, using forest green. (48 sc)
Do not fasten off after Round 9. Keep the live loop on your hook.
Part 3: Joining the Circles
Hold the rust circle behind the green circle with wrong sides facing each other and the edges matched. Insert your hook through the last green stitch and the corresponding rust stitch so you are working through both layers at once.
- Joining Round: Ch 1. Working through both layers at once, sc in each st around, leaving a 2-inch (5 cm) opening at the top edge for the soap. To make the opening: work sc in the first 21 sts, then skip the next 6 sts (this creates the 2-inch opening), then work sc in the remaining 21 sts. (42 sc worked, 6 sts left open)
- Final step: Sl st to the first sc. Fasten off green, leaving a 6-inch tail. Weave in all ends.
Part 4: Corral Fence Bars (make 3)
Work with forest green yarn.
- Bar (make 3): Leave a 6-inch starting tail. Ch 7. Fasten off, leaving a 6-inch tail. Each bar measures about 2 inches (5 cm) long.
Part 5: Attaching the Bars
- Step 1: Lay the pouch flat with the green side facing you.
- Step 2: Space the three chain bars evenly across the front, about 3/4 inch (2 cm) apart and centered vertically on the circle.
- Step 3: Using the tails and a tapestry needle, stitch each end of every bar securely to the green fabric, working only through the front layer so your needle does not show on the inside of the pouch.
- Step 4: Weave in all ends.
Assembly and Finishing
Your pouch is already assembled by the joining round, so finishing is mostly about tidiness and shape.
- Weaving in ends: Thread each 6-inch tail onto the tapestry needle. Run the needle through the back of several stitches — about an inch of travel — then reverse direction and run it back through a few stitches the other way. This zigzag locks the tail so it will never work loose in the wash. Trim the yarn close to the fabric.
- Checking the opening: Slip your fingers through the 2-inch gap at the top and gently stretch it. If any skipped stitches look loose, use your tapestry needle to snug them from the inside.
- Blocking: Lightly steam the pouch flat with an iron held an inch above the fabric (never press the iron directly onto the stitches), or wet it completely, press it flat between two towels, and let it dry overnight. Blocking relaxes the cotton, evens out the circle, and makes the fence bars lie flat.
- Using it: Slip a bar of soap through the opening at the top. Wet the pouch, squeeze it a few times to work up lather, and scrub away. Rinse and hang to dry between uses.
Pro Tips and Variations
- Change the colors: This is a scrap-yarn project, so swap the rust and forest green for any two worsted cotton colors you have. A cream back with a denim-blue front looks like a different kind of fence entirely, and a red-and-white pair makes a sweet gift.
- Adjust the size: To fit a larger or smaller bar of soap, add or remove one increase round from both circles (each extra round adds 6 stitches and about 1/2 inch across). If you change the circle size, also change the joining round: work sc in half the stitches, skip 6 for the opening, and sc in the rest.
- Substitute yarn: Any worsted weight (category 4) cotton or cotton-blend works. Avoid pure acrylic, which becomes slick and does not scrub. If you only have DK weight, use a smaller hook (H/8, 5 mm) and check your gauge.
- Make the fence sturdier: For bars that really hold their shape, work the chain bars in a slightly tighter tension, or stitch each bar down at three points instead of two. You can also add a fourth bar for a taller corral look.