Viral Crochet Granny Square Vest Free Pattern
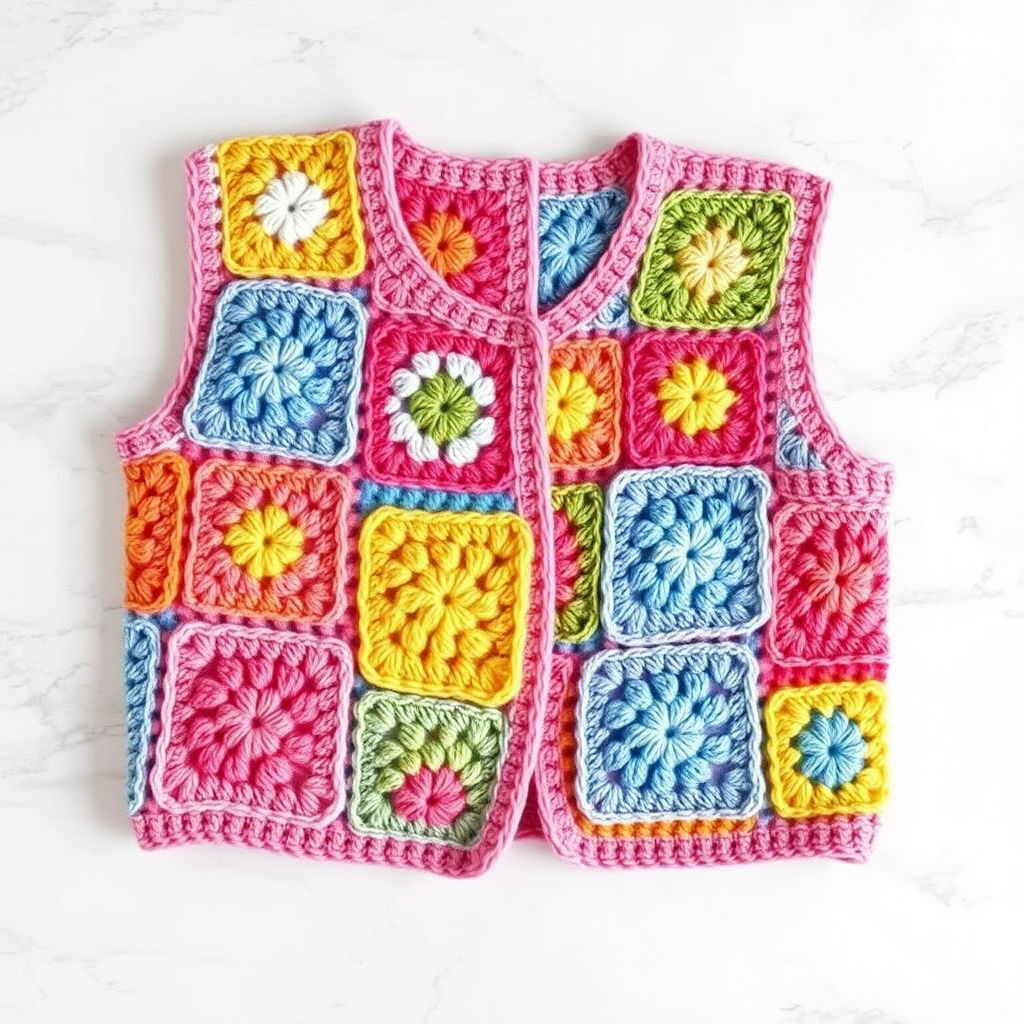
Viral Crochet Granny Square Vest Free Pattern
Introduction
Revive the Y2K fashion with this trendy Granny Square Vest, a viral sensation among crochet enthusiasts. This pattern combines vintage charm with modern style, making it perfect for layering over any outfit. Whether you're a seasoned crocheter or a beginner, this vest is a delightful project that will add a pop of color to your wardrobe!
Materials Needed
- Yarn: Worsted weight cotton yarn in multiple colors
- Crochet Hook: 5.0 mm crochet hook
- Gauge: 4 inches = 4 granny squares
Step-by-Step Instructions
1. Granny Square Pattern
To create the Granny Squares, follow these detailed steps:
- Round 1:
- Start with a magic ring.
- Chain 3 (this counts as your first double crochet).
- Work 2 double crochets (dc) into the ring.
- Chain 2.
- Repeat the following sequence 2 more times: *3 dc into the ring, chain 2*.
- Join the round with a slip stitch (sl st) to the top of the initial chain-3. (You should have 12 dc total.)
- Round 2:
- Slip stitch to the next chain-2 space.
- Chain 3, then work 2 dc in the same space.
- Chain 2, then work 3 dc in the same space (this creates a corner).
- Repeat the following sequence 2 more times: *chain 1, (3 dc, chain 2, 3 dc) in the next chain-2 space*.
- Chain 1, then join with a slip stitch to the top of the initial chain-3.
- Round 3:
- Slip stitch to the next chain-2 space.
- Chain 3, then work 2 dc in the same space.
- Chain 2, then work 3 dc in the same space (corner made).
- Repeat the following sequence 2 more times: *chain 1, 3 dc in the next chain-1 space, chain 1, (3 dc, chain 2, 3 dc) in the next chain-2 space*.
- Chain 1, work 3 dc in the next chain-1 space, chain 1, then join with a slip stitch to the top of the initial chain-3.
Fasten off and weave in all ends. You will need to create a total of 32 granny squares in your desired color pattern.
2. Vest Assembly
Now that you have your granny squares, it’s time to assemble the vest:
- Arrange the squares in a 4x4 grid for both the front and back panels.
- Seam the squares together using a whip stitch or slip stitch, ensuring that the pattern aligns correctly.
- For the shoulders, join the top row of squares from the front and back panels, leaving space for the neck.
- Seam the sides together, leaving space for the armholes.
3. Finishing
To give your vest a polished look, follow these finishing steps:
- Add a border: Attach yarn to any corner of the vest.
- Chain 1, then single crochet (sc) evenly around the entire vest, working 3 sc in each corner to maintain the shape.
- Join with a slip stitch to the first single crochet.
- Weave in all ends to complete your project.
Your vibrant Granny Square Vest is now ready to wear! Enjoy layering it over your favorite outfits and showcasing your handmade creation.


