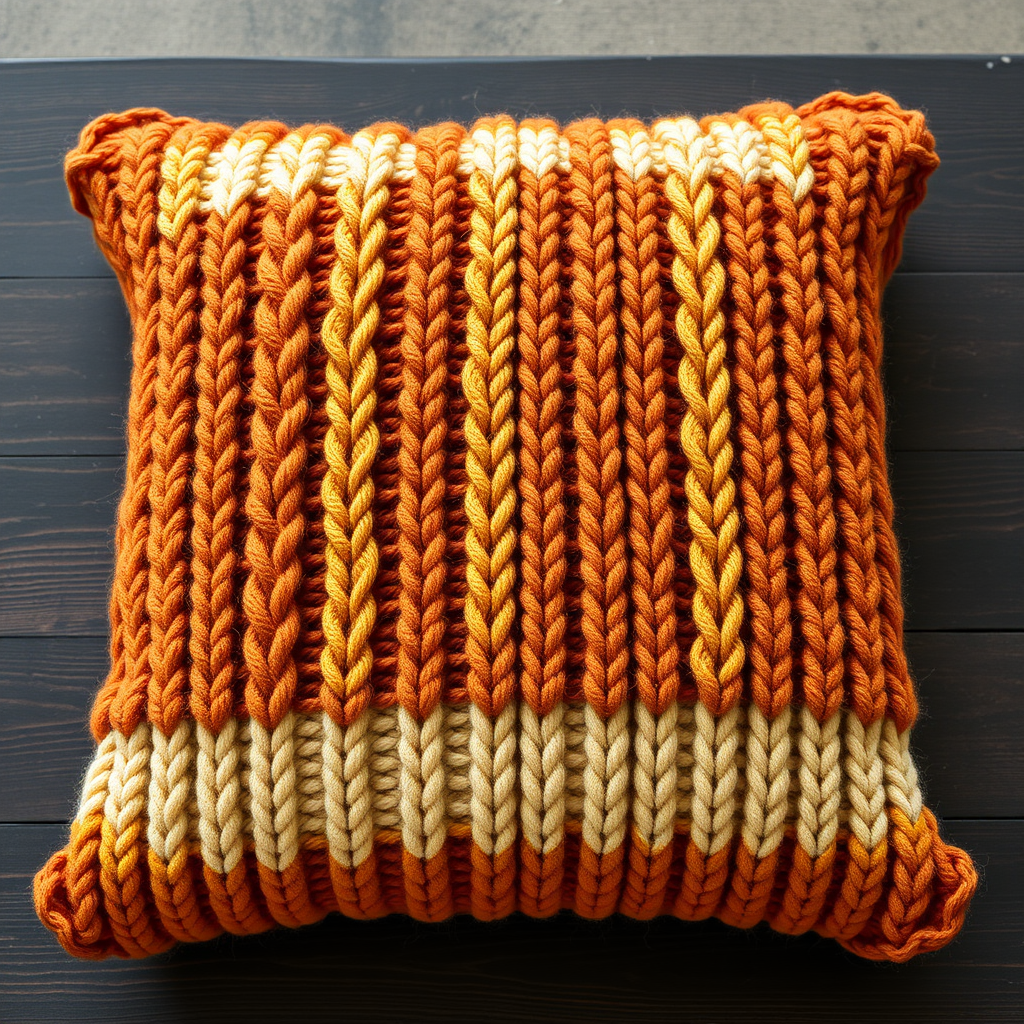
The Hearthside Herringbone Throw Pillow: A Free Knitting Pattern for a Textured, Farmhouse-Style Cushion

Introducing the Hearthside Herringbone Throw Pillow
Wrap your living space in rustic charm with this richly textured herringbone throw pillow, designed to evoke the warmth of a crackling hearth. The clever use of slipped stitches creates a dense, woven fabric that is both visually stunning and incredibly cozy. This modern farmhouse-style cushion is the perfect project for knitters looking to add a touch of handcrafted elegance to their home decor. The finished pillow cover measures 16 inches (40 cm) square, designed to fit a standard 16-inch pillow form.
Materials Needed
Yarn
- Worsted weight (Aran) yarn in two contrasting colors:
- Color A (Main, e.g., Oatmeal): 250 yards. Sample uses Lion Brand Wool-Ease in Fisherman.
- Color B (Contrast, e.g., Charcoal): 200 yards. Sample uses Lion Brand Wool-Ease in Grey Heather.
Needles & Notions
- Knitting Needles: US Size 8 (5.0 mm) knitting needles, or size needed to obtain gauge.
- Tapestry needle for weaving ends.
- Pillow Form: 16-inch (40 cm) square pillow form.
- Buttons: 6 buttons (approximately 1 inch / 2.5 cm diameter).
- Sewing needle and thread for attaching buttons (optional, but recommended).
Gauge
20 stitches and 28 rows = 4 inches (10 cm) in Herringbone Stitch pattern, after blocking. Important: Take time to check your gauge to ensure the pillow cover fits properly.
Step-by-Step Instructions
Abbreviations
- CO: Cast on
- K: Knit
- P: Purl
- Sl1 wyif: Slip 1 stitch purlwise with yarn in front
- Sl1 wyib: Slip 1 stitch purlwise with yarn in back
- Rep: Repeat
- St(s): Stitch(es)
- yo: Yarn over
- k2tog: Knit two stitches together
- RS: Right side
- WS: Wrong side
Pattern Notes
- The Herringbone Stitch is created by a 2-row repeat of slipped stitches. It produces a dense, woven fabric that is reversible.
- The pillow cover is worked flat in one piece, then seamed. The back is a simple stockinette stitch with a button closure for easy removal.
- Always slip stitches purlwise unless otherwise stated.
Front Panel (Herringbone Pattern)
With Color A, CO 80 sts.
Row 1 (RS): K1, *Sl1 wyif, K1; rep from * to last st, K1.
Row 2 (WS): K1, *K1, Sl1 wyib; rep from * to last st, K1.
Repeat Rows 1-2 until piece measures approximately 15 inches (38 cm) from cast-on edge, ending with a WS row. Cut Color A, leaving a 6-inch tail.
Back Panel (Stockinette Stitch)
Switch to Color B.
Row 1 (RS): Knit across.
Row 2 (WS): Purl across.
Repeat Rows 1-2 until back panel measures 8 inches (20 cm) from the beginning of Color B, ending with a WS row.
Buttonhole Row (RS):
K3, *yo, k2tog, K10; rep from * to last 5 sts, yo, k2tog, K3. (You will have 6 buttonholes.)
Next Row (WS): Purl across, purling into the yo's.
Continue in stockinette stitch for another 2 inches (5 cm), ending with a WS row. Bind off loosely.
Finishing
- Weave in all ends using a tapestry needle. Be sure to secure them well on the wrong side of the fabric.
- Fold the pillow cover in half with right sides together, matching the cast-on edge to the bind-off edge. The herringbone front and stockinette back should be aligned.
- Sew the side seams using a mattress stitch or whip stitch, leaving the buttonhole edge open. Use the same Color B yarn for the seam on the back panel and Color A for the front panel, or use a matching thread for a nearly invisible seam.
- Turn the cover right side out. Insert the pillow form.
- Mark button placement on the inside of the back panel, opposite the buttonholes. Sew on 6 buttons (approximately 1 inch diameter) using a sewing needle and thread or a strong yarn.
- Button the cover closed. Your Hearthside Herringbone Throw Pillow is complete!