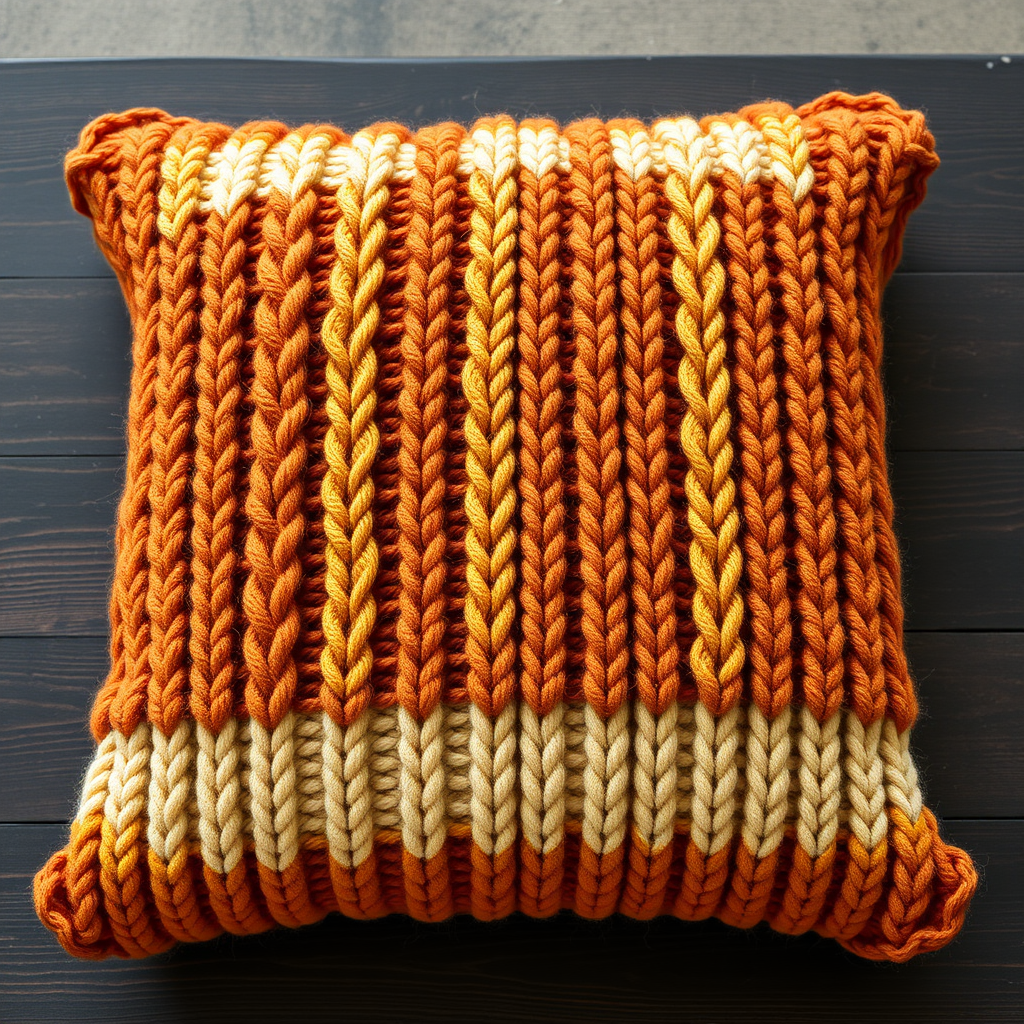
The Emberglow Lantern Cozy Free Pattern – A Knitted Textured Sleeve with Cable Accents

The Emberglow Lantern Cozy: A Free Knitted Sleeve Pattern with Cable Accents
There's something magical about the warm, flickering glow of a lantern on a crisp autumn evening. Now imagine that glow filtered through a handcrafted, richly textured sleeve in deep ember orange, with intricate cables that cast mesmerizing shadows across your walls. That's the magic of the Emberglow Lantern Cozy—a free knitting pattern that transforms a simple glass lantern into a stunning piece of seasonal decor.
This pattern is perfect for intermediate knitters who want to dip their toes into cable work, but it's also accessible to confident beginners willing to learn a new technique. The result is a cozy, rustic accent piece that brings warmth and handcrafted charm to any room. Whether you're decorating for fall, winter, or simply want to add a touch of hygge to your living space, this lantern cozy delivers.
Why You'll Love This Pattern
The Emberglow Lantern Cozy features a beautiful combination of stockinette, ribbing, and cable stitches that create a rich, textured surface. The deep ember orange yarn evokes feelings of crackling fires and pumpkin patches, while the optional cream contrast trim adds a delicate, polished finish. Best of all, this pattern is completely free and designed to fit a standard 6-inch wide, 8-inch tall glass lantern—though we'll show you how to adjust it for any size.
Materials Needed
Before you begin, gather the following supplies:
- Yarn: Worsted weight yarn in ember orange (approximately 150 yards) plus a small amount of cream yarn for the optional contrast trim
- Knitting Needles: US 7 (4.5 mm) straight needles for the body, plus a set of US 7 double-pointed needles (DPNs) for working in the round
- Cable Needle: Any cable needle or double-pointed needle used as a cable needle
- Tapestry Needle: For weaving in ends and seaming
- Scissors
- Measuring Tape
Gauge: 20 stitches and 26 rows = 4 inches in stockinette stitch. Be sure to check your gauge before starting to ensure a proper fit.
Understanding the Cable Stitches
This pattern uses two cable techniques: C6F (cable 6 front) and C6B (cable 6 back). Here's a quick refresher:
- C6F: Slip 3 stitches onto your cable needle and hold it in front of your work. Knit the next 3 stitches from your left needle, then knit the 3 stitches from the cable needle.
- C6B: Slip 3 stitches onto your cable needle and hold it in back of your work. Knit the next 3 stitches from your left needle, then knit the 3 stitches from the cable needle.
If you're new to cabling, don't worry—the pattern repeats are simple and rhythmic once you get going. Just take your time and keep your tension even.
Step-by-Step Instructions
Sleeve Body (Worked Flat, Then Seamed)
Cast On: With your ember orange yarn and US 7 straight needles, cast on 60 stitches.
Row 1 (Right Side): *K4, P2, K6, P2, K4, P2, K6, P2, K4, P2, K6, P2, K4, P2, K6, P2* — repeat from * to * once more. You should have 60 stitches total.
Row 2 (Wrong Side): *P4, K2, P6, K2, P4, K2, P6, K2, P4, K2, P6, K2, P4, K2, P6, K2* — repeat from * to * once more.
Row 3 (Right Side): *K4, P2, C6F (slip 3 stitches to cable needle, hold in front, knit 3, then knit 3 from cable needle), P2, K4, P2, C6B (slip 3 stitches to cable needle, hold in back, knit 3, then knit 3 from cable needle), P2* — repeat from * to * once more.
Row 4 (Wrong Side): Same as Row 2.
Row 5 (Right Side): Same as Row 1.
Row 6 (Wrong Side): Same as Row 2.
Row 7 (Right Side): Same as Row 3.
Row 8 (Wrong Side): Same as Row 2.
Repeat Rows 1–8 until your piece measures 8 inches from the cast-on edge, ending with a wrong-side row.
Top Edge (Worked in the Round)
Do not bind off. Instead, transfer the 60 stitches evenly onto three double-pointed needles (20 stitches per needle). Join in the round, being very careful not to twist your stitches.
Round 1: *K4, P2, K6, P2, K4, P2, K6, P2* — repeat from * to * around.
Round 2: *K4, P2, C6F, P2, K4, P2, C6B, P2* — repeat from * to * around.
Round 3: *K4, P2, K6, P2, K4, P2, K6, P2* — repeat from * to * around.
Round 4: *K4, P2, K6, P2, K4, P2, K6, P2* — repeat from * to * around.
Round 5: *K4, P2, C6B, P2, K4, P2, C6F, P2* — repeat from * to * around. (Note: the cables now cross in the opposite direction.)
Round 6: *K4, P2, K6, P2, K4, P2, K6, P2* — repeat from * to * around.
Round 7: *K4, P2, K6, P2, K4, P2, K6, P2* — repeat from * to * around.
Round 8: *K4, P2, C6F, P2, K4, P2, C6B, P2* — repeat from * to * around.
Round 9: *K4, P2, K6, P2, K4, P2, K6, P2* — repeat from * to * around.
Round 10: *K4, P2, K6, P2, K4, P2, K6, P2* — repeat from * to * around.
Bind off loosely in pattern. This creates a lovely, finished top edge that will sit neatly around the top of your lantern.
Bottom Edge (Worked in the Round)
Using your double-pointed needles, pick up 60 stitches along the cast-on edge, distributing them evenly (20 stitches per needle). Join in the round.
Round 1: *K4, P2, K6, P2, K4, P2, K6, P2* — repeat from * to * around.
Round 2: *K4, P2, K6, P2, K4, P2, K6, P2* — repeat from * to * around.
Round 3: *K4, P2, C6B, P2, K4, P2, C6F, P2* — repeat from * to * around.
Round 4: *K4, P2, K6, P2, K4, P2, K6, P2* — repeat from * to * around.
Round 5: *K4, P2, K6, P2, K4, P2, K6, P2* — repeat from * to * around.
Round 6: *K4, P2, K6, P2, K4, P2, K6, P2* — repeat from * to * around.
Bind off loosely in pattern.
Finishing Touches
Weave in all loose ends with your tapestry needle. Then, using a mattress stitch, sew the side seam from the bottom edge to the top edge. The mattress stitch creates an invisible seam that blends beautifully with the knitted texture.
Slide the sleeve over your glass lantern, making sure the cable patterns are centered. The sleeve should fit snugly but allow the lantern to be placed inside easily. If it feels too tight, you can gently stretch it; if it's too loose, you may need to adjust your gauge or stitch count.
Optional Decorative Loop
For a charming finishing touch, use your cream yarn and a crochet hook to create a small loop at the top. Chain 10 stitches, slip stitch to the top edge of the cozy, and secure. This loop is perfect for hanging your lantern from a hook or branch.
Optional Contrast Band
Using the cream yarn, crochet a simple chain long enough to wrap around the top edge of the cozy. Slip stitch it onto the top edge as a decorative trim. This subtle cream accent adds a beautiful contrast against the deep ember orange and gives the piece a polished, boutique-quality finish.
Adjusting the Pattern for Different Lantern Sizes
This pattern is designed for a standard 6-inch wide, 8-inch tall glass lantern. To adjust for a different size, measure the circumference of your lantern and multiply by 5 stitches per inch (based on the gauge of 20 stitches per 4 inches). For example, if your lantern measures 14 inches around, you'd cast on 70 stitches. Adjust the height by working more or fewer repeats of Rows 1–8 until the sleeve reaches your desired length.
Final Thoughts
The Emberglow Lantern Cozy is more than just a knitting project—it's a way to bring warmth, texture, and handcrafted beauty into your home. The deep orange hue and intricate cables create a stunning visual display, especially when lit from within by a flickering candle. The shadows cast through the cable gaps are simply mesmerizing.
This pattern is also a wonderful gift idea for housewarmings, holidays, or any occasion that calls for a cozy, handmade touch. And because it's a free pattern, you can share the joy with friends and family who love to knit.
So grab your yarn, settle into your favorite chair, and let the rhythmic repetition of cables and ribbing transport you to a place of calm creativity. Before you know it, you'll have a beautiful Emberglow Lantern Cozy ready to illuminate your space with handcrafted charm.
Happy knitting!