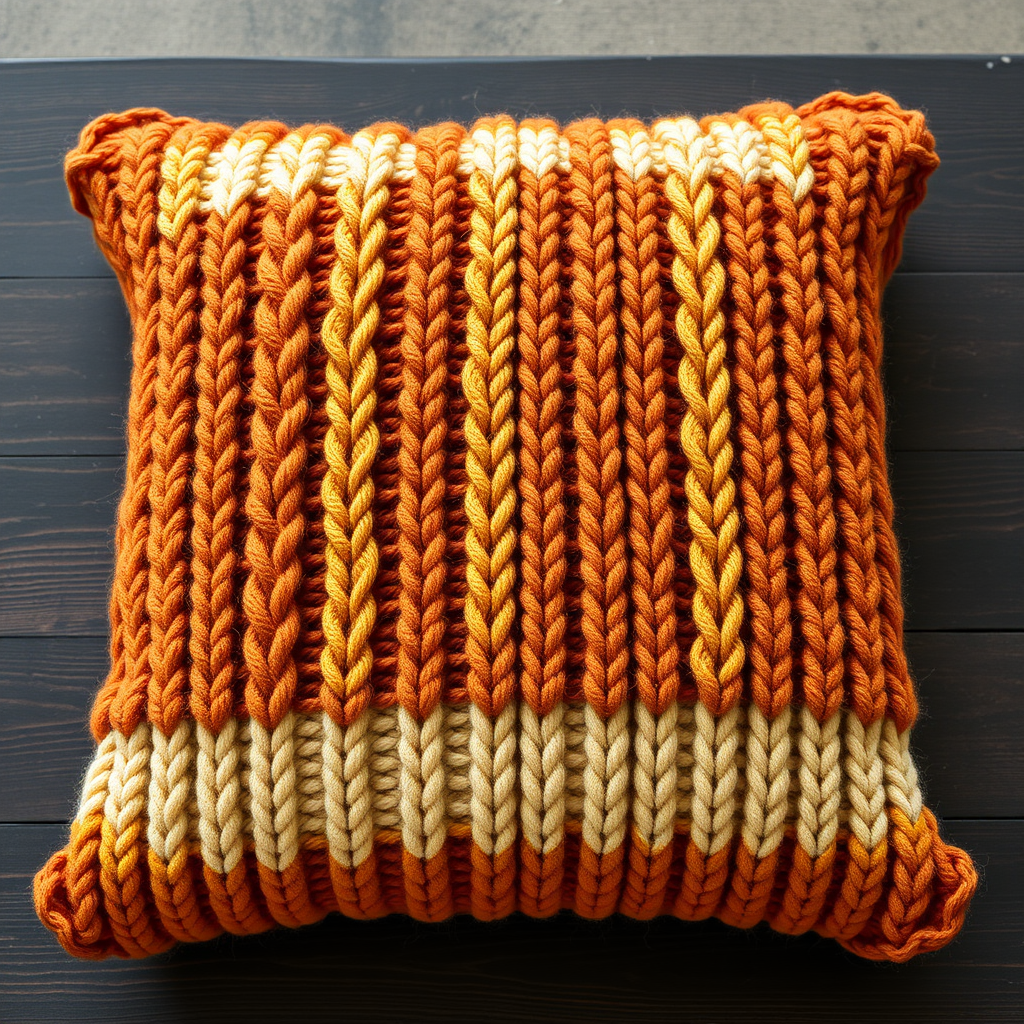
Ember Glow Cable Knit Mug Cozy Free Pattern – Textured Autumn Warmer

Ember Glow Cable Knit Mug Cozy: A Free Beginner-Friendly Pattern
There’s something deeply satisfying about wrapping your hands around a warm mug on a crisp autumn morning—especially when that mug is dressed in a cozy, hand-knit sweater. The Ember Glow Cable Knit Mug Cozy is the perfect quick project to channel that rustic, handcrafted warmth. Featuring a rich burnt orange hue and a chunky wooden button closure, this pattern adds a touch of seasonal charm to your daily tea or coffee ritual. Whether you're a seasoned knitter or a curious beginner looking for a small, rewarding project, this cable-knit cozy is an ideal choice. It’s fast, functional, and makes a thoughtful handmade gift for friends, family, or even yourself.
In this guide, I’ll walk you through everything you need to know—from gathering materials to binding off that final stitch—so you can create a beautiful, textured mug cozy that fits a standard 12 oz mug perfectly. Let’s get started!
Why You’ll Love This Pattern
This pattern is designed with beginners in mind, but it’s also a delightful palate cleanser for more experienced knitters. The cable stitch (C4F) might look intimidating, but it’s surprisingly simple once you get the hang of it. Plus, the project is small enough to finish in an evening, making it a perfect weekend craft or a last-minute gift idea. The chunky wooden button adds a natural, rustic touch that complements the burnt orange yarn beautifully.
Materials Needed
Before you dive in, gather the following supplies. All of these are readily available at your local craft store or online.
- Yarn: Worsted weight yarn in burnt orange (e.g., Lion Brand Wool-Ease in 'Spice') – approximately 50 yards. This yarn is soft, durable, and machine washable, making it perfect for everyday use.
- Knitting Needles: US 7 (4.5 mm) knitting needles. Straight needles work fine for this project, but circular needles can also be used if you prefer.
- Cable Needle: A small cable needle (or a double-pointed needle) to hold stitches while working the cable pattern.
- Wooden Button: One 1-inch wooden button for the closure.
- Yarn Needle: For weaving in ends and sewing the button.
- Scissors: For cutting yarn.
Gauge
To ensure your cozy fits properly, it’s important to check your gauge. The pattern calls for 20 stitches and 26 rows = 4 inches in stockinette stitch. If your gauge is off, your cozy might be too tight or too loose. Don’t worry if you’re a little off—just adjust your needle size accordingly. A swatch is always a good idea, but for a small project like this, you can also just knit a few rows and measure as you go.
Step-by-Step Instructions
Now, let’s get to the fun part! Follow these detailed instructions carefully, and you’ll have a beautiful mug cozy in no time.
Finished Size
This pattern is designed to fit a standard 12 oz mug (approximately 9 inches in circumference and 3.5 inches tall). If your mug is larger or smaller, you can adjust the number of stitches or the length of the piece accordingly.
Abbreviations
Before you start, familiarize yourself with these knitting abbreviations:
- CO: Cast on
- K: Knit
- P: Purl
- C4F: Cable 4 front (slip 2 stitches to cable needle, hold in front, knit 2, knit 2 from cable needle)
- K2tog: Knit 2 together
- YO: Yarn over
- BO: Bind off
Getting Started
Row 1 (RS): Cast on 24 stitches. This is the foundation of your cozy. Make sure your cast-on is not too tight, as you’ll need to work with these stitches for the entire pattern.
Row 2 (WS): Purl all stitches. This row creates a clean edge and sets up the pattern.
Working the Cable Pattern
Now we’ll start the main body of the cozy. The pattern is a repeating sequence of rows that creates the beautiful cable and ribbed texture.
Row 3 (RS): K4, P2, C4F, P2, K4, P2, C4F, P2, K4. This row introduces the cable twists. Remember, C4F means you slip 2 stitches onto your cable needle, hold it in front of your work, knit the next 2 stitches, then knit the 2 stitches from the cable needle. This creates a left-leaning cable.
Row 4 (WS): P4, K2, P4, K2, P4, K2, P4, K2, P4. This row is worked as the stitches appear—purl the purl stitches and knit the knit stitches. This maintains the ribbed texture.
Row 5 (RS): K4, P2, K4, P2, K4, P2, K4, P2, K4. This row is all knit and purl stitches, with no cables. It gives the pattern a chance to breathe.
Row 6 (WS): Repeat Row 4.
Row 7 (RS): K4, P2, C4F, P2, K4, P2, C4F, P2, K4. This is the second cable row. You’ll notice the cables are forming a beautiful twisted pattern.
Row 8 (WS): Repeat Row 4.
Row 9 (RS): K4, P2, K4, P2, K4, P2, K4, P2, K4.
Row 10 (WS): Repeat Row 4.
Now, repeat Rows 3-10 until your piece measures approximately 8.5 inches from the cast-on edge, ending with a wrong-side row. This length will give you a snug fit around a standard mug, with a little overlap for the button closure.
Creating the Buttonhole
Once your piece reaches the desired length, it’s time to add the buttonhole. This is a simple technique that creates a neat opening for your wooden button.
Buttonhole Row (RS): K4, P2, K4, P2, K2tog, YO, K2, P2, K4, P2, C4F, P2, K4. The K2tog and YO work together to create a small hole. The YO adds a stitch back, so your stitch count remains the same.
Next Row (WS): Purl all stitches. This row secures the buttonhole and gives you a clean edge.
Binding Off
Now it’s time to finish your cozy. Bind off all stitches knitwise on the next right-side row. To do this, knit the first stitch, then knit the next stitch, and pass the first stitch over the second. Continue this across the row until one stitch remains, then cut your yarn and pull it through the last loop to secure.
Finishing Touches
Weave in all loose ends using your yarn needle. This is an important step to ensure your cozy looks neat and professional. Then, sew the 1-inch wooden button to the right side of the cast-on edge, aligning it with the buttonhole. Make sure the button is securely attached, as it will be used frequently.
Finally, wrap the cozy around your mug and button it to secure. The overlap should be comfortable, and the cable pattern will sit beautifully against the ceramic surface.
Tips for Success
- Practice the cable: If you’re new to cabling, practice the C4F stitch on a small swatch first. It’s a simple technique that becomes second nature with a little repetition.
- Keep your tension even: Try to keep your yarn tension consistent, especially when working the cable rows. This will ensure your cozy has a uniform texture.
- Blocking (optional): If your cozy looks a bit wavy, you can gently block it by wetting it and laying it flat to dry. This will help even out the stitches and give it a polished finish.
Creative Variations
Once you’ve mastered this pattern, feel free to experiment! Try using a different color yarn to match your kitchen decor, or swap the wooden button for a vintage ceramic one. You could even add a small loop of yarn instead of a buttonhole for a different closure style. The possibilities are endless!
Final Thoughts
The Ember Glow Cable Knit Mug Cozy is more than just a knitting project—it’s a little piece of autumn you can hold in your hands. Whether you’re making it for yourself or as a gift, this cozy is sure to bring warmth and joy to every sip. So grab your needles, pour yourself a cup of something warm, and enjoy the process of creating something beautiful and functional. Happy knitting!