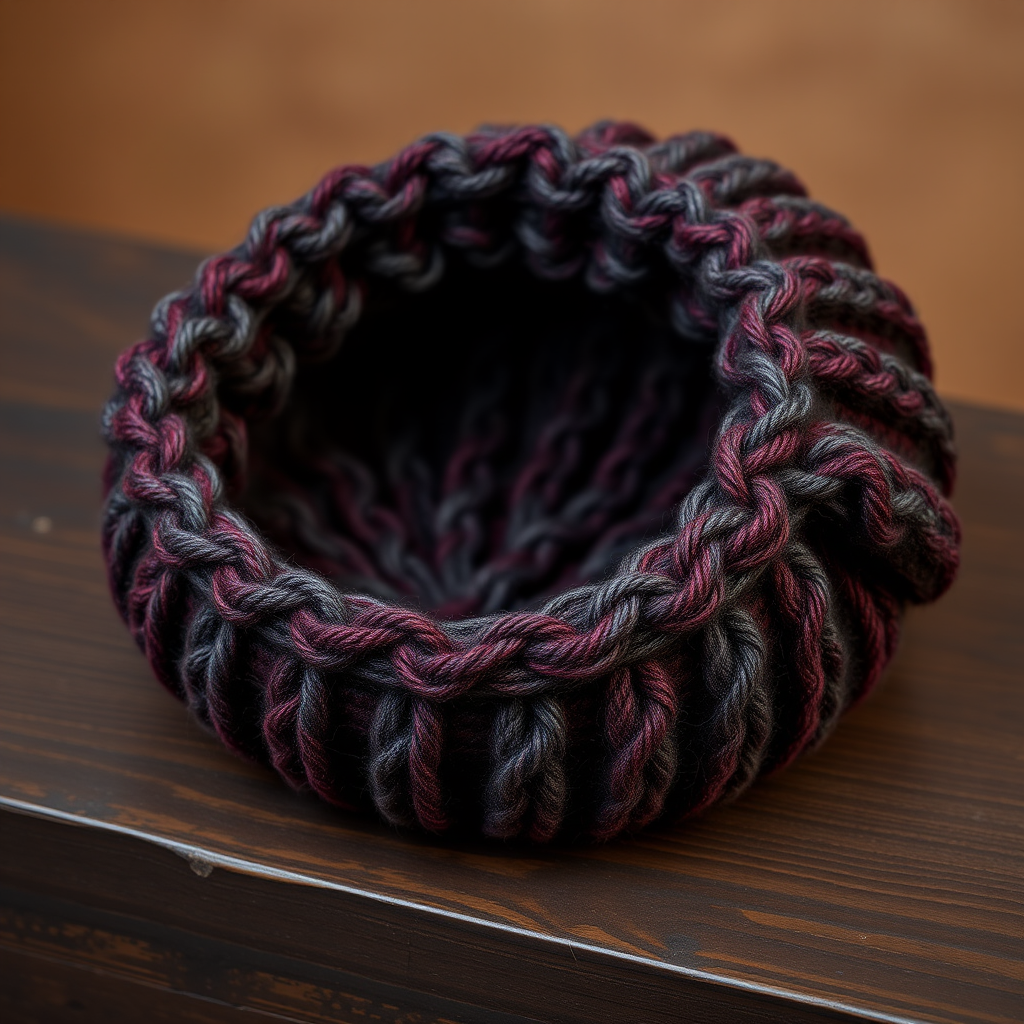
The Ember & Ash Fingerless Gloves: A Free Knitting Pattern for Textured, Color-Blocked Wrist Warmers

Cozy Up with the Ember & Ash Fingerless Gloves
Wrap your hands in the cozy warmth of autumn with these textured, color-blocked fingerless gloves. The rich, gradient-like stripes of burnt orange and charcoal create a modern, sophisticated look perfect for sipping cider or typing on a chilly day. This free knitting pattern is designed with beginners in mind, offering a satisfying project that builds confidence while creating a stylish accessory. The combination of a classic 2x2 ribbed cuff and a smooth stockinette hand, paired with a simple thumb gusset, makes these gloves both functional and fashionable. Let's dive into creating your own pair of Ember & Ash gloves!
Materials Needed
Before you begin, gather the following materials. Using the exact specifications will ensure your gloves match the intended size and drape.
- Yarn: Worsted weight wool or wool blend (approx 150 yds total: 80 yds in Color A (Burnt Orange), 70 yds in Color B (Charcoal Grey)). A wool blend is recommended for durability and warmth, but any worsted weight yarn will work.
- Needles: US Size 7 (4.5 mm) knitting needles. You can use straight needles or circular needles if you prefer the magic loop method for small circumference knitting.
- Notions: Stitch markers (2), stitch holder or waste yarn, tapestry needle for weaving in ends and seaming, scissors.
- Gauge: 20 stitches x 28 rows = 4 inches in stockinette stitch. Achieving the correct gauge is crucial for the gloves to fit properly. Knit a swatch before starting.
Step-by-Step Instructions
Follow these detailed instructions carefully. The pattern is written for two sizes: Small/Medium (Medium/Large). Finished palm circumference: 7 (8) inches. Instructions for the larger size are in parentheses.
Abbreviations
- CO: Cast on
- K: Knit
- P: Purl
- k2tog: Knit two together (right-leaning decrease)
- ssk: Slip, slip, knit (left-leaning decrease)
- M1L: Make one left (increase)
- M1R: Make one right (increase)
- st(s): Stitch(es)
- RS: Right side
- WS: Wrong side
- pm: Place marker
- sm: Slip marker
Pattern Notes
The gloves are worked flat from the wrist up, then seamed. The thumb gusset is created with increases. Work both gloves identically.
Glove (Make 2)
Cuff
- With Color A (Burnt Orange), CO 36 (40) sts.
- Row 1 (RS): *K2, P2; repeat from * to end.
- Row 2 (WS): *P2, K2; repeat from * to end.
- Repeat Rows 1-2 for 2 inches, ending with a WS row. This creates a stretchy, snug-fitting cuff.
Hand
- Switch to Color B (Charcoal Grey).
- Work in stockinette stitch (K on RS, P on WS) for 1 inch, ending with a WS row. This establishes the main body of the glove.
Thumb Gusset
The thumb gusset creates a shaped opening for your thumb. Work the increases carefully.
- Row 1 (RS): K18 (20), place marker (pm), M1L, K1, M1R, pm, K to end. (38 (42) sts)
- Row 2 (WS): Purl all sts.
- Row 3: K to marker, slip marker (sm), M1L, K to next marker, M1R, sm, K to end. (40 (44) sts)
- Row 4: Purl all sts.
- Repeat Rows 3-4 until you have 12 (14) sts between markers. End with a WS row. You will have increased the stitch count between the markers by 2 stitches every other row.
Thumb Opening
- Next Row (RS): K to first marker, remove marker, place next 12 (14) sts on a stitch holder or waste yarn, remove second marker, K to end. (36 (40) sts) The stitches on the holder will form the thumb.
Upper Hand
- Continue in stockinette stitch with Color B until piece measures 2.5 (3) inches from thumb opening, ending with a WS row. This section covers the rest of your hand.
Top Shaping
Shaping the top of the glove creates a rounded, comfortable fit.
- Row 1 (RS): K1, ssk, K to last 3 sts, k2tog, K1. (34 (38) sts)
- Row 2 (WS): Purl.
- Repeat Rows 1-2 three more times. (26 (30) sts)
- Next Row (RS): K1, ssk, K to last 3 sts, k2tog, K1. (24 (28) sts)
- Bind off all sts loosely. A loose bind-off ensures the top of the glove isn't too tight.
Finishing
- Sew the side seam: Using your tapestry needle and Color B yarn, sew the side seam from the wrist to the top, leaving a 1.5-inch opening for the thumb. The opening should align with the thumb stitches you placed on the holder.
- Complete the thumb: Transfer the 12 (14) thumb stitches from the holder onto your needles. Sew the thumb stitches together using Kitchener stitch for an invisible seam, or bind off the stitches and seam them together. Weave in all ends securely.
- Block lightly: Block the gloves by lightly steaming or wet blocking to even out the stitches and set the shape. Do not over-block, as this can distort the ribbing.
Color Block Variation
For a more dramatic look, use a third color (e.g., mustard yellow) for the upper hand section. Simply switch to the third color after completing the thumb opening and continue as written.
Enjoy your new Ember & Ash Fingerless Gloves! They make wonderful gifts or a cozy treat for yourself.