Sunset Dune Half Circle Ripple Shawl Free Pattern – Knit a Desert Mirage Wrap

Sunset Dune Half Circle Ripple Shawl Free Pattern – Knit a Desert Mirage Wrap
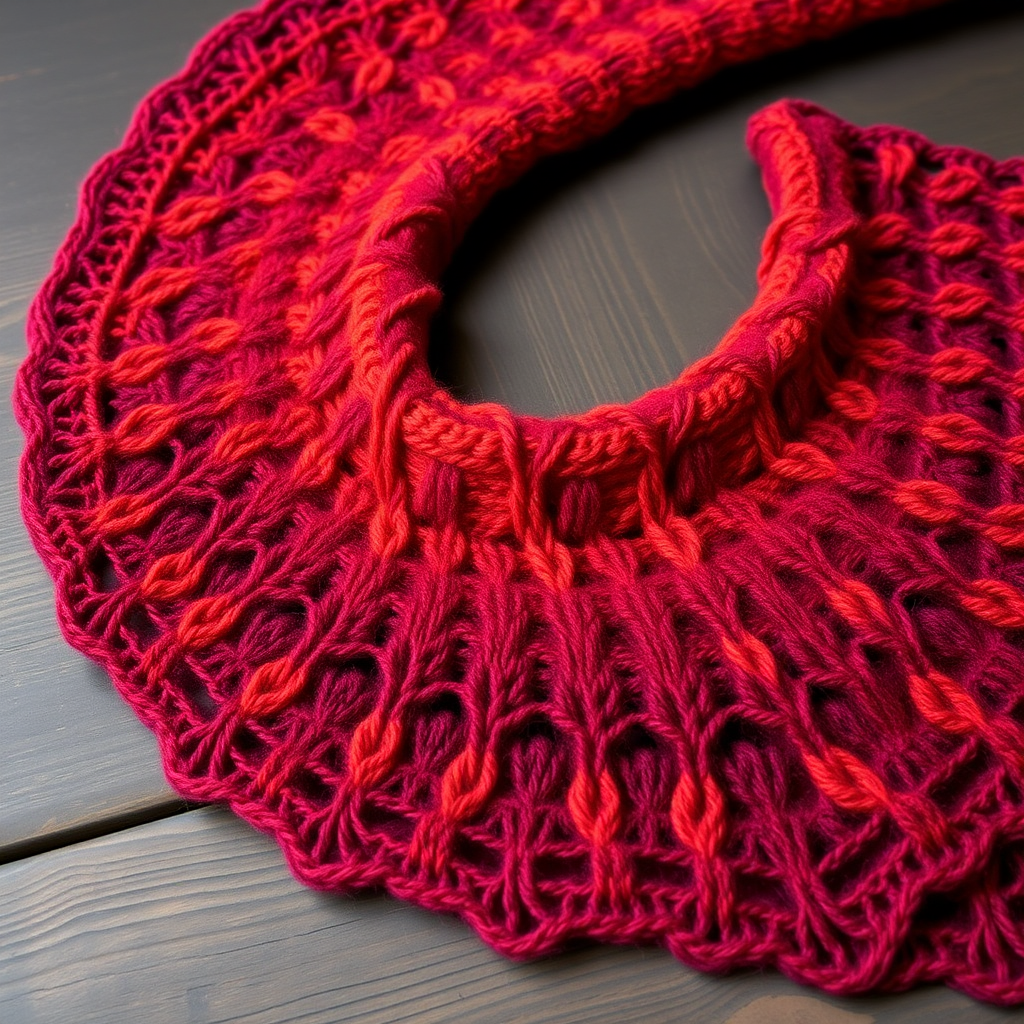
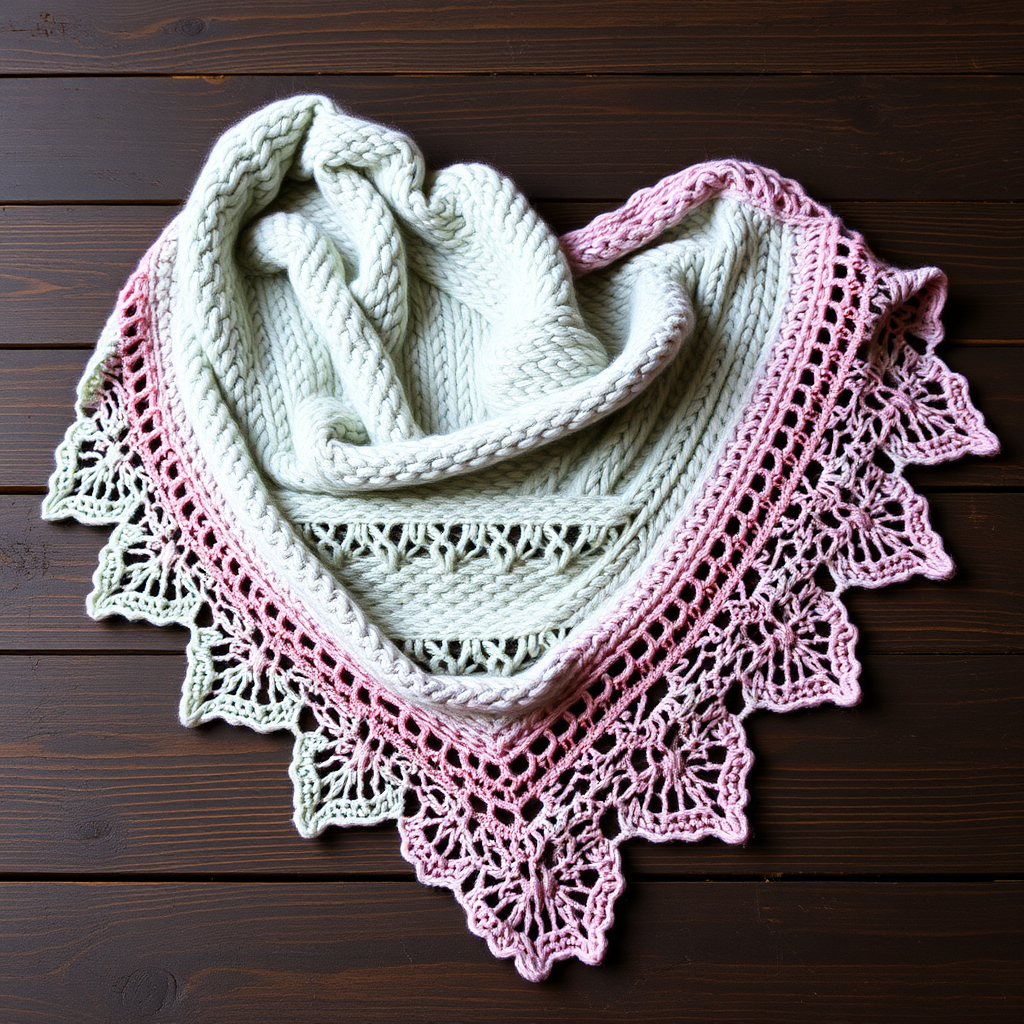
Wrap yourself in the warm hues of a desert sunset with this stunning half-circle ripple shawl. Featuring undulating waves of burnt orange, terracotta, and sand, this knit pattern creates a mesmerizing, textured drape that's both cozy and elegant. Whether you're looking for a statement piece for cool evenings or a thoughtful handmade gift, this shawl delivers the perfect blend of desert-inspired beauty and practical warmth. The rhythmic ripple pattern mimics the gentle curves of sand dunes, while the color transitions evoke the breathtaking gradient of a sunset sky. Best of all, this pattern is beginner-friendly, using simple knit, purl, and basic increase/decrease stitches to create a truly spectacular result.
Materials Needed
Before you begin, gather the following materials to ensure a smooth knitting experience:
- Yarn: Worsted weight yarn in 3 colors:
- Color A (Burnt Orange): 200g
- Color B (Terracotta): 120g
- Color C (Sand): 80g
- Needle: US 9 (5.5 mm) circular knitting needle, 32-inch or longer. The long circular needle is essential to accommodate the growing number of stitches as the shawl expands.
- Other Tools: Stitch markers (optional but helpful), tapestry needle for weaving in ends, blocking mats and pins for finishing.
Gauge: 16 stitches and 24 rows = 4 inches in stockinette stitch (after blocking). Gauge is important for achieving the correct size and drape, so take a moment to knit a swatch before starting.
Step-by-Step Instructions
This shawl is knit from the center of the straight edge outward, increasing in a half-circle shape. The ripple pattern is created by alternating increases and decreases, producing those beautiful undulating waves. Follow these detailed instructions carefully, and you'll have a gorgeous desert mirage wrap in no time.
Abbreviations
- CO = cast on
- K = knit
- P = purl
- K2tog = knit two together (decrease)
- KFB = knit front and back (increase)
- YO = yarn over
- St(s) = stitch(es)
- Rep = repeat
- RS = right side
- WS = wrong side
Setup
Begin by casting on with Color A (Burnt Orange).
- CO 5 sts with Color A.
- Row 1 (RS): KFB, K to last st, KFB. (7 sts)
- Row 2 (WS): P all.
- Row 3: KFB, K to last st, KFB. (9 sts)
- Row 4: P all.
- Row 5: KFB, K to last st, KFB. (11 sts)
- Row 6: P all.
You now have 11 stitches on your needle. This forms the foundation for the ripple pattern.
Ripple Pattern (worked over 11 sts)
This is the core pattern that creates the beautiful wave effect. Each row increases the stitch count by 2, gradually expanding the shawl.
- Row 1 (RS): KFB, K2, K2tog, YO, K1, YO, K2tog, K2, KFB. (13 sts)
- Row 2 (WS): P all.
- Row 3: KFB, K3, K2tog, YO, K1, YO, K2tog, K3, KFB. (15 sts)
- Row 4: P all.
- Row 5: KFB, K4, K2tog, YO, K1, YO, K2tog, K4, KFB. (17 sts)
- Row 6: P all.
- Row 7: KFB, K5, K2tog, YO, K1, YO, K2tog, K5, KFB. (19 sts)
- Row 8: P all.
- Row 9: KFB, K6, K2tog, YO, K1, YO, K2tog, K6, KFB. (21 sts)
- Row 10: P all.
Note: The YO (yarn over) creates the small eyelet holes that add to the delicate, airy feel of the ripple. The K2tog decreases balance the YO increases, keeping the stitch count consistent within each pattern repeat.
Increase Rows (to widen the half-circle)
After completing the ripple pattern, you'll work 2 rows of stockinette with increases at each edge. This helps the shawl maintain its half-circle shape.
- Row 11 (RS): KFB, K to last st, KFB. (23 sts)
- Row 12 (WS): P all.
Color Sequence and Pattern Repetition
Now you'll repeat the Ripple Pattern (Rows 1-12) while alternating colors to create the beautiful desert gradient. Follow this sequence carefully:
- Color A (Burnt Orange): Work Rows 1-12 once. This completes the first color block.
- Color B (Terracotta): Switch to Color B and repeat Rows 1-12 twice (24 rows total).
- Color C (Sand): Switch to Color C and repeat Rows 1-12 three times (36 rows total).
- Color B (Terracotta): Switch back to Color B and repeat Rows 1-12 twice (24 rows).
- Color A (Burnt Orange): Switch back to Color A and repeat Rows 1-12 once (12 rows).
Pro Tip: When changing colors, do so at the beginning of a right-side row for a clean, seamless transition. Leave a tail of about 6 inches to weave in later.
Final Edging
To give your shawl a neat, finished edge, work a simple garter stitch border.
- With Color A, work 2 rows of garter stitch (K all sts) across all sts.
- Bind off loosely. A loose bind-off is crucial to prevent the edge from pulling and to maintain the shawl's drape. You can use a larger needle for binding off if needed.
Finishing
The final steps are what transform your knitting into a beautifully shaped shawl.
- Weave in all ends using a tapestry needle. Be sure to weave in securely but not too tightly, so the fabric remains flexible.
- Block the shawl to a half-circle shape. Soak the shawl in lukewarm water with a gentle wool wash, then gently squeeze out excess water (do not wring). Lay it flat on blocking mats and pin the edges to open up the ripple pattern. The straight edge should be pinned along a straight line, while the curved edge is pinned to create a smooth half-circle.
- Allow to dry completely before unpinning. This can take 24-48 hours depending on humidity. Once dry, your shawl will hold its shape beautifully.
Your Sunset Dune Half Circle Ripple Shawl is now complete! The rhythmic waves and warm desert colors will make this a cherished piece in your wardrobe or a treasured gift for someone special. The combination of simple stitches and thoughtful color placement creates a sophisticated result that looks far more complex than it actually is. Enjoy wearing your handcrafted desert mirage wrap, and don't be surprised if you find yourself reaching for it again and again.