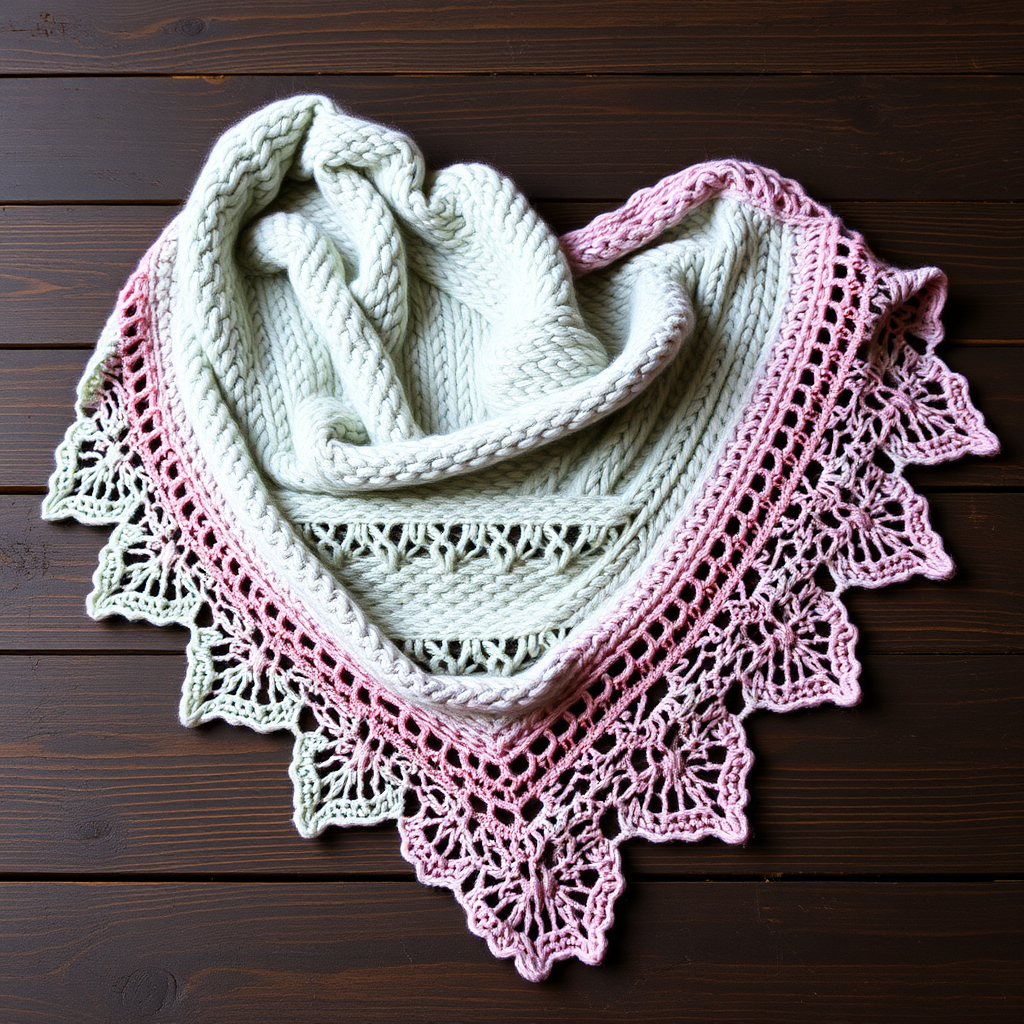
Emberfall Crescent Shawl Free Pattern – Knit a Smoldering Sunset Wrap
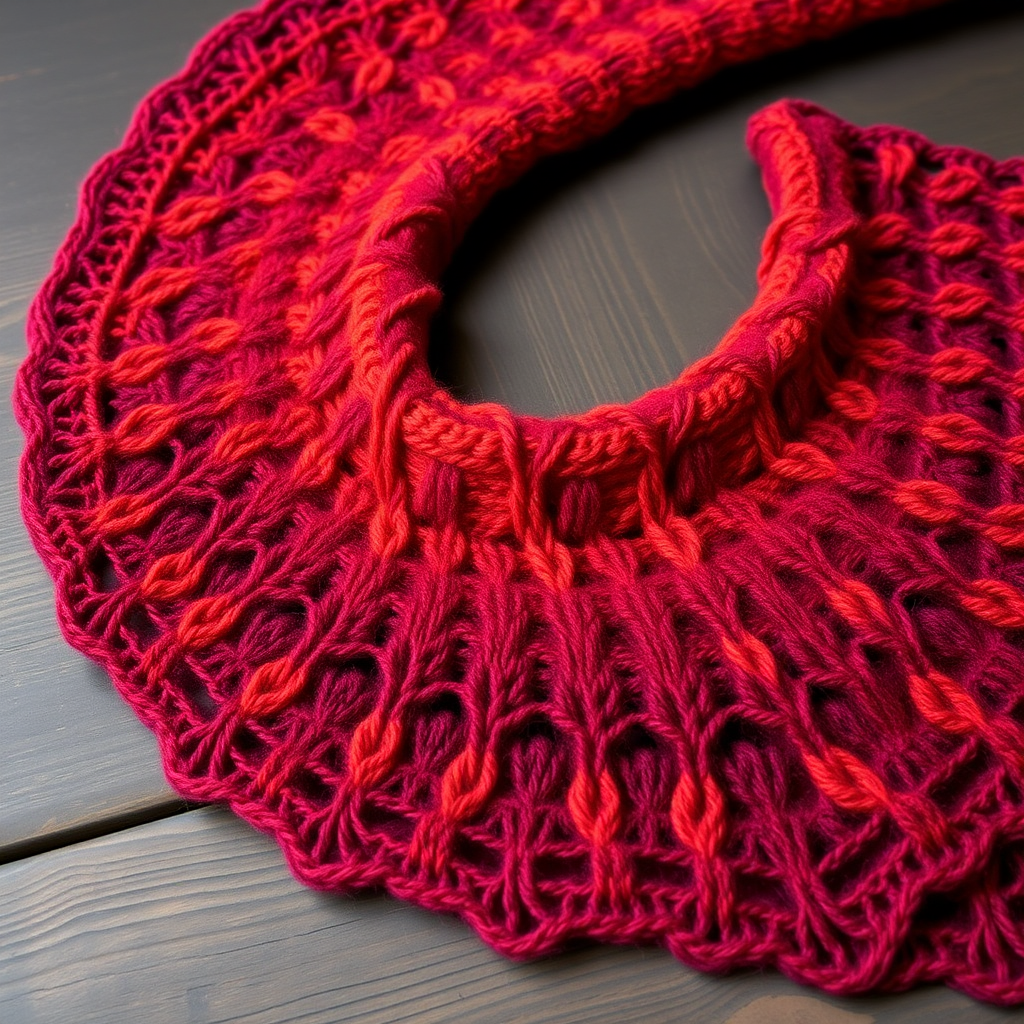
Emberfall Crescent Shawl Free Pattern – Knit a Smoldering Sunset Wrap
Wrap yourself in the warm, flickering hues of a twilight fire with this crescent-shaped shawl, knit from the top down in a mesmerizing mosaic of burnt orange, deep magenta, and dusky plum. The textured slipped-stitch pattern creates a soft, nubby fabric that drapes beautifully, making it the perfect companion for cool evenings. This pattern is beginner-friendly, yet produces a stunning, heirloom-quality piece that looks far more complex than it is. The smoldering gradient effect is achieved by alternating colors in two-row stripes, creating a visual journey from ember to ash.
Materials Needed
Before you begin, gather the following supplies. This project is perfect for using up worsted weight yarn from your stash, and the color choices are highly customizable—think autumn leaves, ocean depths, or even a monochromatic gradient.
- Yarn: Worsted weight yarn in 3 colors:
- Color A (Burnt Orange): 150g
- Color B (Deep Magenta): 120g
- Color C (Dusky Plum): 80g
- Needle: US 8 (5.0mm) circular knitting needle, 32-inch or longer. The long cord is essential to accommodate the increasing number of stitches.
- Notions: Stitch markers (optional but helpful for marking the center stitch), tapestry needle for weaving in ends, blocking mats and pins.
- Gauge: 18 stitches and 24 rows = 4 inches in stockinette stitch (blocked). Gauge is not critical for a shawl, but consistency will affect the final size and drape.
Step-by-Step Instructions
This shawl is knit from the top center down, increasing on each side to form a crescent shape. The slipped-stitch mosaic pattern is worked in two-row stripes, alternating colors to create the smoldering gradient effect. Don't be intimidated by the length of the pattern—once you establish the rhythm, it's a wonderfully meditative knit.
Abbreviations
- k = knit
- p = purl
- yo = yarn over
- k2tog = knit two together
- sl1 = slip one stitch purlwise with yarn in back
- RS = right side
- WS = wrong side
Setup Section
We begin with a simple garter stitch tab that will form the top center of the shawl. This is where all the increases originate.
With Color A, cast on 5 stitches.
Row 1 (RS): k2, yo, k1, yo, k2 (7 stitches)
Row 2 (WS): k2, p3, k2
Row 3 (RS): k2, yo, k1, yo, k1, yo, k1, yo, k2 (11 stitches)
Row 4 (WS): k2, p7, k2
Row 5 (RS): k2, yo, k3, yo, k1, yo, k3, yo, k2 (15 stitches)
Row 6 (WS): k2, p11, k2
Body – Simple Increases
Now we establish the increase pattern that will shape the crescent. You will increase 4 stitches on every RS row: one after the first k2, one before the last k2, and one on each side of the center stitch. The center stitch is always the middle stitch of the row.
Row 7 (RS): k2, yo, knit to center stitch, yo, k1, yo, knit to last 2 stitches, yo, k2
Row 8 (WS): k2, purl to last 2 stitches, k2
Repeat Rows 7-8 until you have 51 stitches on the needle, ending with a WS row. Your work should have a clear center stitch and a growing garter stitch border on each side.
Mosaic Pattern
Now the magic begins. The mosaic pattern uses slipped stitches to create geometric motifs without any stranding or floats. The key is that slipped stitches are always slipped purlwise with yarn in back on RS rows, and yarn in front on WS rows. The pattern is worked in 2-row stripes, alternating colors.
Stripe 1 (Color B)
Row 1 (RS): k2, yo, *sl1, k1* repeat from * to * until 2 stitches before center, sl1, yo, k1, yo, sl1, *k1, sl1* repeat from * to * until 2 stitches before end, yo, k2
Row 2 (WS): k2, purl all stitches (including slipped ones) to last 2 stitches, k2
Note: On this WS row, you are purling the slipped stitches from the previous row. This locks the slipped stitch in place and creates the mosaic effect.
Stripe 2 (Color C)
Row 3 (RS): k2, yo, *k1, sl1* repeat from * to * until 2 stitches before center, k1, yo, k1, yo, k1, *sl1, k1* repeat from * to * until 2 stitches before end, yo, k2
Row 4 (WS): k2, purl all stitches to last 2 stitches, k2
Stripe 3 (Color A)
Row 5 (RS): k2, yo, *sl1, k1* repeat from * to * until 2 stitches before center, sl1, yo, k1, yo, sl1, *k1, sl1* repeat from * to * until 2 stitches before end, yo, k2
Row 6 (WS): k2, purl all stitches to last 2 stitches, k2
Repeat these 6 rows, continuing to increase on every RS row (4 increases per RS row). Work until the shawl measures approximately 24 inches from the cast-on edge, or until you have about 200 stitches on the needle, ending with a WS row. The shawl will grow quickly, so try it on as you go to check the drape.
Edging
The delicate eyelet edging adds a beautiful finish and helps the shawl lie flat. Switch to Color A for the final rows.
Row 1 (RS): k2, yo, *k2tog, yo* repeat from * to * until 2 stitches before center, k2tog, yo, k1, yo, k2tog, *yo, k2tog* repeat from * to * until 2 stitches before end, yo, k2
Row 2 (WS): k2, purl all stitches to last 2 stitches, k2
Row 3 (RS): k2, yo, *k1, yo, k2tog* repeat from * to * until 2 stitches before center, k1, yo, k1, yo, k1, *k2tog, yo, k1* repeat from * to * until 2 stitches before end, yo, k2
Row 4 (WS): k2, purl all stitches to last 2 stitches, k2
Bind off loosely on the next RS row (knitwise). A loose bind-off is crucial to prevent the edge from pulling in. Consider using a larger needle or a stretchy bind-off method if needed.
Finishing
Weave in all ends carefully, using a tapestry needle to hide them within the fabric. Block the shawl gently to shape, pinning out the points along the edge. This is where the magic happens—blocking will open up the mosaic pattern and give the shawl its beautiful drape. Allow to dry completely before unpinning.
Your Emberfall Crescent Shawl is now complete! Wear it draped over your shoulders for a touch of smoldering elegance, or gift it to someone special. The combination of the textured mosaic pattern and the gradient color transitions makes this a truly unique and cherished piece. Happy knitting!