Enchanted Meadow Mosaic Shawl Free Pattern – Textured Wildflower Wrap

Introducing the Enchanted Meadow Mosaic Shawl
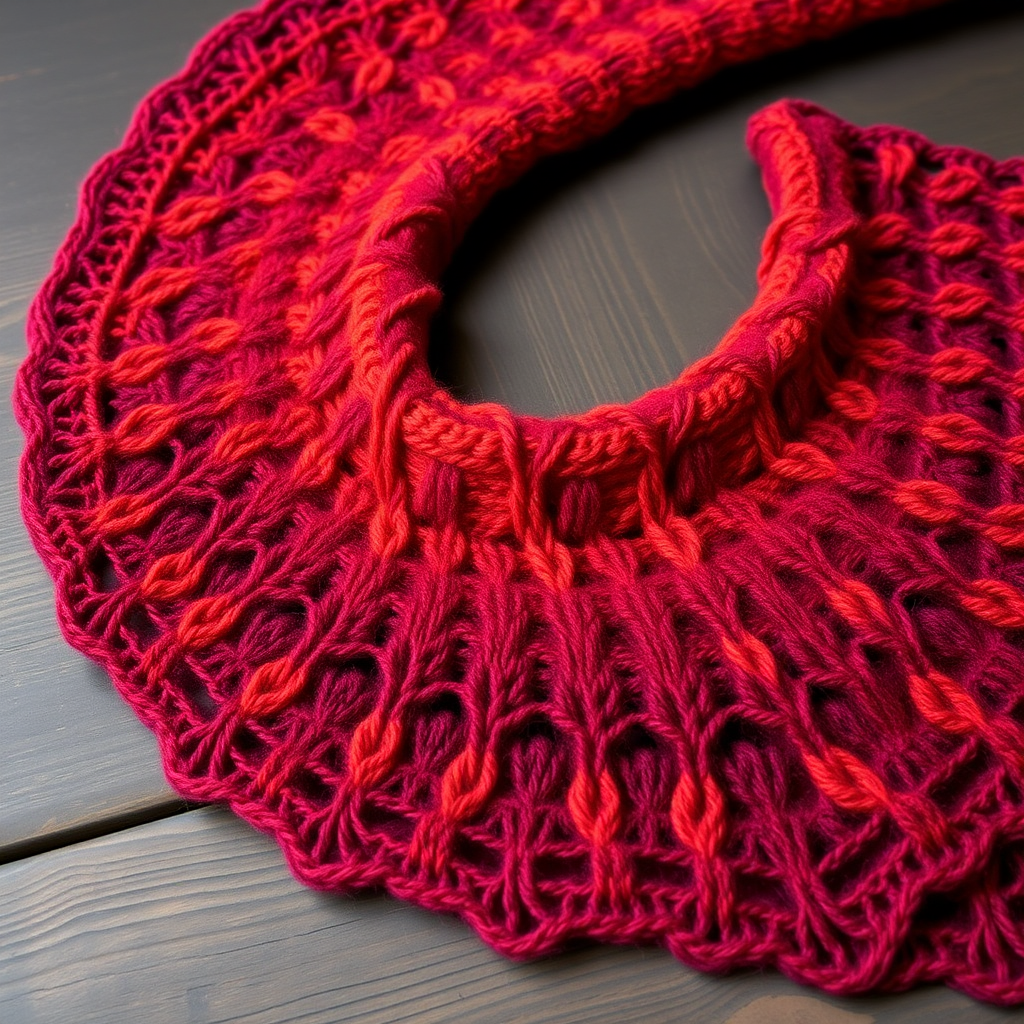
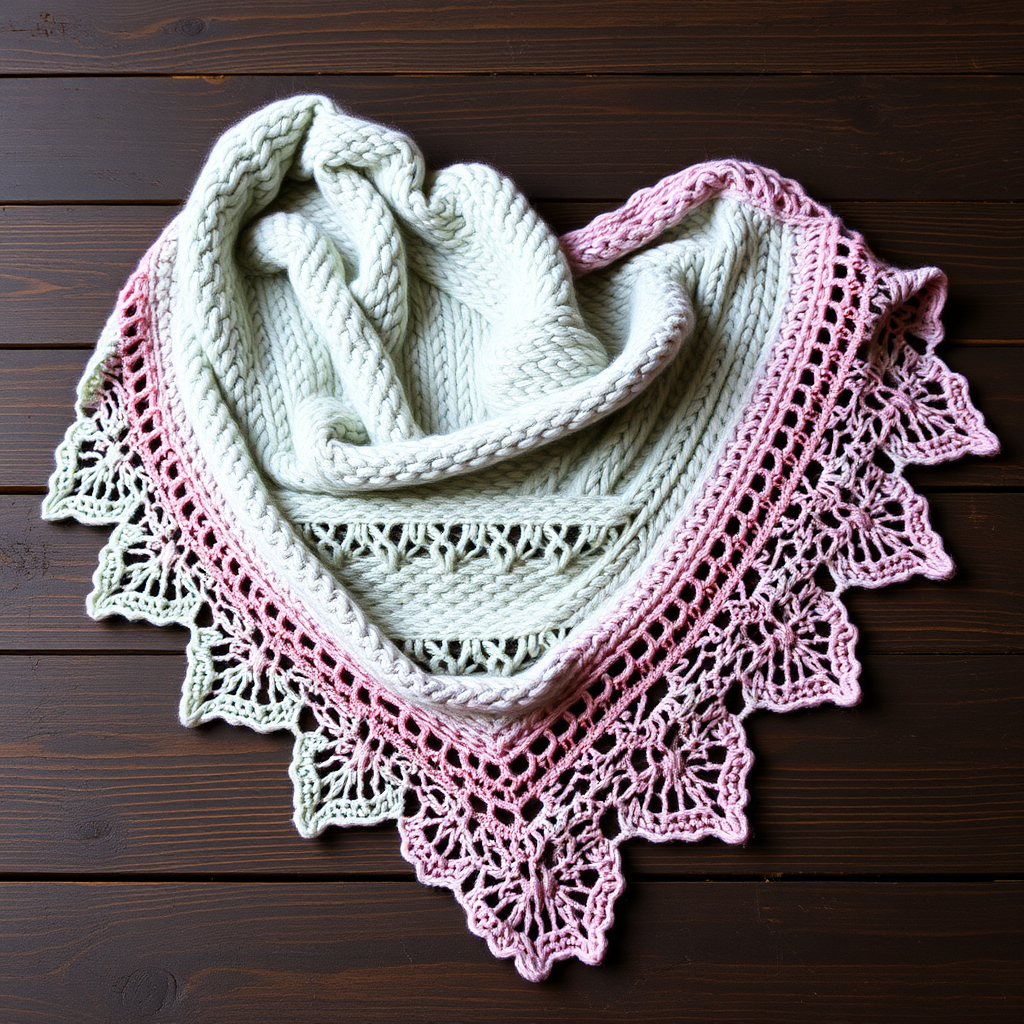
Wrap yourself in a garden of textured blooms with this mosaic-inspired shawl, where slipped stitches create a tapestry of wildflowers. This unique design blends cozy warmth with an artistic, handcrafted feel, perfect for cool evenings and creative souls. The Enchanted Meadow Mosaic Shawl is a stunning triangular wrap that combines the meditative rhythm of garter stitch with the visual intrigue of mosaic colorwork. Whether you're a seasoned knitter looking for a new challenge or a confident beginner ready to explore slipped stitches, this pattern offers a rewarding journey and a breathtaking result.
The magic of this shawl lies in its construction. Worked from the top down, it begins with a simple garter tab and gradually expands into a lush canvas of color. The mosaic technique uses slipped stitches and two-row stripes to create the illusion of woven wildflowers, with each color shift revealing a new layer of depth. The finished piece drapes beautifully over the shoulders, its dense, tapestry-like surface a testament to the artistry of hand knitting.
Materials Needed
Before you begin your knitting adventure, gather the following materials. The quality of your yarn will greatly impact the final drape and stitch definition, so choose a worsted weight yarn that feels wonderful in your hands.
Yarn
- Worsted weight yarn in 3 colors:
- Color A (Meadow Green) – for the base and border
- Color B (Sunflower Yellow) – for the first mosaic stripe
- Color C (Dusty Rose) – for the second mosaic stripe
- Approximately 600 yards total (200 yards of each color)
Needles & Notions
- US 7 (4.5 mm) circular needle, 32-inch or longer (to accommodate the growing number of stitches)
- Stitch markers (optional, but helpful for tracking pattern repeats)
- Tapestry needle for weaving in ends
- Blocking mats and pins (for the final finishing touch)
Gauge
18 stitches and 24 rows = 4 inches in stockinette stitch. While gauge is not critical for a shawl, maintaining a consistent tension will ensure your finished piece has the intended drape and size. If you tend to knit loosely or tightly, adjust your needle size accordingly.
Step-by-Step Instructions
This shawl is worked from the top down, starting with a garter tab and increasing to form a triangular shape. The mosaic pattern uses slipped stitches and two-row stripes to create the illusion of woven wildflowers. Follow each step carefully, and you'll be amazed at the intricate beauty that emerges from your needles.
Abbreviations
- k = knit
- p = purl
- sl = slip stitch purlwise with yarn in back (unless otherwise noted)
- yo = yarn over
- k2tog = knit two together
- ssk = slip, slip, knit (slip two stitches knitwise, then knit them together through the back loop)
- kfb = knit front and back (increase one stitch)
- st(s) = stitch(es)
Garter Tab Cast On
This clever technique creates a seamless, professional-looking starting point for your shawl. Follow these steps carefully:
- With Color A, cast on 3 stitches using your preferred method (long-tail cast on works well).
- Knit 6 rows of garter stitch (knit every row). You should have a small, neat square of fabric.
- Turn your work 90 degrees clockwise. Along the side edge of your garter square, you'll see small bumps or "v"s. Pick up and knit 3 stitches along this side edge. You now have 3 stitches on your needle (the original 3 from the cast-on edge are on the left, and the 3 newly picked up are on the right).
- Turn your work again (now you're looking at the cast-on edge). Pick up and knit 3 stitches from the cast-on edge. You now have 9 stitches total on your needle: 3 from the side, 3 from the cast-on, and 3 from the original row.
Tip: If this is your first time working a garter tab, take a moment to admire your work. This small square is the foundation of your entire shawl!
Increase Section (Garter Stitch with Color A)
Now we'll begin shaping the triangle. This section is worked in simple garter stitch with increases at each edge.
- Row 1 (RS): k3, yo, k to last 3 sts, yo, k3. (You've increased 2 stitches: one at each edge.)
- Row 2 (WS): k3, p to last 3 sts, k3. (The yarn overs are purled on the wrong side, creating a neat, open increase.)
- Repeat Rows 1-2 until you have 51 stitches on the needle, ending with a WS row (Row 2).
Note: The first and last 3 stitches of every row are always knit, creating a garter stitch border that will frame your mosaic pattern beautifully.
Mosaic Pattern Section
Now the real magic begins! The mosaic pattern is worked in two-row stripes, alternating colors. The pattern repeat is a multiple of 4 stitches + 3, with the 3 edge stitches on each side. Don't worry if this sounds complex – the slipped stitches do all the work for you, creating the illusion of woven wildflowers.
Setup Row (RS, Color B): k3, *sl 1, k3* repeat from * to * until 4 sts remain, sl 1, k3.
Row 2 (WS, Color B): k3, *sl 1, k3* repeat from * to * until 4 sts remain, sl 1, k3. (On WS rows, slip all slipped stitches purlwise with yarn in front.)
Row 3 (RS, Color C): k3, *k1, sl 1, k1, k1* repeat from * to * until 4 sts remain, k1, sl 1, k3. (Notice how this shifts the pattern – this is what creates the staggered wildflower effect.)
Row 4 (WS, Color C): k3, *k1, sl 1, k1, k1* repeat from * to * until 4 sts remain, k1, sl 1, k3. (Slip purlwise with yarn in front.)
Repeat these 4 rows, but on every RS row, increase 2 stitches by working kfb in the first and last stitch of the row (after the first 3 edge stitches and before the last 3 edge stitches). This will maintain the shawl's triangular shape.
Detailed Increase Instructions for Mosaic Rows:
- On RS rows: k3, kfb, work pattern to last 4 sts, kfb, k3.
- On WS rows: k3, work pattern to last 3 sts, k3 (no increases on WS rows).
Continue working the mosaic pattern with increases until the shawl measures approximately 24 inches from the cast-on edge, or your desired length, ending with a WS row.
Pro Tip: Place a stitch marker after the first 3 stitches and before the last 3 stitches. This will help you remember where to place your increases and keep your edge stitches neat.
Final Garter Border
Once your mosaic section is complete, it's time to frame your masterpiece with a clean, simple border.
- Switch to Color A.
- Work 6 rows of garter stitch (knit all stitches), increasing 2 stitches on every RS row as before (k3, kfb, k to last 4 sts, kfb, k3).
- You should now have a beautiful, clean border framing your mosaic pattern.
Bind Off (Picot Edge)
This delicate picot bind-off adds a scalloped, airy trim that perfectly complements the textured body of the shawl. Follow these steps carefully:
- With Color A, bind off loosely as follows: k2.
- *Slip both stitches back to the left needle.
- K2tog through the back loop (this closes the loop).
- K1 (this creates the picot bump).
- Repeat from * until all stitches are bound off.
Note: This bind-off creates a series of small, decorative loops along the edge. If you prefer a simpler finish, you can bind off all stitches knitwise loosely instead.
Finishing Touches
- Weave in all ends using your tapestry needle. Take care to weave them in along the edge stitches or through the back of the work so they're invisible from the front.
- Block gently to open up the mosaic pattern and enhance drape. Soak the shawl in lukewarm water with a gentle wool wash for 20-30 minutes. Gently squeeze out excess water (never wring or twist!).
- Lay the shawl flat on blocking mats, gently stretching it to its intended dimensions. Use blocking pins to secure the edges, especially the picot bind-off, to open up the scallops.
- Allow to dry completely before removing pins. This step is crucial for showcasing the intricate stitch work and vibrant color transitions.
Congratulations! You've created your very own Enchanted Meadow Mosaic Shawl. This beautiful, textured wrap is perfect for cool evenings, thoughtful gifts, or simply as a stunning addition to your handmade wardrobe. The mosaic technique creates a dense, tapestry-like fabric that's both warm and visually captivating. As you wear it, you'll appreciate the artistry in every stitch – a true testament to your skill and creativity.
Happy knitting, and may your meadow always be in bloom!