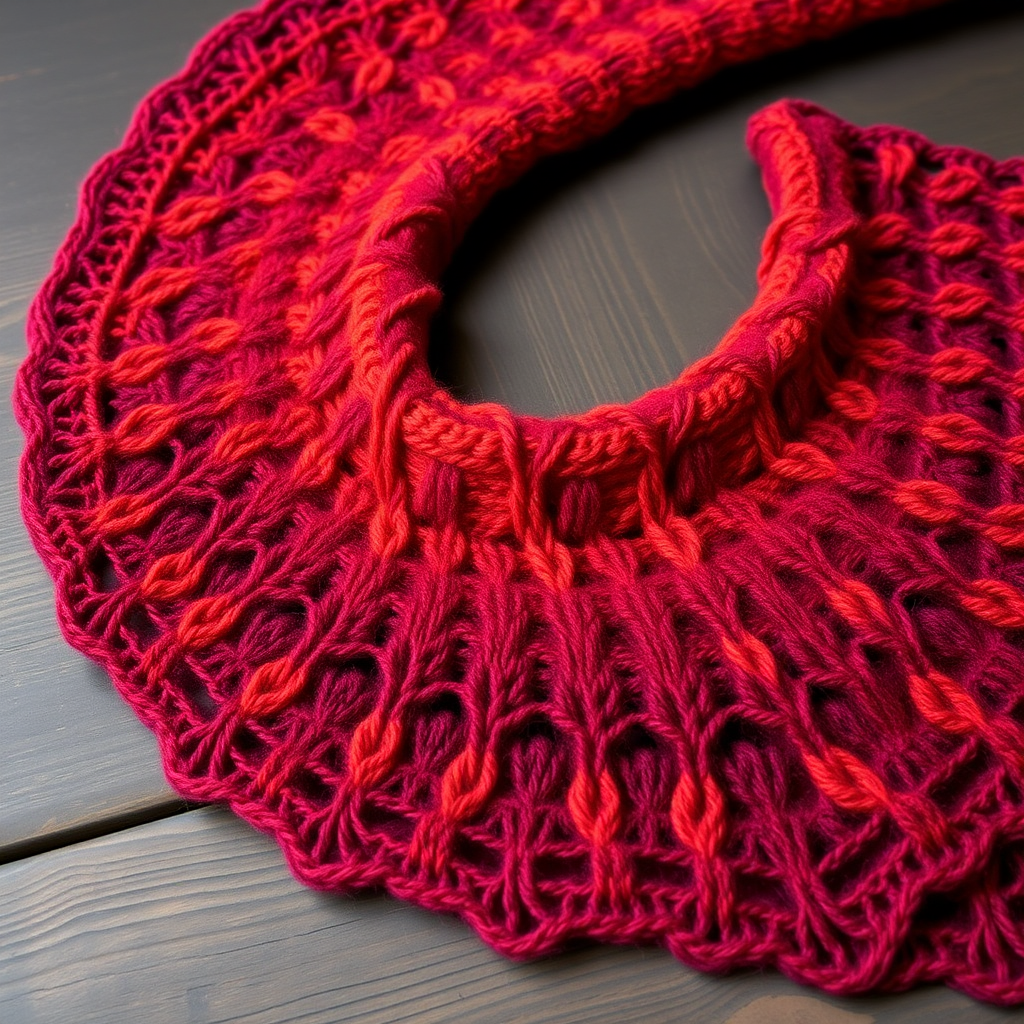
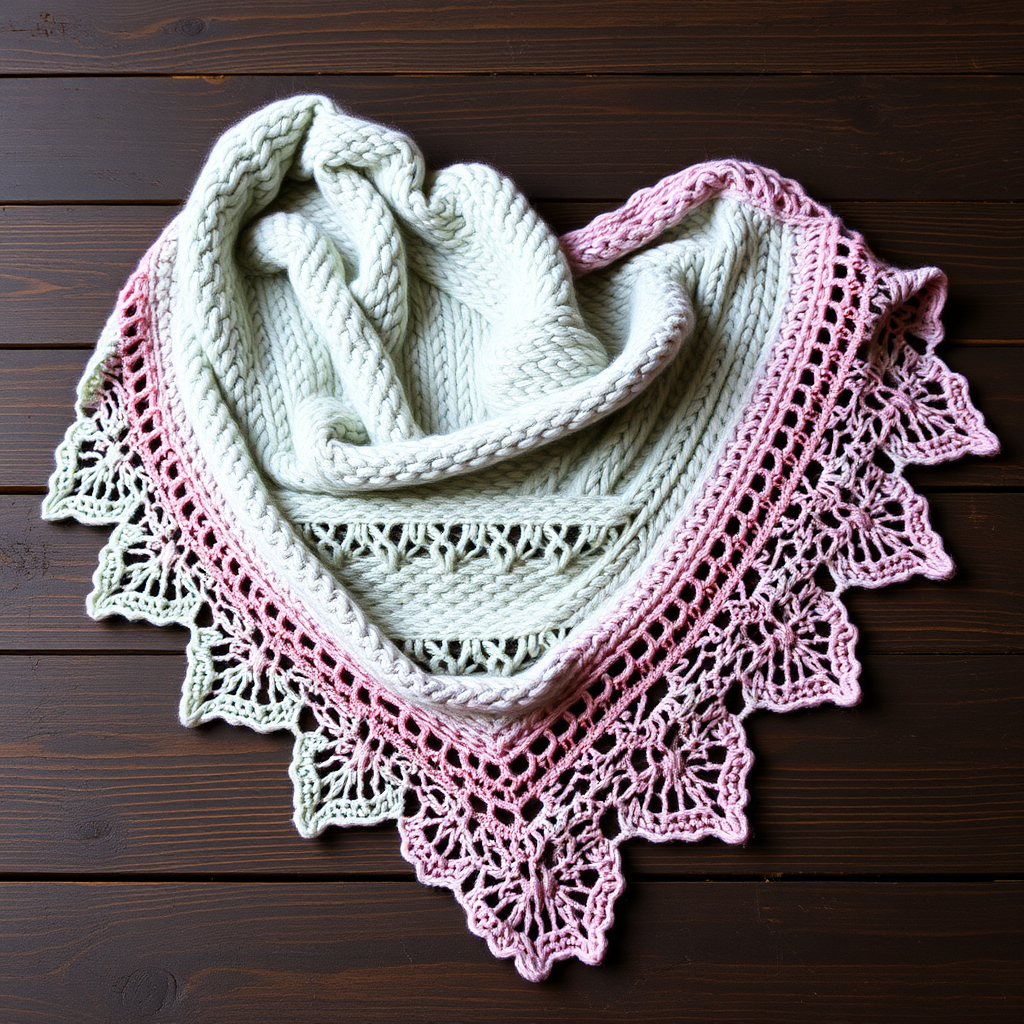
Caramel Fudge Ripple Wrap Free Knitting Pattern – Swirling Textured Shawl

Indulge in the Caramel Fudge Ripple Wrap: A Cozy, Beginner-Friendly Knitting Project
There are certain knitting projects that feel like a warm hug from the very first stitch. The Caramel Fudge Ripple Wrap is exactly that—a luxurious, textured shawl that drapes beautifully and looks far more complex than it actually is. With its gentle waves and rich, warm color palette, this wrap evokes the cozy comfort of a homemade dessert. Whether you're curling up with a good book or adding a handcrafted touch to your outfit, this pattern is your perfect companion. Best of all, it's designed with beginners in mind, using simple knit, purl, and yarn-over stitches to create a stunning, professional-looking result.
This free knitting pattern guides you through creating a long, rectangular shawl with a mesmerizing ripple stitch. The broad horizontal stripes of caramel, fudge, and cream blend together like marbled fudge, creating a tactile, indulgent fabric. Let's dive into the materials and steps you'll need to bring this beautiful wrap to life.
Materials Needed
Before you begin, gather the following supplies to ensure a smooth and enjoyable knitting experience. The quality of your yarn will greatly affect the final drape and feel of your wrap.
- Yarn: Worsted weight yarn in three colors:
- Color A (Caramel): 400g – a warm, golden brown
- Color B (Fudge): 350g – a deep, rich brown
- Color C (Cream): 200g – a soft, off-white
- Needle: US 9 (5.5mm) circular knitting needle, 32 inches or longer. The long cord is essential for holding the many stitches of the wrap comfortably.
- Other Tools: A tapestry needle for weaving in ends, scissors, and stitch markers (optional, but helpful for keeping track of pattern repeats).
Gauge: 16 stitches and 24 rows = 4 inches in stockinette stitch (after blocking). While gauge isn't critical for a wrap, matching it will help you achieve the intended dimensions and yarn usage.
Step-by-Step Instructions
This wrap is knitted flat from the top center down, using a simple ripple pattern that creates gentle waves. The color changes are worked in stripes to mimic the swirls of caramel fudge. Don't be intimidated by the pattern—once you get the hang of the 12-row repeat, it becomes rhythmic and meditative.
Abbreviations
- CO: Cast on
- K: Knit
- P: Purl
- K2tog: Knit two together (decrease)
- Kfb: Knit into front and back of stitch (increase)
- YO: Yarn over (increase)
- RS: Right side
- WS: Wrong side
Getting Started: The Setup
With Color A (Caramel), CO 61 stitches. This initial cast-on forms the top edge of your wrap. Don't pull your cast-on too tightly; you want it to have a bit of give so the edge doesn't pucker.
Row 1 (RS): K all stitches.
Row 2 (WS): K all stitches.
These two rows of garter stitch create a neat, stable foundation for the ripple pattern to follow.
The Ripple Pattern
Now you'll begin the main body of the wrap. The pattern repeat is worked over a set number of stitches, and the instructions below guide you through each row. Pay close attention to the sequence of increases (YO) and decreases (K2tog) that create the signature waves.
Row 3 (RS): K3, *K2tog, K2tog, K1, YO, K1, YO, K1, YO, K1, YO, K1, K2tog, K2tog, K1*; repeat from * to * until last 3 stitches, K3.
Let's break this down: You begin and end each row with 3 knit stitches to create a neat, straight edge. The section between the asterisks (*) is your pattern repeat. You'll work the decreases (K2tog) to slope the wave down, then the yarn overs (YO) and knit stitches to build the wave back up. The YO creates a decorative hole, and the K2tog balances the stitch count so your total number of stitches remains the same.
Row 4 (WS): P all stitches.
This purl row provides a clean, flat background that makes the yarn-over holes and knit stitches pop on the right side.
Repeat Rows 3 and 4 for the ripple pattern. You will work this 2-row repeat continuously, changing colors as described below.
Color Changes and Stripe Sequence
The magic of the "caramel fudge" look comes from the strategic color changes. You'll work in broad stripes, alternating colors to create a marbled effect. Here is the exact sequence to follow:
- Work 10 rows in Color A (Caramel).
- Switch to Color B (Fudge) and work 10 rows.
- Switch to Color C (Cream) and work 10 rows.
- Switch back to Color B (Fudge) and work 10 rows.
- Switch to Color A (Caramel) and work 10 rows.
- Switch to Color B (Fudge) and work 10 rows.
- Switch to Color C (Cream) and work 10 rows.
- Switch to Color B (Fudge) and work 10 rows.
Continue alternating colors in this manner (A, B, C, B, A, B, C, B...) until the wrap measures approximately 60 inches from the cast-on edge, ending with a WS row. When changing colors, simply tie off the old color and start the new one at the beginning of a RS row. Weave in the ends later for a clean finish.
Finishing Touches: Final Rows and Bind Off
Once your wrap reaches the desired length, it's time to finish it off with a clean, stretchy edge that complements the ripple pattern.
Final Rows: With Color A (Caramel), work 2 rows of garter stitch (knit all stitches). This creates a subtle, solid border that frames the colorful body of the wrap.
Bind off (WS): K2, *K2tog, pass first stitch over second stitch*; repeat from * to * until all stitches are bound off. This is a decorative bind-off that creates a lovely, scalloped edge, echoing the waves of the pattern. Cut yarn, leaving a 6-inch tail, and pull through the last loop to secure.
Blocking: The Final Secret
Blocking is the most crucial step to unlock the full beauty of your ripple wrap. It opens up the lace, evens out the stitches, and gives the fabric its final, elegant drape.
- Soak the wrap in lukewarm water with a gentle wool wash for about 15-20 minutes.
- Gently squeeze out the excess water. Do not wring or twist, as this can felt the wool.
- Lay the wrap flat on a clean, dry towel. Roll the towel up to absorb more water.
- Lay the wrap flat on a fresh, dry towel or blocking mat. Gently shape it to your desired dimensions, stretching it out to open the ripples and straighten the edges.
- Pin the edges if needed to hold the shape, and allow it to dry completely. This may take 24-48 hours.
Once dry, your Caramel Fudge Ripple Wrap is ready to be worn and admired. The combination of the textured stitch and the warm, gradient colors creates a truly special piece that you'll treasure for years to come. Happy knitting!