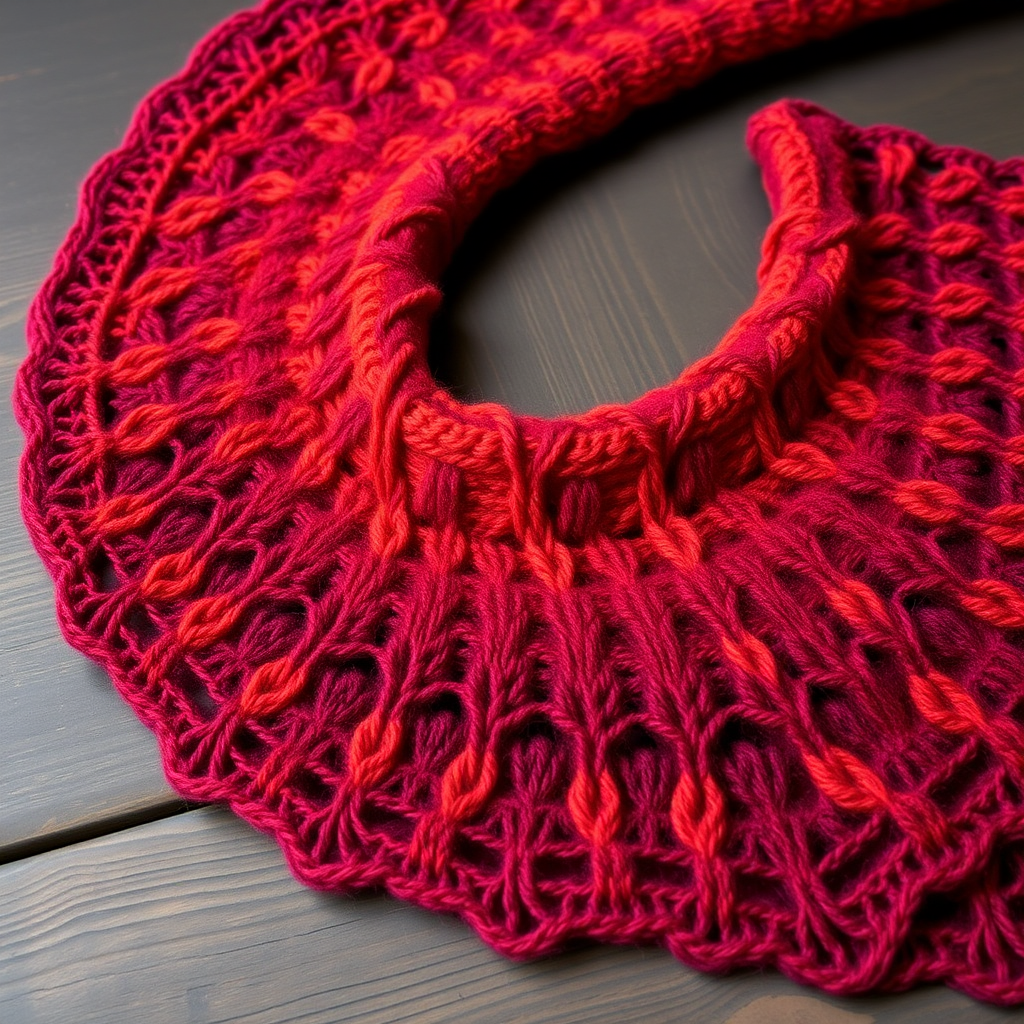
Misty Meadow Wrap Free Pattern – A Knitted Ombre Shawl with Cascading Lace
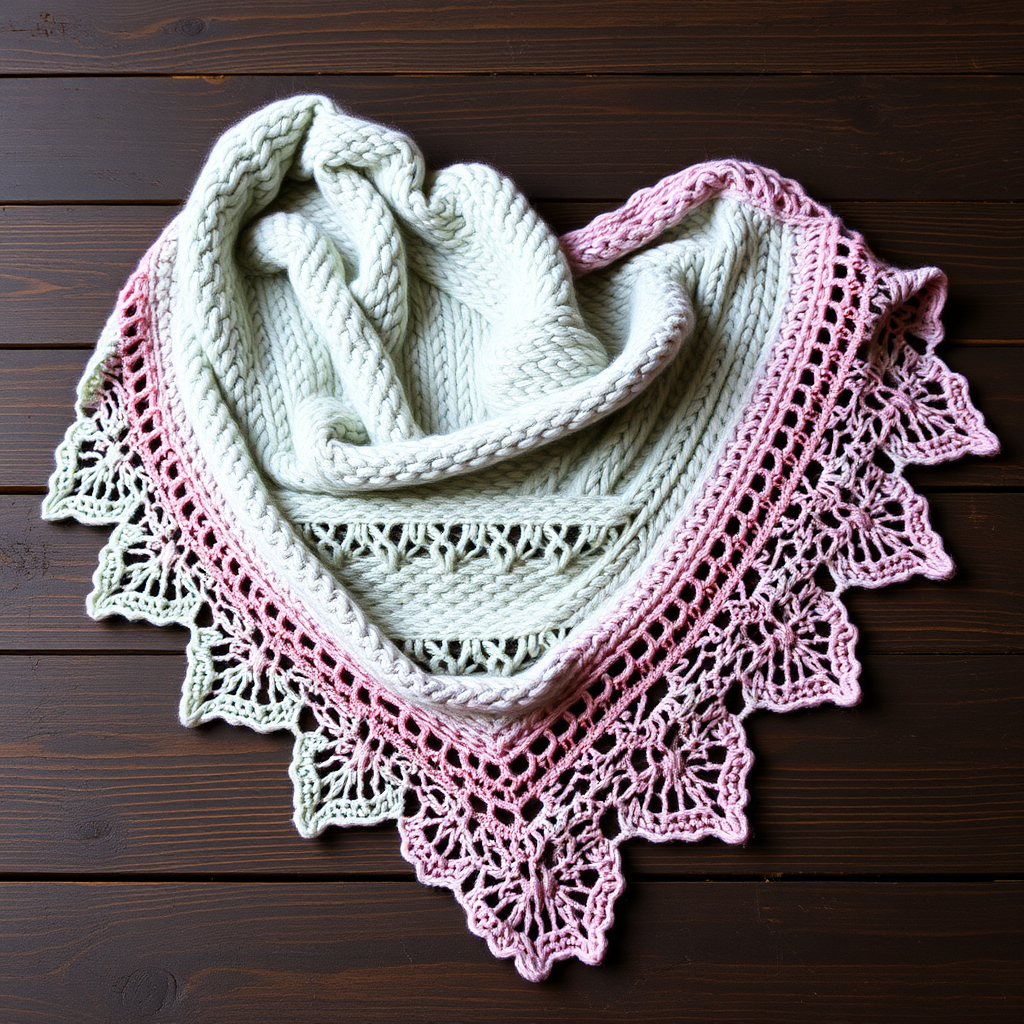
Misty Meadow Wrap Free Pattern – A Knitted Ombre Shawl with Cascading Lace
Wrap yourself in the soft hues of a misty morning with this elegant shawl, featuring a delicate lace border that cascades like morning dew. The Misty Meadow Wrap is a stunning triangular shawl worked top-down in a meditative garter stitch body, punctuated by a rhythmic stripe sequence and finished with an airy, eyelet lace edging. This pattern is perfect for intermediate knitters seeking a project that is both calming to knit and breathtaking to wear. The gentle gradient of misty lavender, soft sage, and dusty rose creates a wearable piece of art that drapes beautifully and flows like a misty meadow in the morning light.
Whether you are looking for a cozy layering piece for cool evenings or a statement accessory for special occasions, this wrap delivers. The combination of simple increases and a repeating lace pattern makes it an engaging yet relaxing knit. Let’s dive into the materials and step-by-step instructions to create your own masterpiece.
Materials Needed
Before you begin, gather the following supplies to ensure a smooth knitting experience. The quality of your yarn will greatly affect the drape and feel of the finished shawl, so choose a soft, pliable fingering weight yarn.
Yarn
- Fingering weight yarn in 3 colors:
- Color A (Misty Lavender)
- Color B (Soft Sage)
- Color C (Dusty Rose)
- Approx. 400g total (or 1000 meters / 1093 yards)
Needles & Notions
- US 6 (4.0mm) circular knitting needle, 32-inch (80 cm) or longer to accommodate the increasing stitch count.
- Stitch markers (optional, but helpful for tracking lace sections).
- Tapestry needle for weaving in ends.
- Blocking mats and pins for finishing.
Gauge
20 stitches and 28 rows = 4 inches (10 cm) in stockinette stitch (blocked). Gauge is not critical for this project, but maintaining a consistent tension will ensure the shawl drapes evenly.
Step-by-Step Instructions
This shawl is worked top-down in a triangular shape, with an alternating stripe pattern and a lace edging. Follow the instructions carefully, and you will have a beautiful wrap in no time.
Abbreviations
- CO: Cast on
- K: Knit
- P: Purl
- K2tog: Knit two together (right-leaning decrease)
- SSK: Slip, slip, knit (left-leaning decrease)
- YO: Yarn over (increase)
- RS: Right side
- WS: Wrong side
Pattern Notes
- The shawl is worked in garter stitch (knit every row) for the body, with lace sections at the edges.
- The stripe sequence is: 6 rows Color A, 6 rows Color B, 6 rows Color C, repeat.
- Always slip the first stitch of each row purlwise with yarn in front for a neat, professional edge. This creates a clean selvedge that makes picking up stitches or finishing easier.
Getting Started: The Top Point
We begin with a simple cast-on and increase rows to form the top point of the triangle.
- Row 1 (RS): With Color A, CO 3 stitches.
- Row 2 (WS): K1, YO, K1, YO, K1 (5 stitches). Note: The YO increases create the initial shaping.
- Row 3 (RS): K2, YO, K1, YO, K2 (7 stitches).
- Row 4 (WS): K3, YO, K1, YO, K3 (9 stitches).
Continue increasing 2 stitches every row (one at each edge) until you have 51 stitches on the needle, working in garter stitch (knit every row). Remember to slip the first stitch of each row purlwise with yarn in front.
Body of the Shawl: Stripe Pattern
Now that the base is established, we will introduce the stripe sequence while continuing the increases.
- Work in garter stitch for 6 rows with Color A, then switch to Color B for 6 rows, then Color C for 6 rows.
- Repeat this sequence (A, B, C) while continuing to increase 2 stitches every row (one at each edge) until you have 201 stitches on the needle.
Tip: To avoid holes at the color changes, simply start the new color at the beginning of a row. The slipped selvedge stitch will hide the join nicely.
Lace Border: Adding the Cascading Edge
This is where the magic happens. The lace edging is worked over 4 stitches at each edge, with the center in garter stitch. This creates a beautiful, airy frame around the solid body.
Row 1 (RS): K1, YO, K2tog, YO, K to last 4 stitches, YO, SSK, YO, K1
Row 2 (WS): K1, YO, K2tog, YO, K to last 4 stitches, YO, SSK, YO, K1
Repeat these two rows until you have 301 stitches on the needle, maintaining the stripe sequence (6 rows of each color). The YO and K2tog/SSK pairs create the eyelet holes that will form the scalloped edge.
Final Lace Edge: The Grand Finish
For the final flourish, we work a more open lace pattern across all stitches. This creates the dramatic, cascading scallops that define the shawl's edge.
Row 1 (RS): K1, YO, K2tog, YO, *K2tog, YO* repeat from * to * until last 4 stitches, YO, SSK, YO, K1
Row 2 (WS): K1, YO, K2tog, YO, *K2tog, YO* repeat from * to * until last 4 stitches, YO, SSK, YO, K1
Row 3 (RS): K1, YO, K2tog, YO, *K2tog, YO* repeat from * to * until last 4 stitches, YO, SSK, YO, K1
Row 4 (WS): K1, YO, K2tog, YO, *K2tog, YO* repeat from * to * until last 4 stitches, YO, SSK, YO, K1
Bind Off (WS): Loosely bind off all stitches knitwise. Important: Bind off very loosely to maintain the stretch and drape of the lace edge. Consider using a larger needle or a yarn-over bind-off method if your bind-off is too tight.
Finishing: Blocking for Perfection
Blocking is essential for lace knitting. It opens up the eyelets and gives the shawl its final, elegant shape.
- Weave in all ends with a tapestry needle.
- Soak the shawl in lukewarm water with a drop of mild soap for 20 minutes.
- Gently squeeze out excess water (do not wring).
- Lay flat on a towel and roll up to remove more water.
- Pin out to shape on blocking mats, stretching the lace points gently to create the scalloped edge. Use a measuring tape to ensure the top edge is straight and the sides are symmetrical.
- Allow to dry completely before wearing. This can take 24-48 hours depending on humidity.
Your Misty Meadow Wrap is now complete! The soft ombre gradient and delicate lace border make it a truly special piece. Whether you drape it over your shoulders on a cool evening or gift it to a loved one, this shawl is sure to be treasured. Happy knitting!