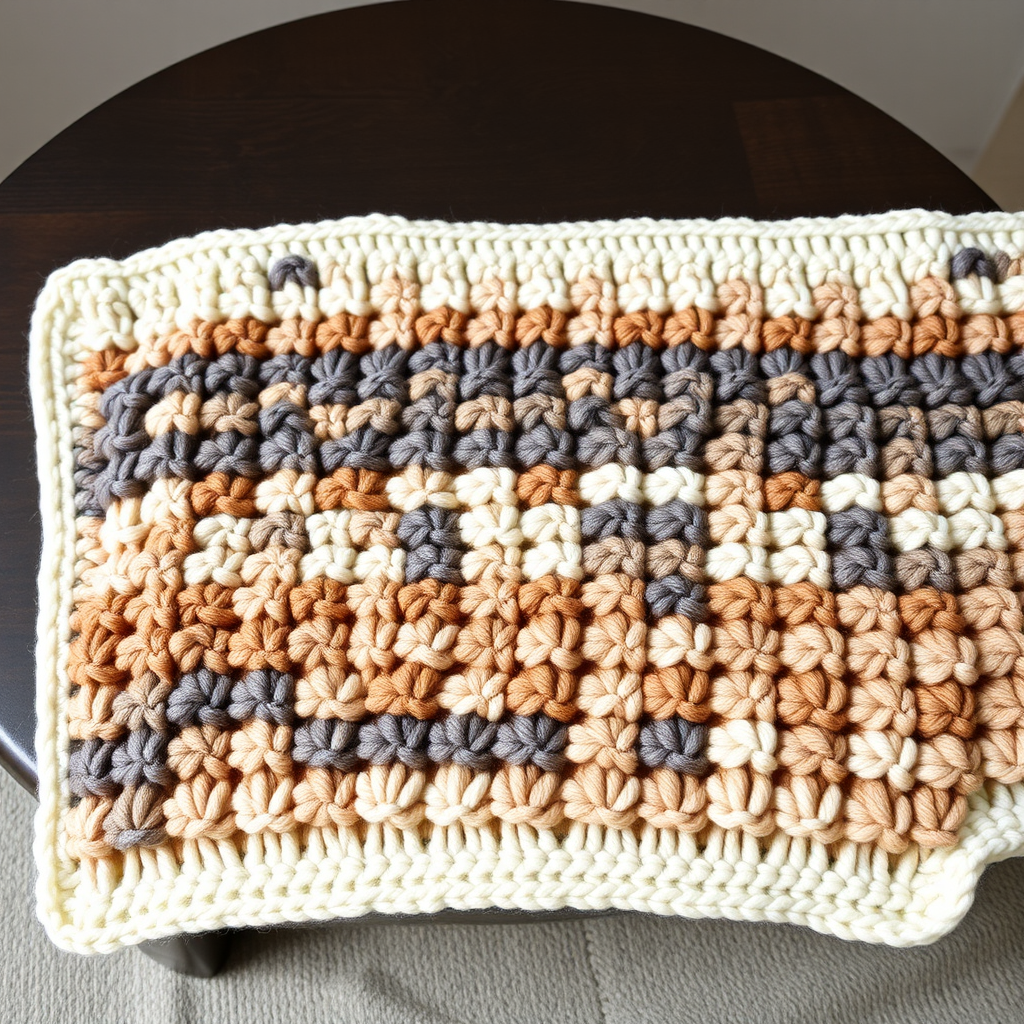
Starlight Drift Throw Free Pattern – Knit a Celestial Cloud Blanket

Starlight Drift Throw Free Pattern – Knit a Celestial Cloud Blanket
Imagine wrapping yourself in a piece of the night sky—a blanket that captures the serene gradient of twilight, from deep navy through dusty blue and soft periwinkle, to a shimmering silver horizon. The Starlight Drift Throw is exactly that: an ethereal, cloud-soft knitted blanket with a gentle wave stitch that mimics drifting starlight. This modern heirloom piece is surprisingly beginner-friendly, using simple knit, purl, and basic decrease/increase stitches to create a stunning, textured fabric. Whether you're an experienced knitter looking for a meditative project or a confident beginner ready for a rewarding challenge, this pattern will guide you through creating a 50" x 60" throw that will become the coziest, most beautiful piece in your home.
This free pattern is designed to be approachable, with clear step-by-step instructions, a simple 12-row repeat, and a gradual color-shifting technique that creates a seamless celestial gradient. Let's dive in and knit your very own starry night.
Materials Needed
Before you begin, gather the following materials. The quality of your yarn will greatly affect the final drape and feel, so choose a soft, plush worsted-weight yarn for that cloud-like texture.
- Yarn: Worsted weight yarn in 4 shades:
- Color A: Deep Navy (approx. 450 yds)
- Color B: Dusty Blue (approx. 450 yds)
- Color C: Soft Periwinkle (approx. 450 yds)
- Color D: Silver Shimmer (approx. 450 yds)
- Needle: US 9 (5.5 mm) circular knitting needle, 32-inch cable (or longer, to accommodate the large number of stitches)
- Other: Stitch markers (optional, for counting repeats), tapestry needle for weaving in ends, blocking mats and pins (for finishing)
Gauge
16 stitches and 22 rows = 4 inches in stockinette stitch. Always knit a gauge swatch to ensure your finished blanket matches the intended size. If your gauge is off, adjust your needle size accordingly.
Step-by-Step Instructions
Follow these detailed instructions carefully. The pattern is worked flat in one piece from bottom to top. The wave stitch is a simple 12-row repeat, and the color changes create the beautiful gradient effect.
Finished Size
Approx. 50" x 60" (127 cm x 152 cm)
Abbreviations
- CO: Cast on
- K: Knit
- P: Purl
- K2tog: Knit two together (right-leaning decrease)
- SSK: Slip, slip, knit (left-leaning decrease)
- YO: Yarn over (increase)
- St(s): Stitch(es)
- RS: Right side
- WS: Wrong side
Pattern Notes
- The blanket is worked flat in one piece from the bottom (navy) to the top (silver).
- The wave stitch pattern is a 12-row repeat, creating a gentle undulating texture.
- Colors are changed gradually every 6 rows to create a smooth, celestial gradient. The sequence is A, B, C, D, C, B, A, etc.
- Always change colors on a Right Side (RS) row for a clean transition.
Getting Started: Cast On & Set-Up
Step 1: Cast On
With Color A (Deep Navy), CO 200 sts loosely. A loose cast-on is crucial to prevent the bottom edge from being too tight. You can use a larger needle for the cast-on row or use a stretchy cast-on method like the long-tail or knitted cast-on.
Step 2: Set-up Row (WS)
Purl across all 200 stitches. This row establishes the base and is worked on the wrong side.
The Wave Stitch Pattern
Now you will begin the 12-row wave stitch pattern. Pay close attention to the placement of the decreases (K2tog) and yarn overs (YO), as they create the wave effect. The pattern repeat is between the asterisks (* *).
Row 1 (RS): With Color A, K all stitches.
Row 2 (WS): P all stitches.
Row 3 (RS): K1, *K2tog, K2tog, YO, K1, YO, K1, YO, K1, YO, K2tog, K2tog*; repeat from * to * until the last stitch, K1.
Explanation: This is the core wave row. You will decrease 4 stitches (two K2tog at the start, two at the end) and increase 4 stitches (four YOs), keeping the stitch count at 200. The YOs create the little holes that form the wave peaks.
Row 4 (WS): P all stitches.
Row 5 (RS): K all stitches.
Row 6 (WS): P all stitches.
Row 7 (RS): Switch to Color B (Dusty Blue). K1, *K2tog, K2tog, YO, K1, YO, K1, YO, K1, YO, K2tog, K2tog*; repeat from * to * until the last stitch, K1.
Row 8 (WS): P all stitches.
Row 9 (RS): K all stitches.
Row 10 (WS): P all stitches.
Row 11 (RS): Switch to Color C (Soft Periwinkle). K1, *K2tog, K2tog, YO, K1, YO, K1, YO, K1, YO, K2tog, K2tog*; repeat from * to * until the last stitch, K1.
Row 12 (WS): P all stitches.
Repeating the Pattern & Color Gradient
Continue repeating Rows 1–12, but shift the colors every 6 rows to create the smooth gradient. Here is the color sequence to follow:
- Rows 1-6: Color A (Deep Navy)
- Rows 7-12: Color B (Dusty Blue)
- Rows 13-18: Color C (Soft Periwinkle)
- Rows 19-24: Color D (Silver Shimmer)
- Rows 25-30: Color C (Soft Periwinkle)
- Rows 31-36: Color B (Dusty Blue)
- Rows 37-42: Color A (Deep Navy)
Continue this A-B-C-D-C-B-A sequence, working the 12-row wave pattern continuously. Work until the piece measures 58 inches from the CO edge, ending after a WS row (a purl row). This ensures you are ready to start the final border on the right side.
Final Border & Bind Off
Step 1: Stockinette Border
With Color D (Silver Shimmer), work 4 rows of stockinette stitch (K on RS, P on WS). This creates a clean, slightly rolled edge that frames the wave pattern beautifully.
Step 2: Bind Off
Bind off loosely on the RS (knit side). A loose bind-off is essential to prevent the top edge from pulling in. You can use a larger needle to bind off or use a stretchy bind-off method like the "Jeny's Surprisingly Stretchy Bind-Off."
Finishing Touches
Step 1: Weave in Ends
Using a tapestry needle, carefully weave in all loose yarn ends on the wrong side of the blanket. Make sure to weave them in securely so they don't unravel with use.
Step 2: Blocking
Blocking is crucial for this pattern. It will open up the wave stitch, even out the edges, and give the blanket a professional, polished look. Soak the blanket in cool water with a gentle wool wash for 20-30 minutes. Gently squeeze out excess water (do not wring). Lay the blanket flat on blocking mats, gently stretching it to the finished dimensions of 50" x 60". Pin the edges to hold the shape, especially along the wavy sides. Allow it to dry completely, which may take 24-48 hours.
Once dry, your Starlight Drift Throw is ready to be draped over a chair, sofa, or bed. The gradient of twilight blues and silver will bring a touch of celestial calm to any room, and the plush, cloud-soft texture will make it your new favorite cozy companion. Happy knitting!