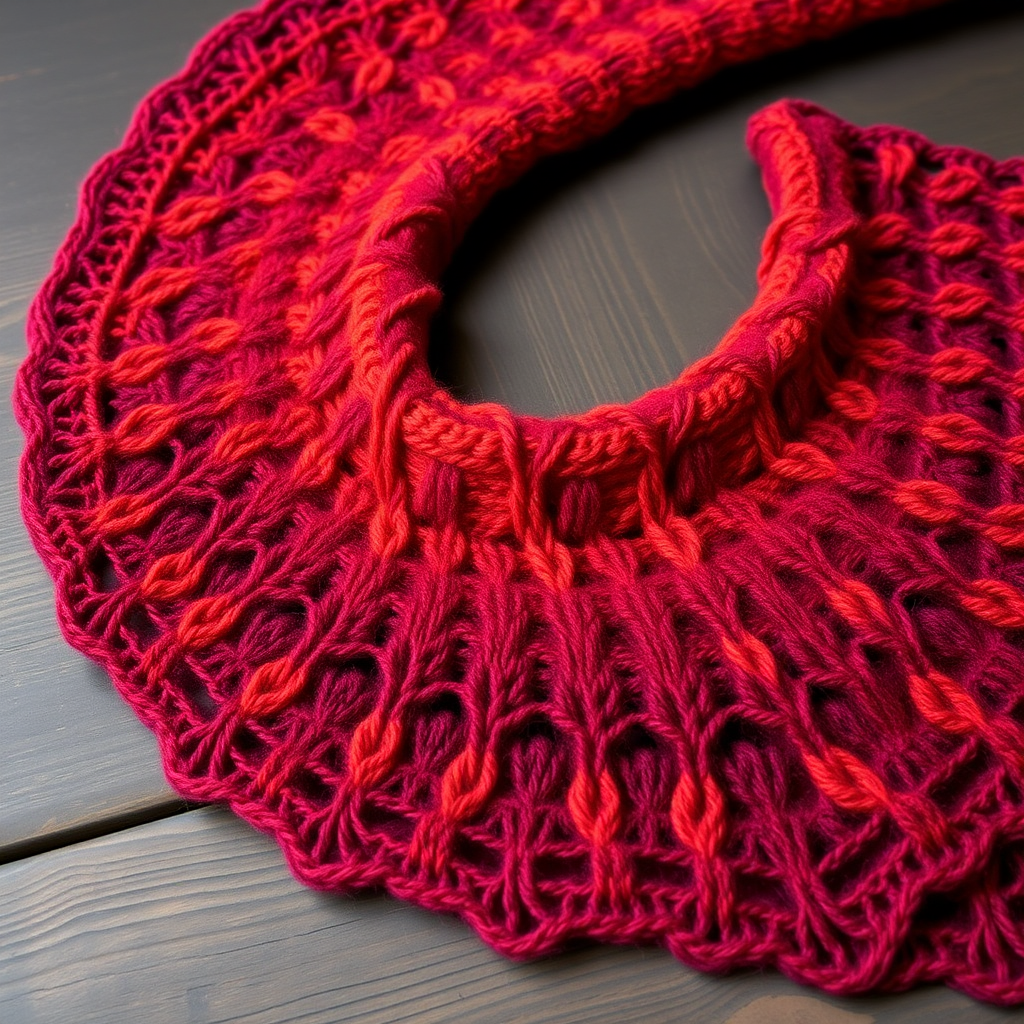
Driftwood Dune Shawl Free Pattern – Knit a Textured Coastal Wrap

Driftwood Dune Shawl: A Beginner-Friendly Coastal Knitting Project
Imagine wrapping yourself in the tranquil beauty of a windswept shore, where sand meets sea and the breeze carries the scent of salt and driftwood. The Driftwood Dune Shawl captures this serene coastal essence in a beautifully textured, gradient knit wrap. Designed with beginners in mind, this free pattern guides you through creating an artistic accessory that drapes elegantly over your shoulders, evoking the organic rhythm of dunes and tides. With its soothing palette of sand, seafoam, and driftwood gray, this shawl is more than just a project—it's a wearable piece of coastal art.
Whether you're new to knitting or looking for a relaxing, meditative project, this shawl offers the perfect balance of simplicity and visual interest. The alternating stitch patterns create a subtle rhythm of solid and airy bands, while the gentle wing-like shape ensures a flattering, cozy fit. Let's dive into this delightful pattern and create something truly special together.
Materials Needed
Before you begin, gather the following materials to ensure a smooth and enjoyable knitting experience:
- Yarn: Worsted weight yarn in 3 colors:
- Color A (sand) – approximately 150g
- Color B (seafoam) – approximately 130g
- Color C (driftwood gray) – approximately 120g
- Needle: US 9 (5.5 mm) circular knitting needle with a 32-inch cable (essential for accommodating the growing number of stitches)
- Notions: Stitch markers (at least 2), tapestry needle for weaving in ends, blocking mat and pins for finishing
- Gauge: 16 stitches and 24 rows = 4 inches in stockinette stitch (blocked). Gauge is important for achieving the correct drape and size.
Step-by-Step Instructions
This shawl is worked from the top down in a triangular shape, with increases at the edges and center to create a gentle wing-like drape. The long circular needle is essential as your stitch count grows. Follow these detailed instructions carefully, and you'll have a beautiful shawl in no time.
Abbreviations
Before starting, familiarize yourself with these standard knitting abbreviations:
- k = knit
- p = purl
- yo = yarn over (creates an increase and a small hole)
- k2tog = knit two together (decrease)
- ssk = slip slip knit (decrease, leans left)
- pm = place marker
- sm = slip marker
Setup Rows
With Color A (sand), cast on 3 stitches.
Row 1 (Right Side): k1, yo, k1, yo, k1 — you now have 5 stitches.
Row 2 (Wrong Side): k1, p to last stitch, k1. (The first and last stitches of every row are knit to create a neat, stable edge.)
Row 3 (RS): k1, yo, k1, yo, pm, k1, yo, pm, k1, yo, k1 — you now have 9 stitches. Place a marker on each side of the center stitch (the stitch between the two markers).
Row 4 (WS): k1, p to last stitch, k1.
Main Pattern – Increase Section
You now have 3 sections separated by markers: left section, center stitch, right section. Increases are made at the beginning and end of each RS row (after the first k1 and before the last k1) and on each side of the center stitch.
Row 5 (RS): k1, yo, knit to marker, yo, sm, k1, yo, sm, knit to last stitch, yo, k1. (This adds 4 stitches: one at each edge and one on each side of the center.)
Row 6 (WS): k1, p to last stitch, k1.
Repeat Rows 5-6 until you have a total of 45 stitches on your needle, ending with a WS row. This establishes the foundation of your shawl.
Textured Pattern Section
Now you'll introduce the beautiful eyelet texture while continuing the same increase rhythm. This creates the alternating solid and airy bands that mimic coastal dunes.
Row 7 (RS): k1, yo, *k2tog, yo* repeat from * to * until 2 stitches before marker, k2, yo, sm, k1, yo, sm, k2, *yo, ssk* repeat from * to * until 2 stitches before end, yo, k1.
Row 8 (WS): k1, p to last stitch, k1.
Row 9 (RS): k1, yo, knit to marker, yo, sm, k1, yo, sm, knit to last stitch, yo, k1.
Row 10 (WS): k1, p to last stitch, k1.
Repeat Rows 7-10 three more times (for a total of 4 repeats) with Color A.
Switch to Color B (seafoam) and repeat Rows 7-10 four times.
Switch to Color C (driftwood gray) and repeat Rows 7-10 four times.
Switch back to Color A (sand) and repeat Rows 7-10 three times.
Continuing to Size
After completing the color bands, continue increasing every RS row as established (Row 5-6 pattern) until the shawl measures approximately 28 inches from the cast-on edge, measured down the center. End with a WS row.
Edging and Bind Off
Now it's time to add the delicate picot-like edge that gives the shawl its feminine finish.
Edging Row (RS): k1, yo, *k2tog, yo* repeat from * to * across to last stitch, yo, k1.
Next Row (WS): Bind off loosely knitwise. Be careful not to bind off too tightly, as this will prevent the shawl from draping properly.
Finishing Touches
Weave in all loose ends using your tapestry needle, being careful to secure them discreetly within the stitches.
Blocking: This step is crucial for achieving the beautiful drape and defined stitch pattern. Soak the shawl in lukewarm water with a gentle wool wash for about 20 minutes. Gently squeeze out excess water (do not wring or twist). Lay the shawl on a clean towel and roll it up to remove additional moisture. Then, pin the shawl to shape on a blocking mat, stretching it gently to open up the lace pattern and create the triangular shape. Allow it to dry completely before unpinning.
Your Coastal Masterpiece Awaits
Congratulations! You've created a stunning Driftwood Dune Shawl that captures the essence of a peaceful coastal escape. The gradient of sand, seafoam, and driftwood gray flows beautifully, while the textured stitch pattern adds depth and visual interest. This shawl is perfect for cool evenings by the sea, cozy autumn walks, or simply draping over your shoulders as you enjoy a warm cup of tea.
This pattern is wonderfully versatile—feel free to experiment with different color combinations to match your personal style or the seasons. The techniques you've practiced here—yarn overs, decreases, and working with markers—are foundational skills that will serve you in countless future projects.
We'd love to see your finished shawl! Share your creation on social media with the hashtag #DriftwoodDuneShawl and inspire fellow knitters. Happy knitting, and may your days be filled with the calm rhythm of the tides.