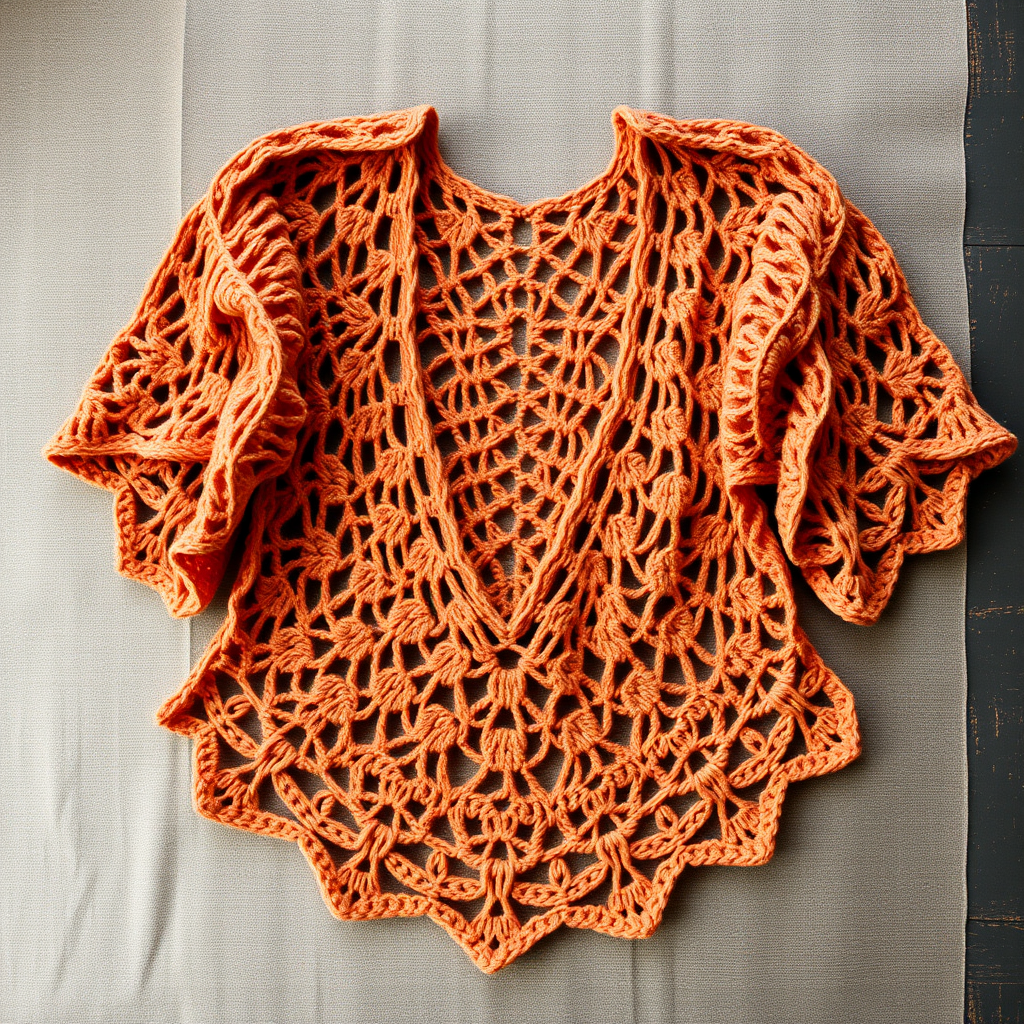
Cascade Bloom Crochet Top Free Pattern – A Modern Textured Summer Essential

Cascade Bloom Crochet Top Free Pattern – A Modern Textured Summer Essential
Get ready to create the ultimate warm-weather wardrobe staple! The Cascade Bloom Crochet Top is a stunning, modern piece that combines the elegance of shell stitches with the breathability of openwork mesh. This pattern is designed to be flattering on every body, featuring a soft gradient yarn that transitions beautifully from peach to coral to cream, adding depth and movement to the textured fabric. Whether you're layering it over a swimsuit or pairing it with high-waisted jeans, this top is sure to become your go-to for effortless summer style. Let's dive into this free pattern and craft something truly special!
Materials Needed
Before we begin, let's gather all the necessary supplies. This project is perfect for a confident beginner looking to expand their skills with new stitches and construction techniques.
- Yarn: DK weight cotton blend yarn (approx. 600-700 yards) in a gradient or self-striping colorway (e.g., peach to coral to cream). The cotton blend ensures breathability and excellent stitch definition.
- Hook: 4.0 mm (G/6) crochet hook. This size creates the perfect drape and texture for a summer garment.
- Other Tools: Yarn needle for weaving in ends, scissors, and stitch markers (optional but helpful for keeping track of rounds).
- Gauge: 18 stitches and 12 rows = 4 inches in shell stitch pattern (after blocking). Always check your gauge to ensure the correct fit!
Step-by-Step Instructions
This top is worked from the bottom up in the round, then split for the front and back panels. The pattern includes sizes S (M, L) with a finished bust measurement of 34 (38, 42) inches. Follow along carefully, and you'll have a beautiful, custom-fit top in no time.
Stitches Used
Familiarize yourself with these abbreviations before starting:
- ch: chain
- sc: single crochet
- dc: double crochet
- sl st: slip stitch
- shell: 5 dc in same st
- V-stitch: (dc, ch 1, dc) in same st
Bottom Ribbing
We'll start with a stretchy, comfortable ribbed band that forms the base of your top.
- Row 1: Ch 12. Sc in the 2nd ch from the hook and in each ch across. (11 sc)
- Row 2: Ch 1, turn. Sc in the back loop only of each st across.
- Repeat Row 2 until the ribbing measures your bust circumference (it should be stretchy and fit snugly). Join the ends with a sl st to form a ring. Do not fasten off.
Body (Worked in the Round)
Now we'll build the main textured body of the top. This section is worked continuously in the round.
- Round 1: Ch 3 (counts as dc), dc in each sc around, join with a sl st to the top of the ch-3. (You should have an even number of dc).
- Round 2: Ch 3, *skip 2 dc, shell in next dc, skip 2 dc, dc in next dc*; repeat from * to * around, ending with a sl st to the top of the ch-3. (Adjust the pattern as needed to ensure you end with a dc before the join).
- Round 3: Ch 3, *shell in the center dc of the next shell, dc in the next dc*; repeat from * to * around, join with a sl st.
- Repeat Round 3 until the piece measures 8 (9, 10) inches from the bottom edge. This creates the beautiful, scalloped shell texture.
Split for Front and Back
It's time to create the armholes and work the front and back panels separately.
- Next Round: Work in pattern across half the stitches (this will be the front). Ch 2 for the underarm, skip the remaining stitches (the back), and join with a sl st to the first st of the front. You will now work the front panel back and forth in rows.
Front Panel
- Row 1: Ch 3, work in pattern across the front stitches, ending with a dc in the last st. Turn.
- Row 2: Ch 3, work in pattern, decreasing 1 shell at each edge (work 2 dc together at the start and end of the row). Turn. This shapes the armhole.
- Repeat Row 2 until the armhole depth measures 6 (7, 8) inches. Fasten off.
Back Panel
- Join the yarn at the underarm ch-2 space.
- Work the same as the front panel, but for a lower back, work 2 fewer rows of decreases. This creates a stylish, modern dip in the back. Fasten off.
Straps
Now we'll add the finishing touch—the straps.
- With the right side facing, join the yarn at the top corner of the front panel.
- Ch 60 (or your desired strap length). Sl st to the corresponding corner of the back panel. Fasten off.
- Repeat for the other side.
Finishing
- Weave in all loose ends carefully with your yarn needle.
- Block the top to the specified measurements. This is crucial for achieving the perfect drape and stitch definition.
- Optional: Add a sc border around the armholes and neckline for a clean, polished finish. Simply join your yarn and work a round of single crochet evenly around the edges.
And there you have it—your very own Cascade Bloom Crochet Top! This pattern is a joy to make, and the result is a stunning, versatile piece that showcases your crochet skills. The gradient yarn does all the colorwork for you, creating a professional, high-end look. Whether you're a seasoned crocheter or a brave beginner, this top is a rewarding project that you'll be proud to wear all season long. Happy crocheting!