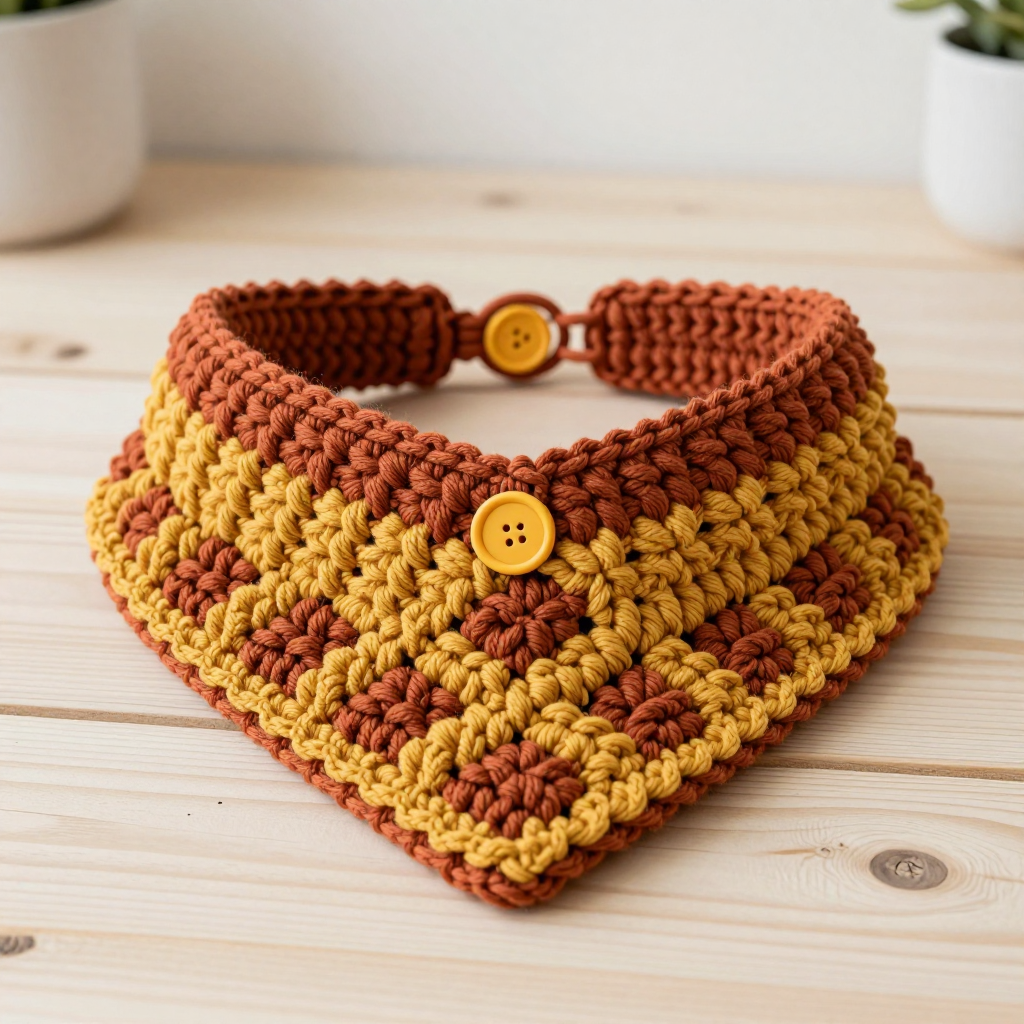
Aurora Wraps Fingerless Mitts Free Pattern

Wrap Your Hands in Color: The Aurora Wraps Fingerless Mitts Free Pattern
There's something deeply satisfying about creating a wearable piece of art with your own two hands. Today, I'm thrilled to share a pattern that captures the ethereal beauty of the northern lights in a practical, cozy accessory. The Aurora Wraps Fingerless Mitts are a modern knitting project that uses a simple knit-and-purl texture to create a stunning gradient effect. Whether you're a seasoned maker looking for a quick weekend project or a confident beginner ready for their next challenge, these mitts are the perfect way to keep your hands warm while leaving your fingers free for texting, crafting, or turning pages. Let's dive into this free pattern and create something beautiful together.
Materials Needed
Before we cast on, let's gather our supplies. This project is wonderfully portable and requires minimal materials, making it perfect for knitting on the go.
- Yarn: Bulky weight yarn in 3 coordinating colors (e.g., Color A: Deep Teal, Color B: Soft Mint, Color C: Cream) – approx. 120-150 yds total. The chunky weight ensures quick knitting and a plush, warm result.
- Needles: US 10 (6 mm) knitting needles (or size needed to obtain gauge). Straight needles are perfect for this flat-knit pattern.
- Notions: Stitch holder or scrap yarn, tapestry needle for seaming and weaving in ends, scissors.
Gauge: 14 sts x 20 rows = 4 inches in stockinette stitch. Always take a moment to check your gauge to ensure a perfect fit!
Step-by-Step Instructions
This pattern is worked flat from the bottom cuff up, then seamed. The clever color changes create the gorgeous gradient. Let's break it down into manageable sections. The pattern includes three sizes: Child (Adult S/M, Adult L/XL), with finished circumferences of 6 (7.5, 9) inches and lengths of 5 (6.5, 8) inches.
Abbreviations
- CO: Cast on
- K: Knit
- P: Purl
- St(s): Stitch(es)
- BO: Bind off
Pattern Notes
- Worked flat from bottom cuff to top edge, then seamed.
- Color changes create a gradient effect: work in stripes of 2 rows each, alternating colors A, B, C, then repeat.
Getting Started: The Cuff
With Color A, cast on 24 (30, 36) sts. We'll begin with a stretchy ribbed cuff that will hug your wrist comfortably.
Row 1: *K1, P1; repeat from * across.
Repeat this ribbing row until the piece measures 1.5 (2, 2.5) inches from the cast-on edge, ending with a wrong-side row. This ribbed foundation provides both structure and elasticity.
Creating the Gradient: The Main Body
Now we'll switch to stockinette stitch (K on right side, P on wrong side) to create that smooth, beautiful canvas for our color story.
Work in the stripe pattern: 2 rows Color A, 2 rows Color B, 2 rows Color C, then repeat this sequence. The simple act of alternating colors every two rows creates a soft, painterly gradient that mimics the shifting aurora sky.
Continue in this pattern until the piece measures 3 (4, 5) inches from the cast-on edge, ending with a wrong-side row. You'll see your mitt begin to take shape with lovely, distinct color blocks.
Shaping the Thumb Opening
This is where the magic happens! We'll create a neat opening for your thumb.
Next row (right side): K across first 6 (8, 10) sts, place next 6 (8, 10) sts on a stitch holder or scrap yarn for thumb, K remaining 12 (14, 16) sts.
Next row: P across all sts, but when you reach the gap, cast on 6 (8, 10) new sts over the held sts using the backward loop method. (Total sts back to 24 (30, 36)). This clever technique bridges the gap and sets up the thumb hole.
Continue in stockinette and stripe pattern until the piece measures 4 (5.5, 7) inches from the cast-on edge, ending with a wrong-side row. The fabric will now have a neat, buttonhole-like opening for your thumb.
Finishing the Top: Ribbed Band
Switch to Color A (or any contrast color of your choice) to create a cohesive frame for your design.
Work in K1, P1 ribbing for 1 (1.5, 2) inches. This top band will keep the mitt securely in place on your hand.
Bind off loosely in pattern. A loose bind-off is crucial here to ensure the top of the mitt can stretch comfortably over your hand.
Knitting the Thumb
Now let's give that thumb some love! Pick up the 6 (8, 10) held sts on a needle, and pick up 6 (8, 10) sts from the cast-on edge of the opening. You should have a total of 12 (16, 20) sts on your needle.
Work in stockinette stitch (K on right side, P on wrong side) for 1 (1.5, 2) inches. This creates a cozy little tube that will wrap around your thumb.
Bind off loosely. The thumb piece should be snug but not tight.
Seaming and Finishing Touches
We're in the home stretch! Sew the side seam from the cuff to the thumb opening, then from the thumb opening to the top edge, using mattress stitch or whip stitch. The mattress stitch creates an invisible, professional-looking seam, while whip stitch is quicker and easier for beginners—both work beautifully here.
Weave in all ends carefully to ensure your hard work doesn't unravel. Repeat the entire process for the second mitt.
Optional: For a personal touch, add a simple braided tie or a decorative button at the wrist for extra flair. This is a wonderful way to use up small scraps of yarn or add a unique detail that makes the mitts truly yours.
And there you have it—your very own pair of Aurora Wraps Fingerless Mitts! These cozy accessories make thoughtful handmade gifts and are perfect for keeping your hands warm during crisp autumn walks or chilly office days. The gradient colorwork is surprisingly simple to achieve, yet the result looks intricate and luxurious. I'd love to see your color combinations! Feel free to experiment with different palettes—perhaps a sunset gradient of coral, peach, and gold, or a forest-inspired mix of greens and browns. Happy knitting, and may your hands always be wrapped in warmth and color!