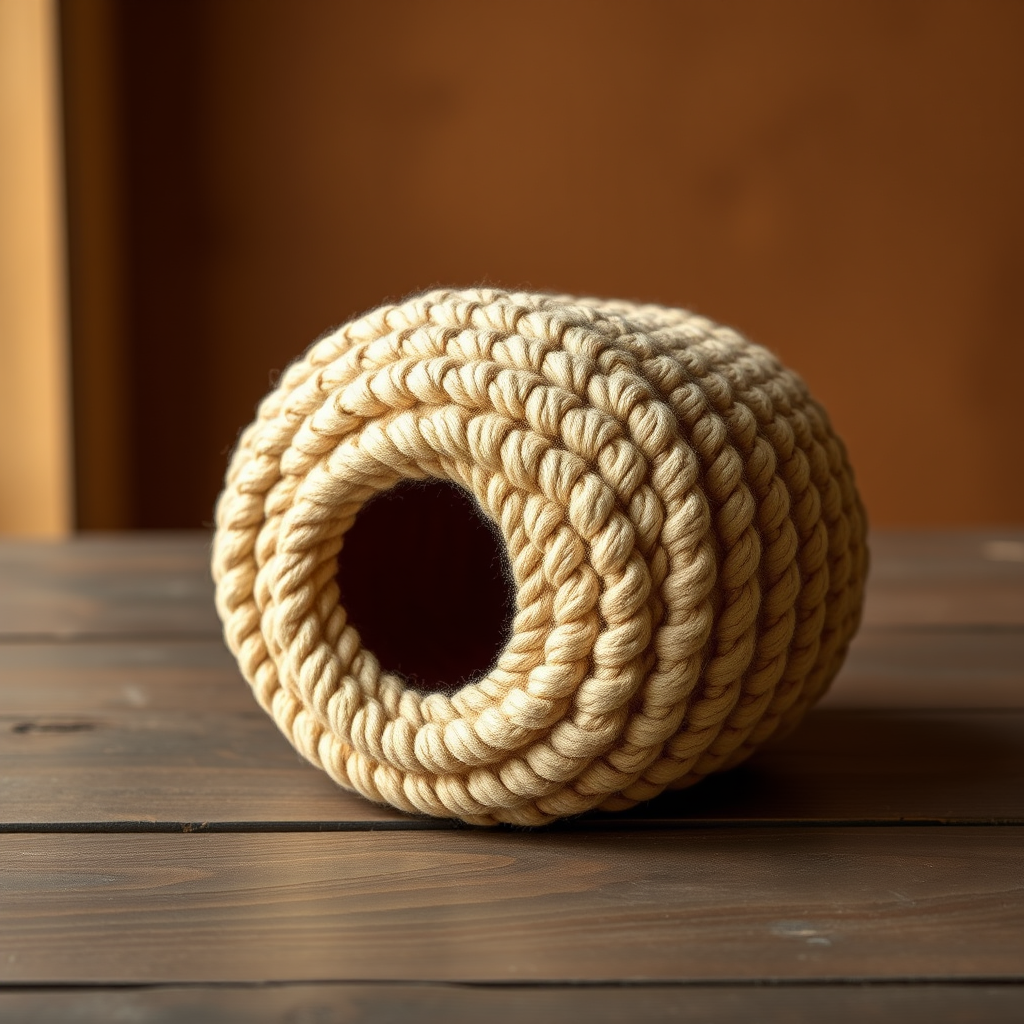
Willow & Stone Woven Crochet Basket Free Pattern – A Textured Storage Haven

Willow & Stone Woven Crochet Basket – A Textured Storage Haven
There is something deeply satisfying about creating a piece that is both beautiful and functional. The Willow & Stone Woven Crochet Basket is exactly that—a stunning, structured storage solution that brings artisanal charm to any room. Whether you're corralling yarn, storing toys, or draping a cozy blanket, this basket's unique woven stitch adds depth, durability, and a rustic, handcrafted feel that elevates your home decor.
This free pattern is designed with beginners in mind, using simple single crochet stitches and a clever weaving technique to create a checkerboard-like texture that looks far more complex than it is. The result is a sturdy, stand-alone basket that's as practical as it is pretty. Let's dive in and create your new favorite storage haven.
Materials Needed
Before you begin, gather the following supplies to ensure a smooth and enjoyable crochet session:
- Yarn: Lion Brand Wool-Ease Thick & Quick (super bulky weight, 6) in 'Oatmeal' (Color A) and 'Charcoal' (Color B), approximately 250g each. Note: You will be holding two strands of yarn together throughout the entire project for extra thickness and structure.
- Hook: US Size N/P (10mm) crochet hook
- Notions: Stitch markers (optional but helpful), tapestry needle for weaving in ends
- Gauge: 8 sc x 9 rows = 4 inches in single crochet with two strands held together. Check your gauge to ensure your basket comes out the right size.
Step-by-Step Instructions
Part 1: Basket Base (Worked in Continuous Rounds)
The base is worked in a spiral without joining, which creates a seamless, flat circle. Use Color A (two strands held together) for the entire base.
Round 1: Make a magic ring. Work 8 single crochet (sc) into the ring. Pull the tail tightly to close the ring. (8 sts)
Round 2: Work 2 sc in each stitch around. (16 sts)
Round 3: *Sc in the next stitch, 2 sc in the next stitch* — repeat from * to * around. (24 sts)
Round 4: *Sc in the next 2 stitches, 2 sc in the next stitch* — repeat from * to * around. (32 sts)
Round 5: *Sc in the next 3 stitches, 2 sc in the next stitch* — repeat from * to * around. (40 sts)
Round 6: *Sc in the next 4 stitches, 2 sc in the next stitch* — repeat from * to * around. (48 sts)
Round 7: *Sc in the next 5 stitches, 2 sc in the next stitch* — repeat from * to * around. (56 sts)
Round 8: *Sc in the next 6 stitches, 2 sc in the next stitch* — repeat from * to * around. (64 sts)
Round 9: *Sc in the next 7 stitches, 2 sc in the next stitch* — repeat from * to * around. (72 sts)
Round 10: *Sc in the next 8 stitches, 2 sc in the next stitch* — repeat from * to * around. (80 sts)
Round 11: *Sc in the next 9 stitches, 2 sc in the next stitch* — repeat from * to * around. (88 sts)
Round 12: *Sc in the next 10 stitches, 2 sc in the next stitch* — repeat from * to * around. (96 sts)
Fasten off Color A. Your base should measure approximately 12 inches in diameter. This creates a sturdy, flat foundation for your basket.
Part 2: Basket Sides (Worked in Joined Rounds)
Now we'll turn the base upward to form the walls of the basket. Switch to Color B (two strands held together).
Round 1: Join Color B with a slip stitch (sl st) in any stitch. Chain 1 (ch 1). Work a single crochet in the back loop only of each stitch around. Join with a sl st to the first sc. (96 sts) This creates a crisp, defined edge where the base meets the sides.
Round 2: Ch 1. Sc in each stitch around (through both loops). Join with a sl st to the first sc. (96 sts)
Round 3: Ch 1. Sc in each stitch around. Join. (96 sts)
Round 4: Ch 1. Sc in each stitch around. Join. (96 sts)
Part 3: Woven Stitch Pattern (Worked in Rows, Back and Forth)
This is where the magic happens! The woven stitch creates the beautiful, textured bands. You will now work in turning rows rather than rounds. Do not join at the end of each row—simply turn your work.
Row 1: Ch 1. Sc in the first 8 stitches. *Skip the next 8 stitches, sc in the next 8 stitches* — repeat from * to * across, ending with sc in the last 8 stitches. Turn. (96 sts)
Row 2: Ch 1. Sc in each stitch across. Turn. (96 sts)
Row 3: Ch 1. Sc in the first 8 stitches. *Working in front of the skipped stitches from Row 1, sc in those 8 skipped stitches (these become your 'woven' strands), then sc in the next 8 stitches* — repeat from * to * across, ending with sc in the last 8 stitches. Turn. (96 sts) This is the key step that creates the woven effect—you're literally weaving the yarn over the skipped stitches.
Row 4: Ch 1. Sc in each stitch across. Turn. (96 sts)
Row 5: Ch 1. Sc in the first 8 stitches. *Skip the next 8 stitches, sc in the next 8 stitches* — repeat from * to * across, ending with sc in the last 8 stitches. Turn. (96 sts)
Row 6: Ch 1. Sc in each stitch across. Turn. (96 sts)
Row 7: Ch 1. Sc in the first 8 stitches. *Working in front of the skipped stitches from Row 5, sc in those 8 skipped stitches, then sc in the next 8 stitches* — repeat from * to * across, ending with sc in the last 8 stitches. Turn. (96 sts)
Row 8: Ch 1. Sc in each stitch across. Turn. (96 sts)
Repeat Rows 1-8 until the sides measure 10 inches from the base, ending with a Row 8. Fasten off Color B.
Part 4: Top Edge (Worked in Joined Rounds)
Switch back to Color A (two strands held together) to create a clean, finished border.
Round 1: Join Color A with a sl st in any stitch. Ch 1. Sc in each stitch around. Join with a sl st to the first sc. (96 sts)
Round 2: Ch 1. Sc in each stitch around. Join. (96 sts)
Round 3: Ch 1. Sc in each stitch around. Join. (96 sts)
Round 4: Ch 1. Sc in each stitch around. Join. (96 sts)
Round 5: Ch 1. Sc in each stitch around. Join. (96 sts)
Fasten off and weave in all ends securely.
Part 5: Optional Handles (Make 2)
If you'd like to carry your basket easily, add these simple handles.
With Color B (two strands held together), chain 40. Sc in the 2nd chain from the hook and in each chain across. Fasten off, leaving long tails for sewing.
Attach the handles to opposite sides of the basket by sewing them securely to the top edge. Use a tapestry needle and the long tails to stitch them firmly in place, weaving the ends in afterward.
Part 6: Finishing Touches
Weave in all remaining ends with your tapestry needle. If desired, gently steam block the basket to shape it perfectly. The dense stitch and thick yarn ensure your basket will stand upright on its own, ready to hold all your treasures.
Your Willow & Stone Woven Crochet Basket is complete! Enjoy the rustic, artisanal charm it brings to your space—and the satisfying feeling of having created something truly special with your own hands.