Alpine Storage Haven Crochet Basket Pattern - Free Pattern

Alpine Storage Haven Crochet Basket Pattern – Free & Beginner-Friendly
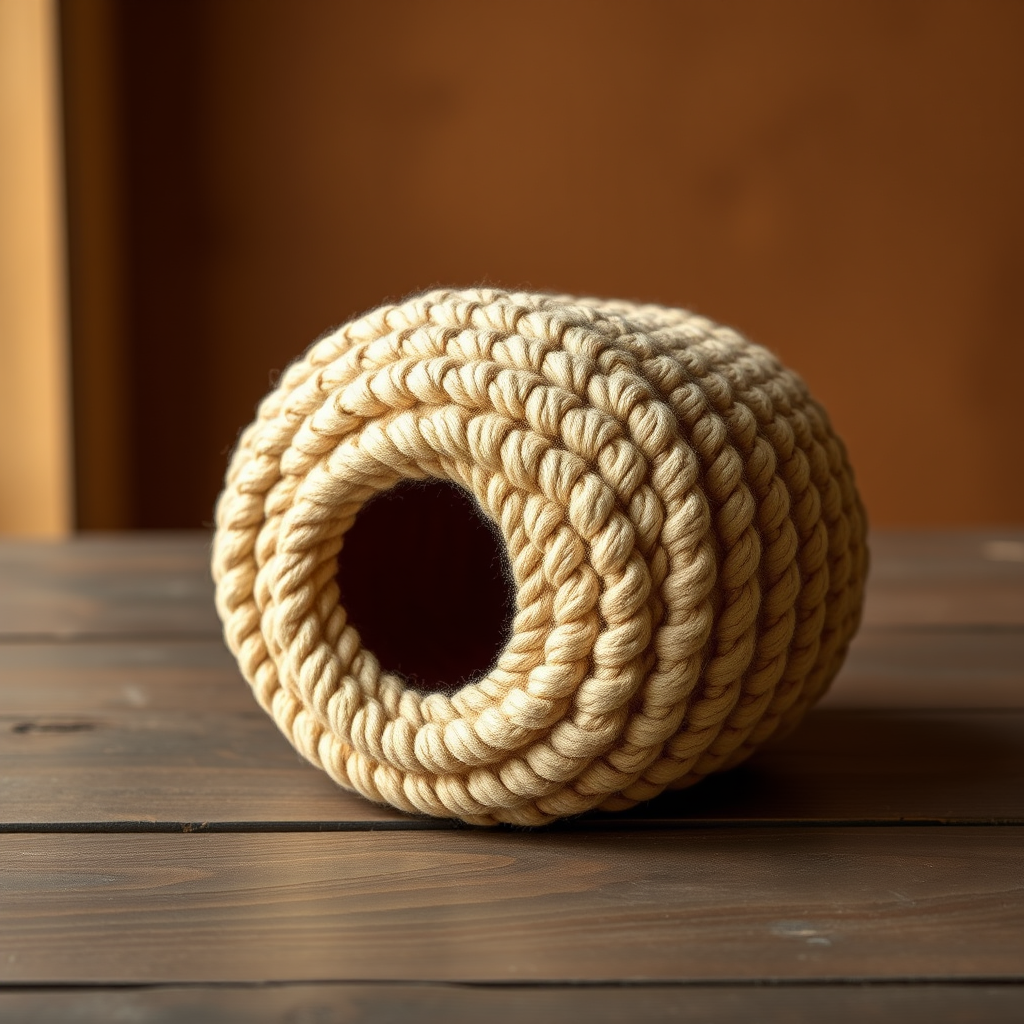
Bring a touch of cozy mountain lodge charm into your home with this free crochet basket pattern. The Alpine Storage Haven is a beautifully textured, sturdy storage solution that’s as practical as it is stylish. Using a clever two-strand technique, you’ll create a thick, marled fabric that stands upright on its own—perfect for holding yarn, toys, blankets, or any household clutter. Whether you’re a seasoned crocheter or a confident beginner, this pattern is designed to be clear, rewarding, and fun to make.
This basket features a subtle alternating single crochet and double crochet stitch pattern, giving it a ribbed, woven texture that evokes rustic alpine decor. The folded cuff adds a chunky, cozy finish. With three sizes included (Small, Medium, Large), you can customize your storage to fit any space. Let’s get started!
Materials Needed
Before you begin, gather the following supplies. Using the recommended yarn and hook will ensure your basket comes out the correct size and with the right structure.
- Yarn: Worsted weight cotton yarn (e.g., Lion Brand 24/7 Cotton) in two contrasting colors:
- Main Color (MC): Forest Green
- Contrast Color (CC): Cream
- Small (S): 250 yards MC, 150 yards CC
- Medium (M): 350 yards MC, 200 yards CC
- Large (L): 450 yards MC, 250 yards CC
- Crochet Hook: I/9 (5.5 mm) hook
- Stitch marker (to mark the beginning of rounds)
- Yarn needle (for weaving in ends and sewing the cuff)
- Scissors
Gauge: 12 sts x 10 rows = 4" x 4" in basket body stitch (worked with two strands held together). Always check your gauge to ensure the correct size.
Step-by-Step Instructions
This pattern is worked with two strands held together throughout: one strand of MC and one strand of CC. This creates the marled, sturdy fabric that gives the basket its structure. The basket is worked in continuous spirals (do not join rounds unless specified). Use a stitch marker to mark the beginning of each round and move it up as you work.
Base (Worked in Spiral)
The base is a flat circle. You will increase evenly each round until you reach your desired size.
- Round 1: Make a magic ring, work 6 single crochet (sc) into the ring. (6 sts)
- Round 2: Work 2 sc in each stitch around. (12 sts)
- Round 3: *Sc in next stitch, 2 sc in next stitch* repeat around. (18 sts)
- Round 4: *Sc in next 2 stitches, 2 sc in next stitch* repeat around. (24 sts)
- Round 5: *Sc in next 3 stitches, 2 sc in next stitch* repeat around. (30 sts)
Continue increasing in this pattern (adding one more sc between increases each round) until you have the desired base diameter:
- Small: 6 rounds total (36 sts)
- Medium: 7 rounds total (42 sts)
- Large: 8 rounds total (48 sts)
Tip: Place your stitch marker in the first stitch of each round to keep track of your starting point.
Body (Worked in Spiral)
Now we will create the vertical walls of the basket. The first round is worked in the back loop only to create a crisp corner at the base.
- Next Round: Working in the back loop only, sc in each stitch around. (This creates a clean, sharp edge where the base meets the body.)
- Next Round: Sc in each stitch around (through both loops).
Now begin the basket body stitch pattern, which creates the beautiful ribbed texture:
- Round 1: *Sc in next stitch, double crochet (dc) in next stitch* repeat around.
- Round 2: *Dc in next stitch, sc in next stitch* repeat around. (This offsets the pattern, creating a staggered, woven effect.)
Repeat Rounds 1 and 2 until the basket body measures approximately:
- Small: 4 inches from the base
- Medium: 5 inches from the base
- Large: 6 inches from the base
Note: The body will curl slightly inward as you work. This is normal and will be corrected by the cuff.
Top Edge / Cuff (Worked in Rows)
Now we will create the folded cuff. Do not fasten off after the body is complete. Instead, we will work in rows back and forth.
- Row 1: Chain 1 (ch 1), turn your work. Sc in each stitch across. (36/42/48 sts depending on size)
- Row 2: Ch 1, turn. Sc in each stitch across.
Repeat Row 2 until the cuff measures:
- Small: 2 inches
- Medium: 2.5 inches
- Large: 3 inches
Fasten off, leaving a long tail (at least 18 inches) for sewing.
Finishing the Cuff
- Fold the cuff down over the outside of the basket. The right side of the cuff will now be visible on the exterior.
- Thread the long tail onto a yarn needle.
- Using a whip stitch, sew the edge of the cuff to the body of the basket. Insert the needle through the top edge of the cuff and into the corresponding stitch on the basket body, working your way around the entire circumference. This secures the cuff in place and gives it a clean, rolled look.
- Once the cuff is fully secured, weave in all loose ends with your yarn needle.
Your Alpine Storage Haven basket is complete! Gently shape it with your hands if needed. The sturdy cotton construction means it will hold its form beautifully.
Pro Tips for a Perfect Basket
- Keep your tension consistent. Because you are holding two strands, it’s easy to crochet too tightly. Relax your grip and let the hook glide.
- Use a stitch marker. Since you’re working in a spiral, it’s very easy to lose your place. Mark the first stitch of each round.
- Blocking (optional): If your basket seems a bit wobbly, you can lightly mist it with water and shape it while damp. Let it dry completely.
This pattern is perfect for beginners because it uses only single crochet and double crochet stitches. The repetitive nature makes it a relaxing, meditative project. Make one in every color combination to match your home decor, or gift them to friends and family. Happy crocheting!