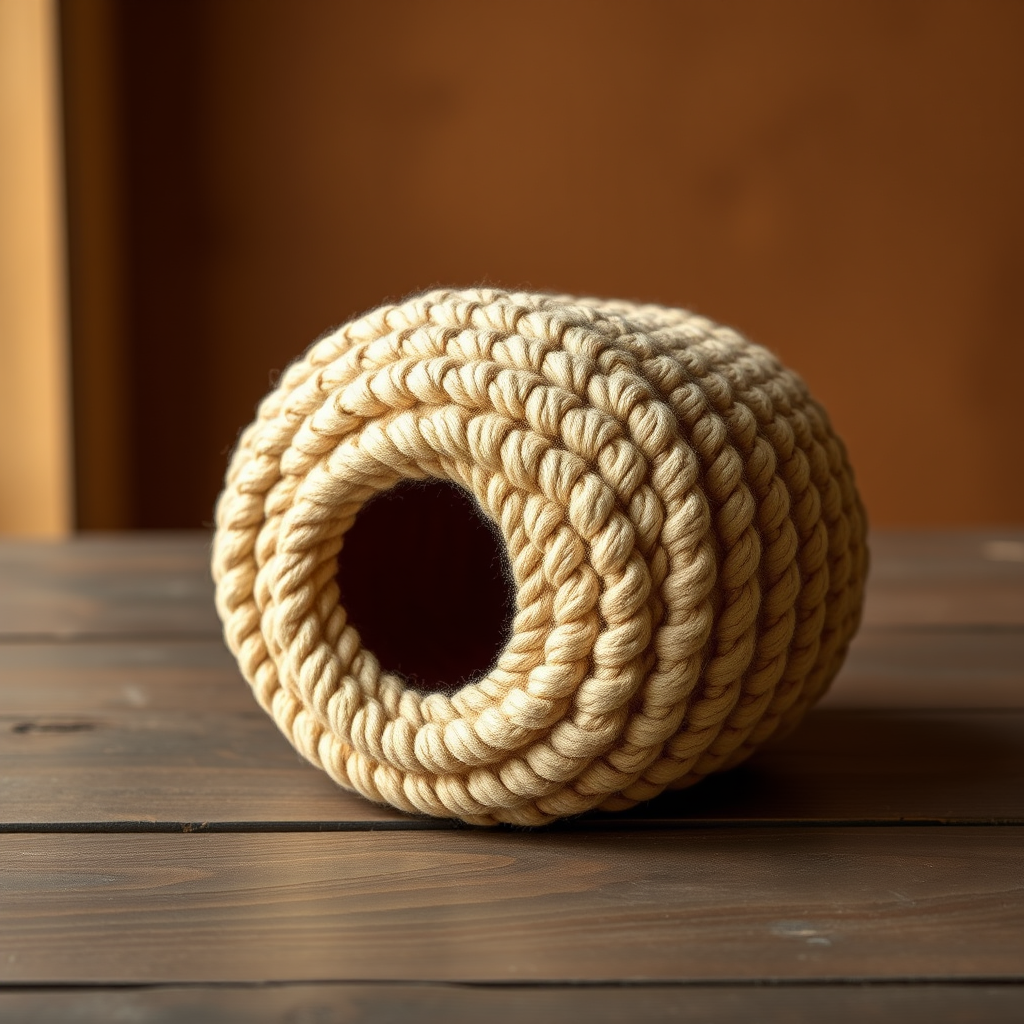
Willow Harvest Basket Free Crochet Pattern

Willow Harvest Basket Free Crochet Pattern
Bring a touch of rustic charm and organized warmth to your home with this stunning Willow Harvest Basket. This isn't just a storage solution; it's a statement piece. Its sturdy, textured weave and natural, earthy colorway make it perfect for stashing yarn, corralling toys, or proudly displaying your farmer's market finds. Whether you're a seasoned crocheter or a confident beginner looking for a rewarding project, this pattern is designed to guide you through creating a beautiful, functional basket that adds a cozy, organic feel to any room.
Why You'll Love This Basket
This pattern is a joy to work up. The combination of simple single crochet and front post double crochet creates a dense, woven texture that is both visually appealing and incredibly durable. The basket is worked from the bottom up in a continuous spiral, making it a meditative and straightforward project. The subtle stripe effect, achieved by alternating between a soft Oatmeal and a rich Terracotta, adds depth and a modern farmhouse aesthetic that will complement any decor.
Materials Needed
Before you begin, gather your materials. Using the correct yarn weight and hook size is crucial for achieving the proper gauge and a sturdy finished product.
- Yarn: Bulky weight cotton or cotton-blend yarn in two colors. A great choice is Lion Brand Wool-Ease Thick & Quick or Bernat Maker Home Dec.
- Main Color (MC) – Oatmeal: Approximately 250 yards.
- Contrast Color (CC) – Terracotta: Approximately 100 yards.
- Crochet Hook: US Size J/10 (6.0 mm) crochet hook. Adjust hook size if necessary to meet gauge.
- Other Tools: Yarn needle for weaving in ends, stitch markers, and scissors.
Gauge
12 single crochet (sc) x 13 rows = 4" x 4" in single crochet. Always take the time to check your gauge. If your swatch is too small, try a larger hook; if it's too large, switch to a smaller hook. This ensures your basket turns out the correct size and is firm enough to hold its shape.
Step-by-Step Instructions
This pattern is worked in continuous spiral rounds for the base unless otherwise stated. Use a stitch marker to mark the beginning of each round. The sides are worked in joined rounds to create a clean, vertical seam. The texture is created by alternating single crochet (sc) and front post double crochet (fpdc).
Crochet Abbreviations
- ch: chain
- sc: single crochet
- fpdc: front post double crochet
- sl st: slip stitch
- MC: Main Color (Oatmeal)
- CC: Contrast Color (Terracotta)
Part 1: The Base (Worked in MC)
The base is a simple, flat circle. Work in a continuous spiral, placing a stitch marker in the first stitch of each round and moving it up as you go.
- Round 1: Make a magic ring, ch 1, work 8 sc into the ring. Pull the tail tight to close the circle. (8 sc)
- Round 2: Work 2 sc in each sc around. (16 sc)
- Round 3: *Sc in next sc, 2 sc in next sc* repeat from * to * around. (24 sc)
- Round 4: *Sc in next 2 sc, 2 sc in next sc* repeat from * to * around. (32 sc)
- Round 5: *Sc in next 3 sc, 2 sc in next sc* repeat from * to * around. (40 sc)
- Round 6: *Sc in next 4 sc, 2 sc in next sc* repeat from * to * around. (48 sc)
- Round 7: *Sc in next 5 sc, 2 sc in next sc* repeat from * to * around. (56 sc)
- Round 8: *Sc in next 6 sc, 2 sc in next sc* repeat from * to * around. (64 sc)
- Round 9: *Sc in next 7 sc, 2 sc in next sc* repeat from * to * around. (72 sc)
- Round 10: *Sc in next 8 sc, 2 sc in next sc* repeat from * to * around. (80 sc)
- Round 11: *Sc in next 9 sc, 2 sc in next sc* repeat from * to * around. (88 sc)
- Round 12: *Sc in next 10 sc, 2 sc in next sc* repeat from * to * around. (96 sc)
- Round 13: Sc in each sc around. (96 sc) – This is the final base round. The base should measure about 8.5" in diameter.
Part 2: Building the Sides
Now we will start working in joined rounds to create the vertical walls of the basket. This section creates the beautiful woven texture.
- Round 14 (MC): Ch 1, working in the back loops only, sc in each sc around. Join with a sl st to the first sc. (96 sc) This creates a crisp, defined edge for the base.
- Round 15 (MC): Ch 1, sc in the same st as the join, *fpdc around the next sc, sc in the next sc* repeat from * to * around, ending with a fpdc around the last sc. Join with a sl st to the first sc. (48 fpdc, 48 sc) This sets up the alternating pattern.
- Round 16 (CC): Ch 1, sc in the same st as the join, *fpdc around the next fpdc (skipping the sc between), sc in the next sc* repeat from * to * around. Join with a sl st to the first sc. (48 fpdc, 48 sc) You are now working the fpdc into the post of the fpdc from the previous round, which creates the vertical woven columns.
Repeat Round 16 for the remainder of the sides, alternating colors as follows:
- Rounds 17-18: MC, CC
- Rounds 19-20: MC, CC
- Rounds 21-22: MC, CC
- Rounds 23-24: MC, CC
- Rounds 25-26: MC, CC
- Rounds 27-28: MC, CC
- Rounds 29-30: MC, CC
- Rounds 31-32: MC, CC
- Rounds 33-34: MC, CC
- Rounds 35-36: MC, CC
- Rounds 37-38: MC, CC
- Rounds 39-40: MC, CC
- Rounds 41-42: MC, CC
- Rounds 43-44: MC, CC
- Rounds 45-46: MC, CC
- Rounds 47-48: MC, CC
- Rounds 49-50: MC, CC
- Rounds 51-52: MC, CC
- Rounds 53-54: MC, CC
- Rounds 55-56: MC, CC
- Rounds 57-58: MC, CC
- Rounds 59-60: MC, CC
- Rounds 61-62: MC, CC
- Rounds 63-64: MC, CC
- Rounds 65-66: MC, CC
- Round 67 (MC): Repeat Round 16. (48 fpdc, 48 sc)
Tip: When changing colors, join the new color with a sl st as usual, and carry the unused color up the inside of the basket, or simply cut and weave in ends at each color change for a cleaner interior.
Part 3: The Edging (Worked in MC)
This creates a neat, sturdy rolled border for the top of the basket.
- Round 68: Ch 1, sc in each sc and fpdc around. Join with a sl st to the first sc. (96 sc)
- Round 69: Ch 1, sc in each sc around. Join with a sl st to the first sc. (96 sc)
Fasten off and weave in all ends securely.
Part 4: Creating the Handles (Make 2, in MC)
These sturdy handles are crocheted flat and then sewn into tubes for extra strength and comfort.
- Row 1: Ch 30, sc in the 2nd ch from the hook and in each ch across. Turn. (29 sc)
- Rows 2-4: Ch 1, sc in each sc across. Turn. (29 sc)
Fasten off, leaving a long tail (approx. 18") for sewing.
Assembling the Handles
- Fold each handle piece in half lengthwise, with the right sides together.
- Using the long yarn tail and a yarn needle, whipstitch the long edges together to form a tube.
- Turn the tube right side out so the seam is on the inside.
- Position the handles on the inside of the basket, opposite each other, about 2" down from the top edge. Pin them in place.
- Sew each handle securely to the inside of the basket using the yarn tail. Make sure to stitch through both the handle and the basket wall several times for a strong hold.
- Weave in all remaining ends.
Your beautiful Willow Harvest Basket is now complete! Fill it with your favorite things and enjoy the handmade warmth it brings to your home.