Crochet Basket Patterns
The Calista Coiled Basket: A Free Crochet Pattern for a Textured, Modern Rope Basket
Anonymous
•
July 28, 2026
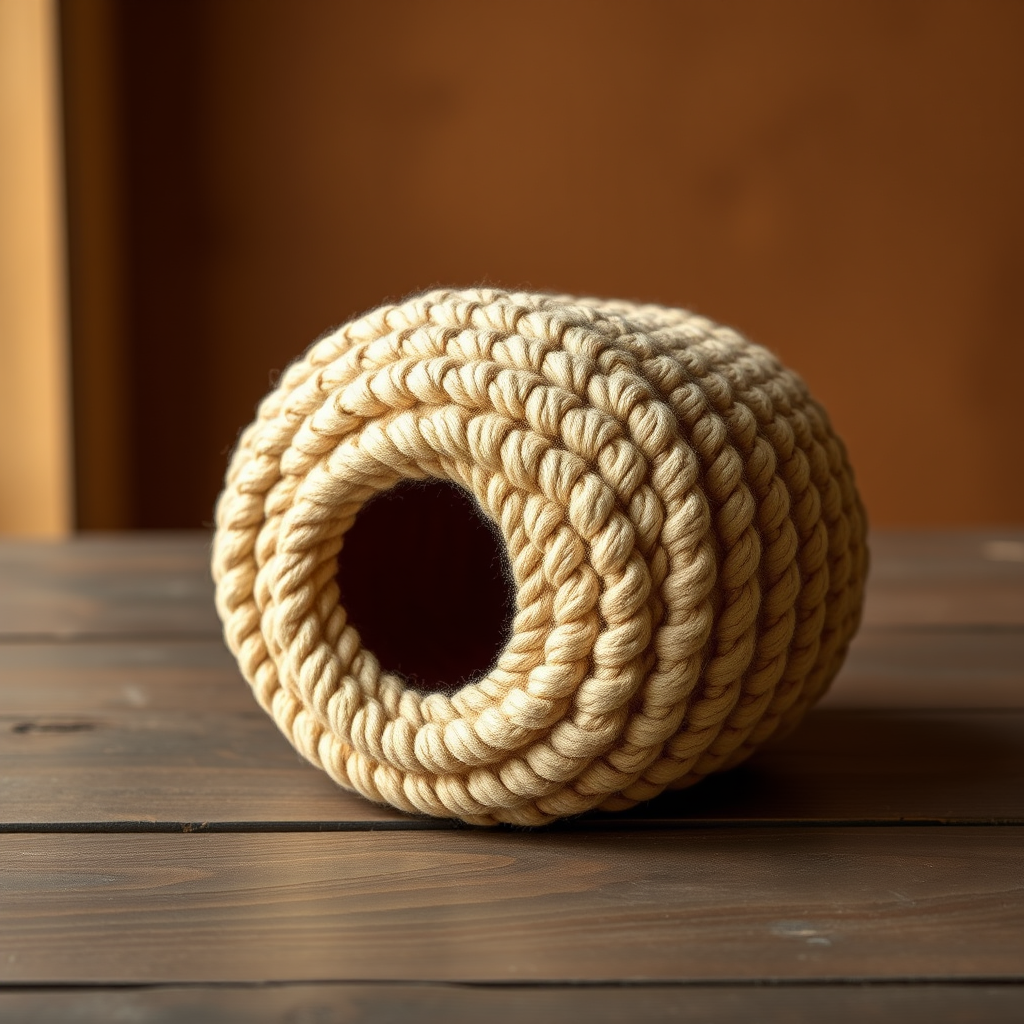
Introducing the Calista Coiled Basket
Create a stunning, sculptural storage basket using a unique coiled crochet technique with thick cotton rope. This pattern yields a sturdy, beautifully textured basket perfect for holding yarn, plants, or everyday essentials. The Calista Coiled Basket is a modern, textured home decor piece that will add warmth and organization to any room. With its natural rope and contrasting wrapping yarn, this basket is both functional and a work of art. Perfect for beginners looking to try a new technique, this pattern is designed to be clear and easy to follow.
Materials Needed
- Yarn: Approximately 100 yards of 100% cotton clothesline rope (3/8 inch diameter) or similar thick cotton cord. A small amount of worsted weight cotton yarn in a contrasting color for wrapping.
- Hook: US Size K/10.5 (6.5 mm) crochet hook (or size needed to work tightly around the rope).
- Gauge: Not critical for this project; work tightly to maintain shape.
- Additional: Tapestry needle for weaving in ends, scissors.
Step-by-Step Instructions
Abbreviations (US terms)
- ch: chain
- sl st: slip stitch
- sc: single crochet
- inc: increase (2 sc in same stitch)
- dec: decrease (sc 2 together)
Important Notes Before You Begin
- Work with the rope as your core. Insert your hook under the rope and pull up a loop of the worsted weight yarn to begin.
- Keep stitches tight and close together to cover the rope completely. This is essential for a sturdy basket.
- The basket is worked in a continuous spiral; do not join rounds unless specified. Use a stitch marker to keep track of the beginning of each round.
Creating the Base
- Start: Make a slip knot with the worsted weight yarn around the rope, leaving a 6-inch tail. Insert hook into the slip knot, yarn over, pull through. (This creates the first stitch around the rope.)
- Round 1: Work 6 sc around the rope, pulling the rope into a tight circle. (6 sc)
- Round 2: Work 2 sc in each sc around. (12 sc)
- Round 3: *Sc in next sc, 2 sc in next sc* repeat around. (18 sc)
- Round 4: *Sc in next 2 sc, 2 sc in next sc* repeat around. (24 sc)
- Round 5: *Sc in next 3 sc, 2 sc in next sc* repeat around. (30 sc)
- Continue Increasing: Continue increasing in this pattern (adding one more sc between increases each round) until the base measures approximately 6 inches in diameter. For a larger basket, continue increasing until desired base size. The base should lie flat and be even.
Building the Sides
- Turning Edge: Next Round: Sc in each sc around, working into the back loop only. This creates a distinct turning edge. (No increases)
- Main Body: Continue working sc in each sc around (through both loops) for approximately 4 inches, or until the sides reach your desired height. The basket will naturally curve upward as you work. Keep your tension consistent.
- Decorative Ridge (Optional): To create a decorative ridge: Work one round of sc in the front loop only, then continue with normal sc for the remaining height.
- Tapered Top (Optional): For a slightly tapered top: Work one round of *sc in next 6 sc, dec* repeat around. Then work 2 more rounds even (sc in each sc around).
Finishing Your Basket
- Cut Yarn and Rope: Cut the rope, leaving a 6-inch tail. Cut the worsted weight yarn, leaving a 12-inch tail.
- Close the Top: Thread the yarn tail onto a tapestry needle. Weave the needle through the last round of stitches, pulling tight to close the top edge. Secure with a knot.
- Secure the Rope End: Secure the rope end by wrapping the yarn tail around it and stitching it down on the inside of the basket. Make sure it is firmly attached.
- Weave in Ends: Weave in all ends using the tapestry needle. Trim any excess yarn.
- Blocking: Block the basket by lightly steaming (do not press) to set the shape. Allow to cool and dry completely.
Your Calista Coiled Basket is now complete! Enjoy your beautiful, handmade storage solution.
Also Check Out: We think you'd love this beautiful pattern on our sister site: Butterfly Garden Cup Cozy Free Pattern


