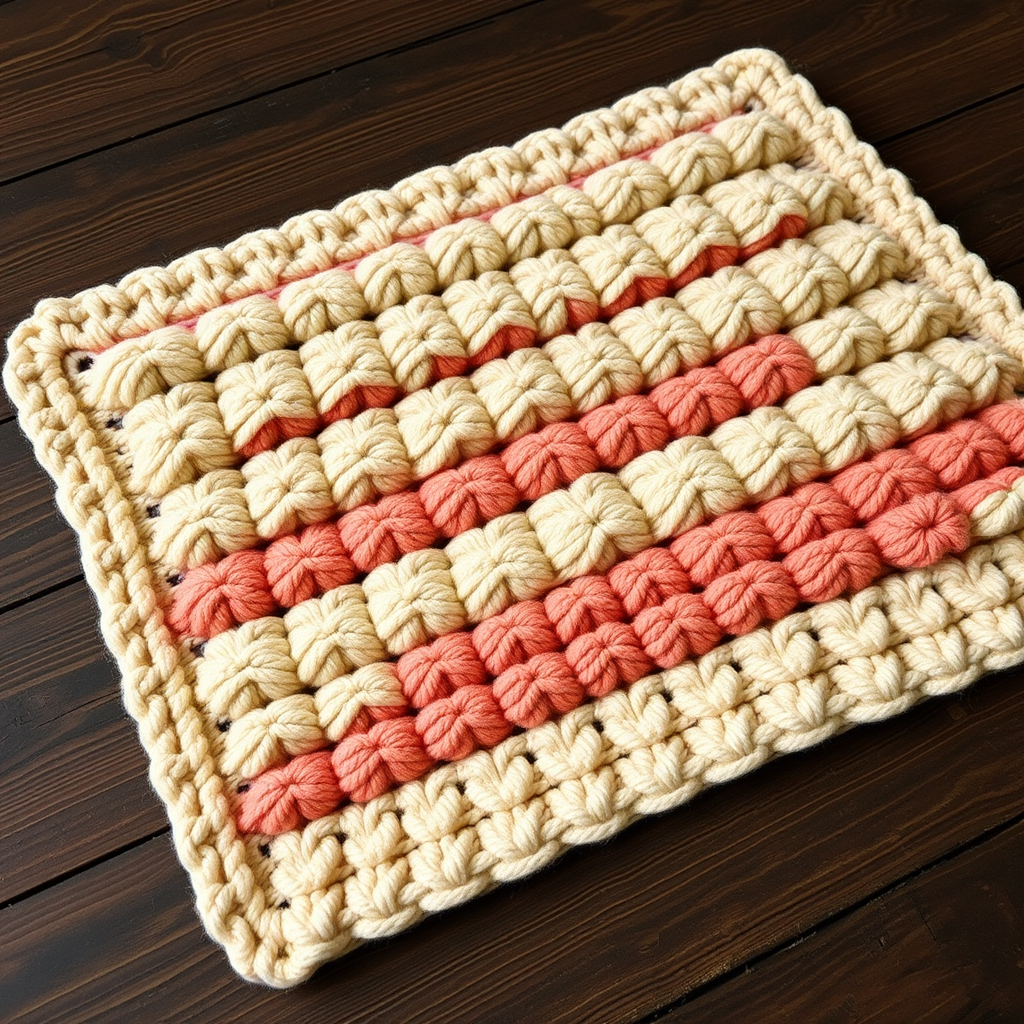
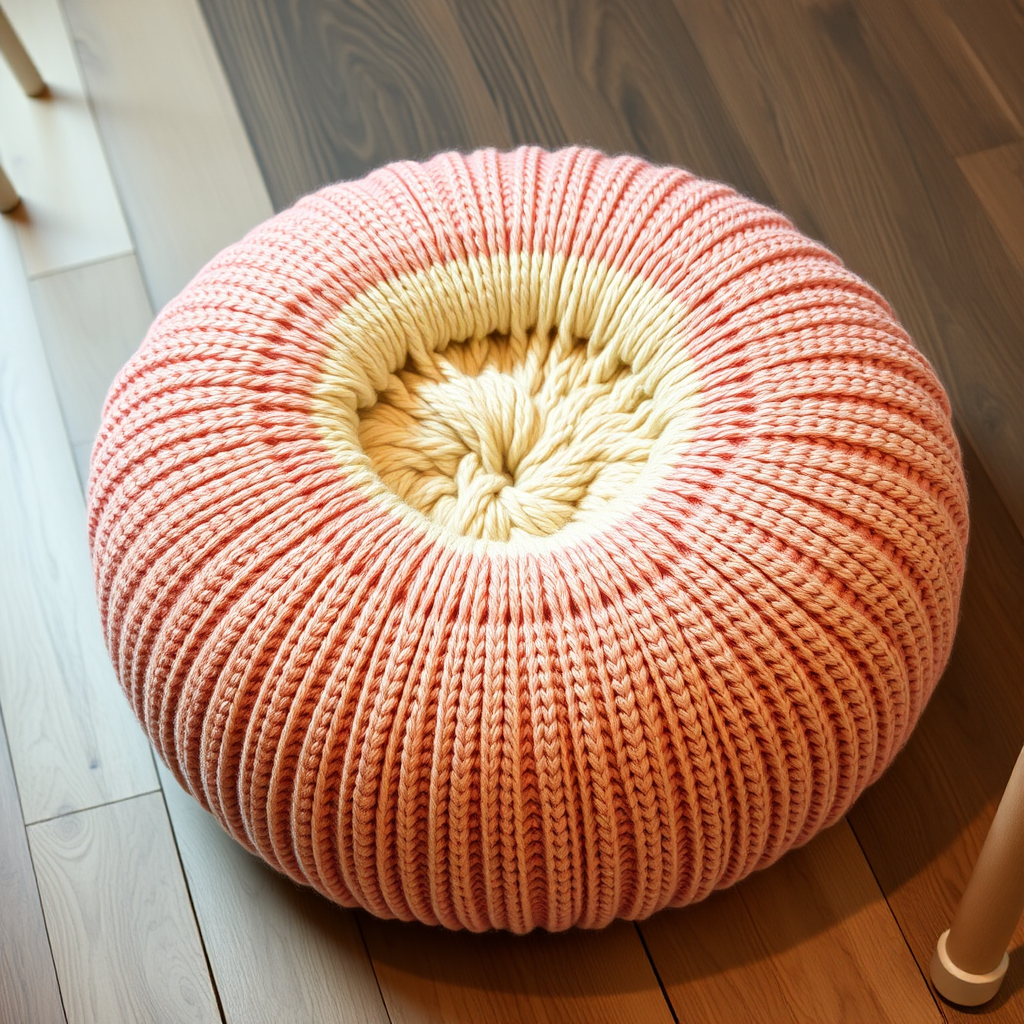
Whispering Pines Forest Floor Rug Free Pattern – A Crocheted Woodland Tapestry
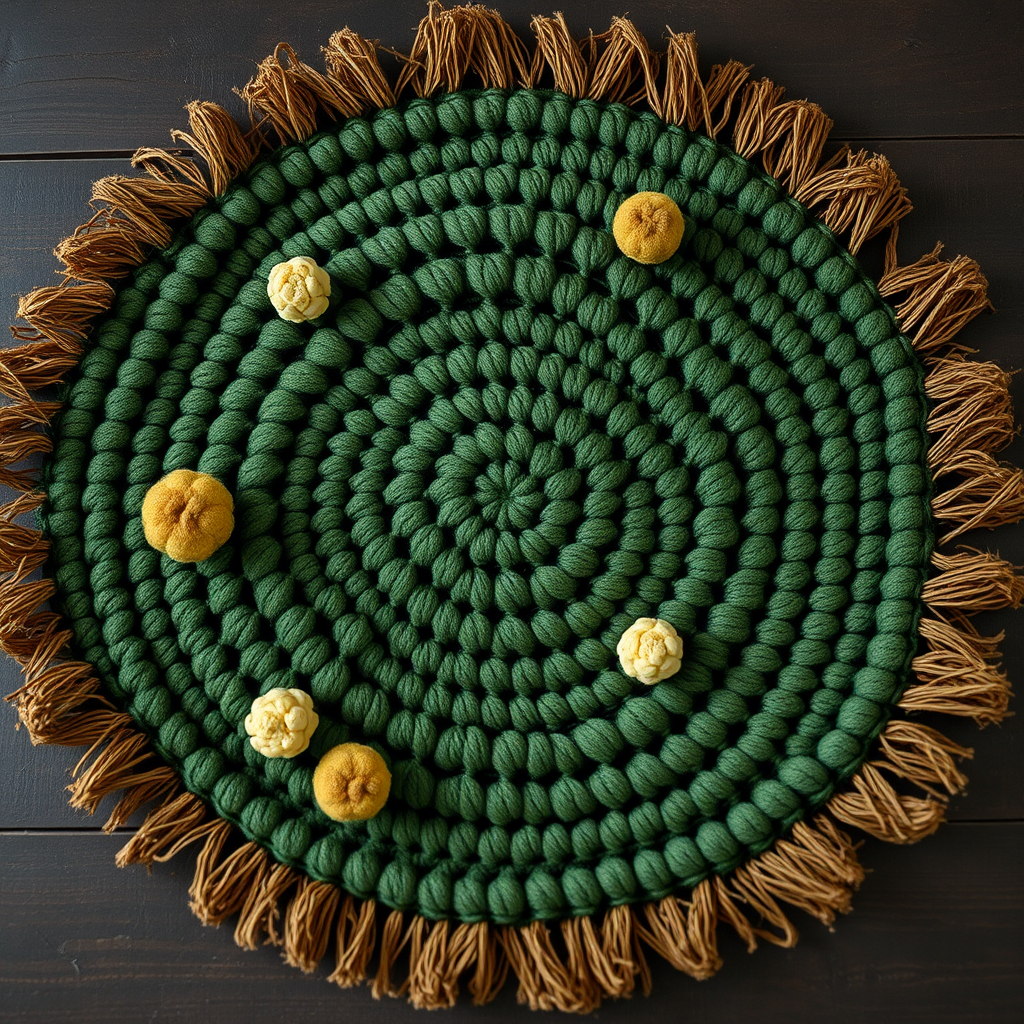
Bring the Serenity of the Forest Indoors with This Free Crochet Rug Pattern
Imagine stepping out of bed each morning onto a surface that feels like a tranquil woodland path. The Whispering Pines Forest Floor Rug is more than just a home decor piece; it's a handmade tapestry that captures the quiet beauty of a pine forest. With its lush, textured stitches mimicking mossy earth and scattered pine needles, this crochet rug adds warmth, depth, and a touch of nature to any cozy corner of your home.
This pattern is designed to be accessible for beginners while still offering engaging techniques that produce a professional, organic result. Using super bulky yarn and a large hook, this project works up faster than you might think, making it a rewarding weekend project. Let's gather our materials and start crafting a piece that brings mindful mornings and serene vibes into your living space.
Materials Needed
Before we dive into the stitches, let's ensure you have everything you need. The beauty of this pattern lies in its simplicity and the chunky, textured yarn that does the heavy lifting.
- Yarn: Super bulky weight yarn (Weight 6) in three colors:
- Forest Green: For the main base (approx. 600 yards)
- Moss Green: For the textured patches and clusters (approx. 400 yards)
- Warm Brown: For the pine needle fringe (approx. 200 yards)
- Crochet Hook: 10 mm (US N/P) crochet hook. A larger hook is essential for achieving the correct gauge and a soft, drapey fabric.
- Other Tools: Yarn needle for weaving in ends, scissors, and stitch markers (optional but helpful for keeping track of rounds).
Gauge: 4 single crochets (sc) x 4 rows = 4 inches. Always check your gauge to ensure your rug turns out the correct size.
Step-by-Step Instructions
This pattern is broken down into four main parts: the circular base, the textured pine needle patches, the mossy popcorn clusters, and the finishing fringe. Follow along carefully, and you'll have a beautiful forest floor rug in no time.
Part 1: The Rug Base (Worked in a Continuous Spiral)
We'll start by creating a flat, circular base. We work in a continuous spiral, meaning we don't join rounds with a slip stitch. This creates a seamless, smooth surface.
- Start: With your forest green yarn, make a magic ring. Chain 1 (this does not count as a stitch). Work 8 single crochets (sc) into the ring. Pull the tail tight to close the circle. (8 stitches)
- Round 2: Work 2 sc in each stitch around. (16 stitches)
- Round 3: *Sc in the next stitch, 2 sc in the next stitch* (this is an increase). Repeat from * to * around. (24 stitches)
- Round 4: *Sc in the next 2 stitches, 2 sc in the next stitch* repeat around. (32 stitches)
- Continue Increasing: Keep increasing in this manner for each round. For the next round, you'll sc in the next 3 stitches, then increase. The round after that, sc in the next 4 stitches, then increase, and so on. This "add one more sc between increases" method is the key to a flat circle.
- Check Size: Continue this increasing pattern until your rug measures 36 inches in diameter. This will take several rounds.
- Work Even: Once you reach 36 inches, stop increasing. Work 1 sc in every stitch around for 4 more rounds. This creates a solid, stable edge for the rug.
Part 2: Textured Pine Needle Stitch
Now we'll add the beautiful, textured patches that resemble scattered pine needles. We'll be working in rows, not rounds, for this section.
- Attach Yarn: Attach your moss green yarn to any stitch on the edge of the rug with a slip stitch. Chain 1 and turn your work.
- Row 1: *Sc in the next stitch, double crochet (dc) in the next stitch*. Repeat from * to * across the entire row. Chain 1 and turn.
- Row 2: *Dc in the next stitch, sc in the next stitch*. Repeat from * to * across. This offsets the pattern, creating a woven, textured effect. Chain 1 and turn.
- Repeat: Continue repeating Rows 1 and 2 for a total of 10 rows. This creates a lovely textured patch. Fasten off and weave in the ends.
Part 3: Mossy Clusters (Popcorn Stitches)
To mimic the look of mossy clumps scattered on the forest floor, we'll create popcorn stitches and place them randomly across the rug's surface.
- Attach Yarn: With your moss green yarn, attach it to a random spot on the rug's surface with a slip stitch.
- Make a Popcorn Stitch: Chain 3 (counts as your first dc). Work 4 more double crochets into the same stitch. You now have 5 dc in one stitch.
- Close the Popcorn: Remove your hook from the loop. Insert your hook from front to back into the top of the first chain-3 (the top of your first dc). Grab the loop you dropped and pull it through. Chain 1 to secure the popcorn stitch closed.
- Repeat: Create these popcorn stitches randomly across the entire surface of the rug. Space them out organically, just like moss would grow. Fasten off each cluster and weave in the ends as you go.
Part 4: Pine Needle Fringe
The final touch is the warm brown fringe that perfectly evokes the look of pine needles scattered around the rug's edge.
- Cut Yarn: Cut your warm brown yarn into 12-inch lengths. You will need one piece for each fringe.
- Attach Fringe: Fold a 12-inch piece of yarn in half. Insert your hook from the back to the front through an edge stitch of the rug. Catch the folded loop of yarn and pull it through the stitch.
- Secure: You'll now have a loop on the front and two tails on the back. Pull the two tails through the loop and pull tight to secure the fringe.
- Spacing: Attach fringe every 2 inches around the entire circumference of the rug.
- Trim: Once all the fringe is attached, trim it evenly to a length of 5 inches.
Finishing Touches
- Weave in Ends: Use your yarn needle to carefully weave in all remaining loose ends on the back of the rug. This is crucial for durability.
- Blocking: Lightly block your rug to flatten the edges and help the stitches settle. You can do this by laying it flat and gently misting it with water, then shaping it to your desired form. Allow it to dry completely.
Your Whispering Pines Forest Floor Rug is now complete! Place it in your favorite reading nook, beside your bed, or in a meditation space. The plush, organic texture and earthy colors will bring a sense of calm and natural beauty to your home. Happy crocheting!