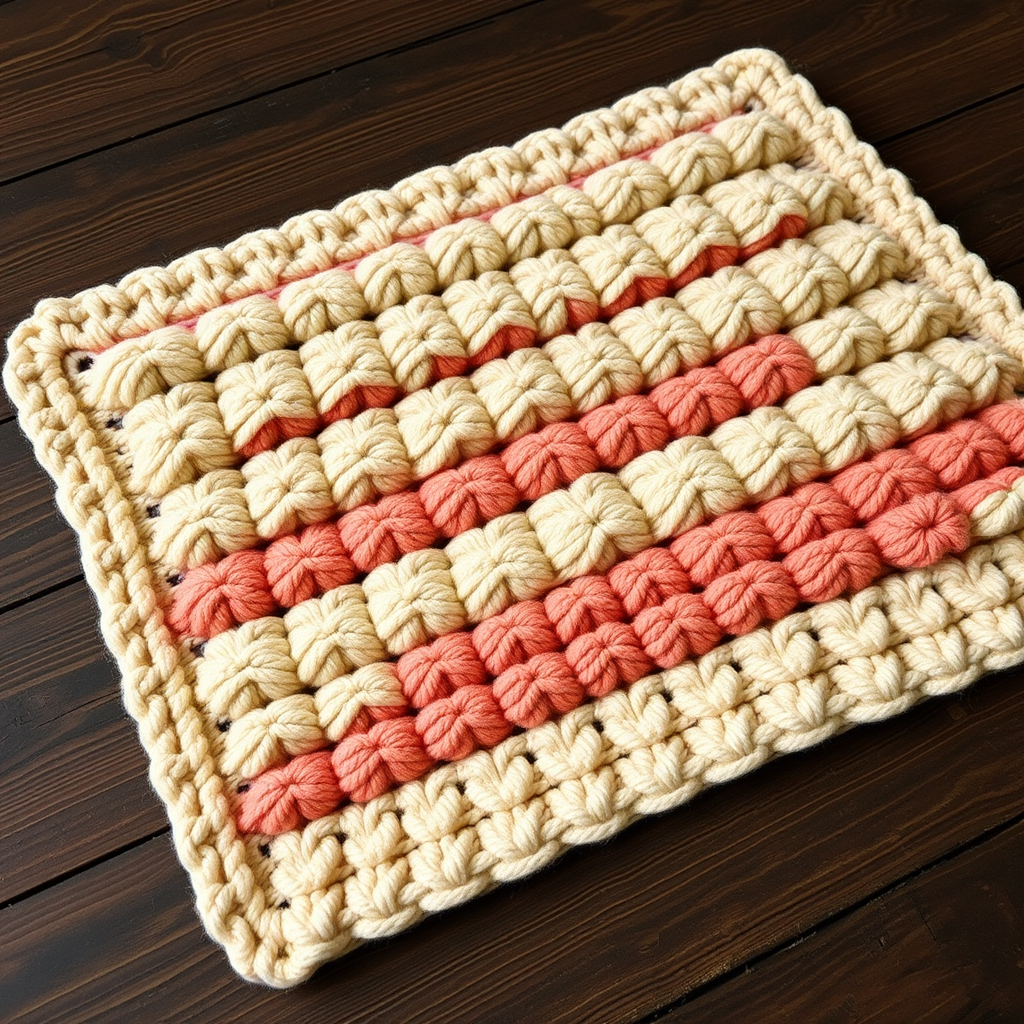
Aurora Drift Cloud Pouf Free Pattern – A Knitted Ombre Floor Cushion
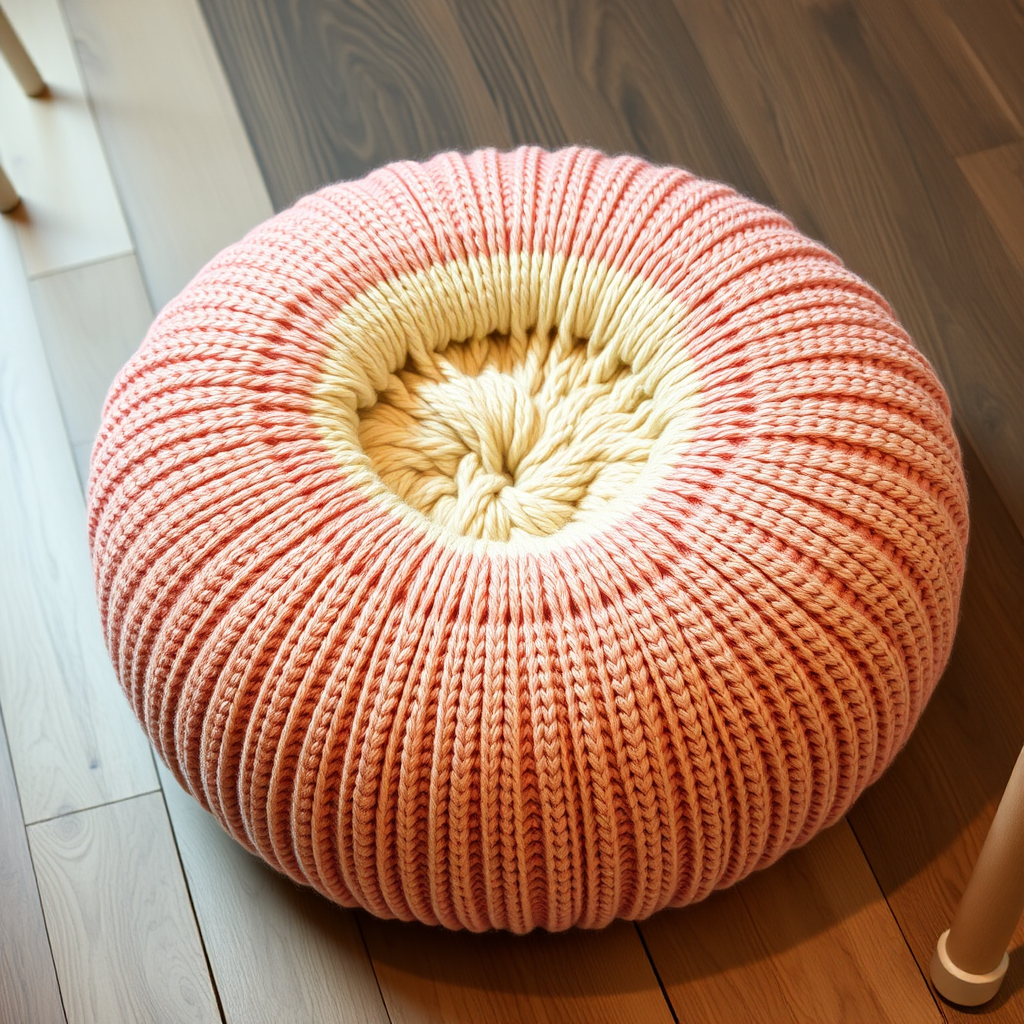
Aurora Drift Cloud Pouf Free Pattern – A Knitted Ombre Floor Cushion
Imagine sinking your toes into the softest cloud you've ever felt, surrounded by a dreamy gradient of sunset hues. That's exactly the feeling you'll create with the Aurora Drift Cloud Pouf—a stunning, oversized floor cushion that's as cozy as it is beautiful. This seamless, plush sphere is knitted in the round from the bottom up, with a gorgeous ombre effect that transitions from blush pink through peach, warm gold, dusty rose, and finally to a creamy ivory at the top.
Whether you're looking to add a statement piece to your reading nook, create a meditation corner, or simply want the perfect spot for lazy Sunday afternoons, this pouf delivers. And the best part? It's beginner-friendly! With just a few basic stitches and a simple color sequence, you'll have a luxurious, cloud-like pouf that looks like it came straight from a high-end home decor boutique.
Materials Needed
Before you begin, gather these supplies to ensure a smooth knitting experience:
Yarn
- Super bulky weight yarn (approx. 1200-1400 yards total) in 5 ombre shades:
- Color A: Blush pink
- Color B: Peach
- Color C: Warm gold
- Color D: Dusty rose
- Color E: Cream
Needles
- US 15 (10 mm) circular knitting needle with a 32-inch cable
- US 15 double-pointed needles for the decrease rounds at the top
Other Supplies
- Stitch markers
- Tapestry needle for weaving in ends
- Polyester fiberfill or recycled fabric scraps for stuffing (approx. 2-3 lbs)
- Scissors
Gauge
8 stitches and 12 rows = 4 inches in stockinette stitch (knit on US 15 needles). Gauge is important for achieving the correct size and shape, so take a moment to check yours before starting.
Step-by-Step Instructions
This pattern is worked in the round from the bottom up, creating a seamless, plush sphere. The ombre effect is achieved by gradually transitioning between yarn colors every few rounds. Follow along carefully, and you'll have a beautiful pouf in no time!
Abbreviations
- K = knit
- P = purl
- K2tog = knit two stitches together (decrease)
- Kfb = knit into front and back of same stitch (increase)
- St(s) = stitch(es)
- Rnd(s) = round(s)
Color Sequence
- Color A (blush pink): Rnds 1-10
- Color B (peach): Rnds 11-20
- Color C (warm gold): Rnds 21-30
- Color D (dusty rose): Rnds 31-40
- Color E (cream): Rnds 41-50
- Continue with Color E for the top decreases.
Bottom of Pouf
Step 1: Using Color A (blush pink), cast on 8 stitches. Join in the round, being very careful not to twist your stitches. Place a stitch marker at the beginning of the round to keep track of your progress.
Step 2: Work the following increase rounds to create the flat bottom of your pouf:
- Rnd 1: Kfb into each stitch around (16 sts).
- Rnd 2: *K1, Kfb* repeat around (24 sts).
- Rnd 3: *K2, Kfb* repeat around (32 sts).
- Rnd 4: *K3, Kfb* repeat around (40 sts).
- Rnd 5: *K4, Kfb* repeat around (48 sts).
- Rnd 6: *K5, Kfb* repeat around (56 sts).
- Rnd 7: *K6, Kfb* repeat around (64 sts).
- Rnd 8: *K7, Kfb* repeat around (72 sts).
- Rnd 9: *K8, Kfb* repeat around (80 sts).
- Rnd 10: *K9, Kfb* repeat around (88 sts).
Pro Tip: As you work these increase rounds, your knitting will form a flat circle. If it starts to ruffle or cup, your gauge may be off—check and adjust as needed.
Body of Pouf
Step 3: Now you'll begin the body of the pouf. Continue in stockinette stitch (knit every round) following the color sequence above. Work even for 40 rounds total (Rnds 11-50), maintaining 88 stitches throughout.
Step 4: As you knit, you'll notice the pouf will naturally curve outward, creating that beautiful, plump sphere shape. This is exactly what we want! Don't worry if it looks a bit like a hat at this point—the stuffing will help it take its final form.
Color Transition Tip: When changing colors, simply drop the old color and pick up the new one at the beginning of a round. Leave a 6-inch tail to weave in later. For a cleaner transition, you can knit the first stitch of the new color with both the old and new yarn held together, then drop the old color.
Top of Pouf (Decreases)
Step 5: Once you've completed Rnd 50, continue with Color E (cream) for the top decreases. Switch to your double-pointed needles when the circular needle becomes too long for the decreasing stitch count.
Step 6: Work the following decrease rounds:
- Rnd 51: *K9, K2tog* repeat around (80 sts).
- Rnd 52: *K8, K2tog* repeat around (72 sts).
- Rnd 53: *K7, K2tog* repeat around (64 sts).
- Rnd 54: *K6, K2tog* repeat around (56 sts).
- Rnd 55: *K5, K2tog* repeat around (48 sts).
- Rnd 56: *K4, K2tog* repeat around (40 sts).
- Rnd 57: *K3, K2tog* repeat around (32 sts).
- Rnd 58: *K2, K2tog* repeat around (24 sts).
- Rnd 59: *K1, K2tog* repeat around (16 sts).
- Rnd 60: *K2tog* repeat around (8 sts).
Step 7: Cut your yarn, leaving a long tail (at least 12 inches). Thread the tail through a tapestry needle, then pass it through the remaining 8 stitches. Pull tight to close the top, and weave in the end securely.
Finishing
Step 8: Before closing the top completely, stuff the pouf firmly with polyester fiberfill or recycled fabric scraps until it holds a round, plump shape. Make sure the stuffing is evenly distributed—pay special attention to the sides and bottom corners so the pouf sits nicely.
Step 9: Once you're happy with the fullness, close the top as instructed in Step 7. Weave in all loose ends with your tapestry needle, making sure they're secure and hidden.
Step 10: Gently steam block the pouf to even out your stitches and enhance the beautiful ombre gradient. To do this, hold a steam iron about 2 inches above the surface and steam in a sweeping motion—don't press down, as this can flatten the stitches. Allow the pouf to dry completely before using.
Final Thoughts
And there you have it—your very own Aurora Drift Cloud Pouf! This stunning piece will add a touch of dreamy coziness to any room, and the ombre gradient is sure to be a conversation starter. Whether you're curling up with a good book, meditating, or just enjoying a lazy afternoon, this pouf is the perfect companion.
Remember, the beauty of handmade items is that no two are exactly alike. Your pouf will have its own unique character, and that's what makes it special. Happy knitting!