Coral Cascade Bathroom Rug Free Pattern – Knit a Seaside Stone Path
Knit a Seaside Stone Path: The Coral Cascade Bathroom Rug
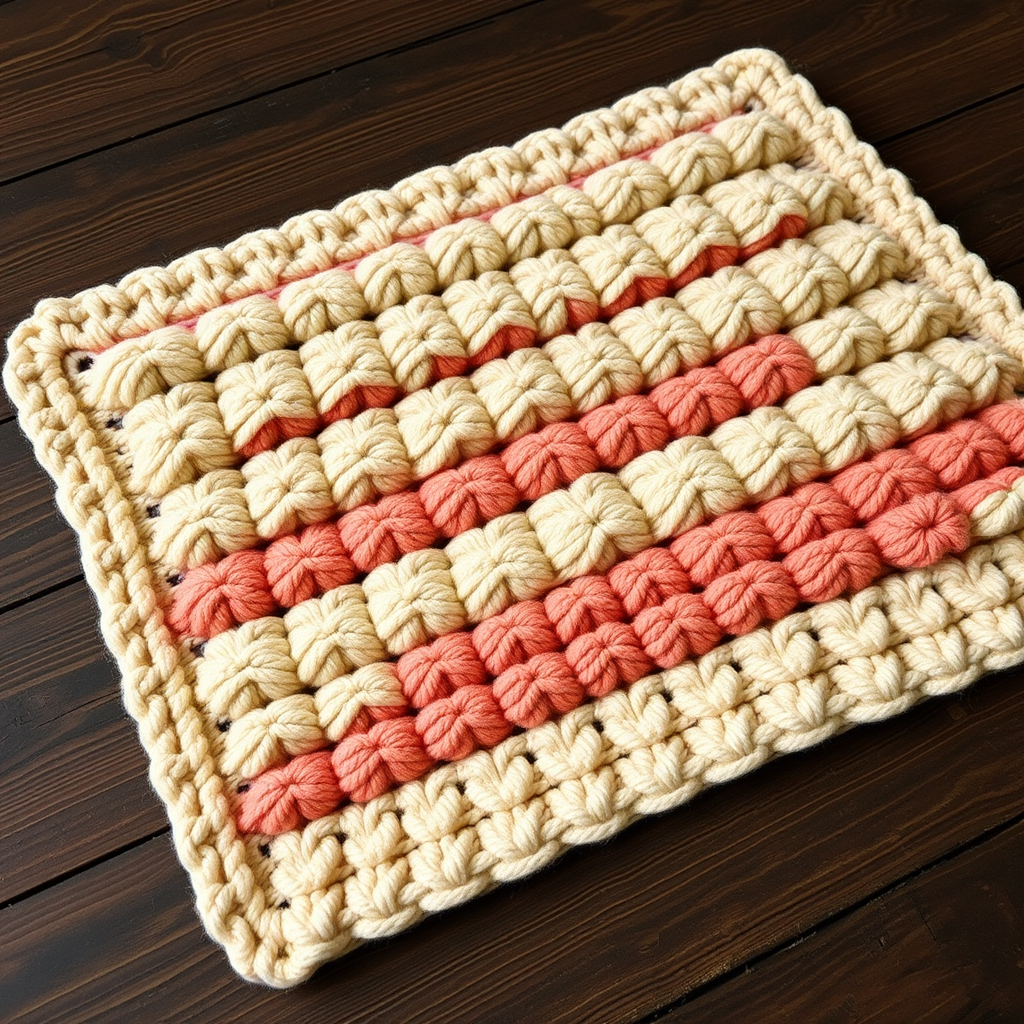
Imagine stepping out of the shower onto a surface that feels like a sun-warmed, sculptural piece of coastal art. The Coral Cascade Bathroom Rug is more than just a mat; it's a handcrafted statement piece that transforms your bathroom into a tranquil tide pool. This free knitting pattern uses a unique ripple stitch to create raised, shell-like ridges and subtle, organic texture, mimicking the look of sun-bleached coral. It’s a modern, luxurious alternative to flat, mass-produced mats, and it’s surprisingly achievable for a dedicated beginner. Let’s dive in and create a little piece of shoreline serenity for your home.
Materials Needed: Gathering Your Coastal Palette
Before you cast on, gather these simple supplies. The key to this project's beauty is the combination of a dense, natural-fiber yarn and a trio of earthy, ocean-inspired colors.
- Yarn: Worsted weight cotton yarn (e.g., Lion Brand 24/7 Cotton) in three shades:
- Color A (Sand): A soft, warm beige.
- Color B (Seafoam): A muted, calming green.
- Color C (Coral): A warm, sun-bleached pink.
- Needles: US 8 (5mm) knitting needles (or size needed to achieve gauge) and a tapestry needle for weaving in ends.
- Gauge: 18 stitches and 24 rows = 4 inches in stockinette stitch. (Always check your gauge to ensure the correct size and density!)
Step-by-Step Instructions: Weaving Your Coral Ripple
This rug is knitted flat in one piece. The pattern combines knit, purl, and slipped stitches to create a dense, cushioned fabric with a rippled, organic surface. Don't be intimidated by the stitch pattern—once you get into the rhythm, it's very meditative.
Abbreviations
- K: Knit
- P: Purl
- Sl: Slip stitch purlwise (as if to purl)
- K2tog: Knit two stitches together (decrease)
- Yo: Yarn over (increase, creates a small hole)
Getting Started: The Foundation
Foundation: With Color A (Sand), cast on 80 stitches.
Rows 1-4: Work in garter stitch (knit every row). This creates a flat, stable edge for your rug.
The Coral Ripple Stitch Pattern
Row 5 (Right side): Switch to Color B (Seafoam). K1, *K2, P2, K2, Sl1 wyif, K2, P2, K2, Sl1 wyif*, repeat from * to * until you have 1 stitch left, K1.
Tip: "wyif" means "with yarn in front." You are slipping the stitch as if to purl, but keeping the yarn at the front of the work. This creates a smooth, elongated strand on the surface.
Row 6: P1, *P2, K2, P2, Sl1 wyib, P2, K2, P2, Sl1 wyib*, repeat from * to * until the last stitch, P1.
Tip: "wyib" means "with yarn in back." You are slipping the stitch as if to purl, but keeping the yarn at the back of the work.
Rows 7-10: Repeat Rows 5 and 6 twice more. This maintains the vertical columns of slipped stitches, which will form the raised ridges.
Creating the Coral Bumps
Row 11: Switch to Color C (Coral). K1, *K2tog, Yo, K2, P2, K2, Yo, K2tog, P2*, repeat from * to * until the last stitch, K1. The yarn overs create small, decorative holes that add to the coral-like, organic texture.
Row 12: Purl all stitches.
Rows 13-14: Knit all stitches (this creates a garter stitch ridge that separates the coral sections).
Building the Pattern Sequence
Rows 15-20: Repeat Rows 5-10 with Color B (Seafoam).
Rows 21-22: With Color A (Sand), knit all stitches.
Rows 23-28: Repeat Rows 11-14 with Color C (Coral), but on Row 11, work the pattern as: K1, *K2, P2, K2tog, Yo, K2, P2, K2, Yo*, repeat to last stitch, K1. This staggers the placement of the coral bumps for a more natural, organic look.
Rows 29-34: Repeat Rows 5-10 with Color B (Seafoam).
Rows 35-36: With Color A (Sand), knit all stitches.
Shaping the Rug
Repeat Rows 5-36 until the rug measures approximately 30 inches from the cast-on edge, ending with a Row 36 (a Sand row).
The Final Border & Finishing Touches
Final Border: With Color A (Sand), knit 4 rows in garter stitch. Bind off loosely (a stretchy bind-off is ideal to prevent the edge from pulling).
Finishing: Weave in all ends securely with a tapestry needle. Gently steam block the rug to flatten the edges and enhance the stitch definition. Do not stretch it aggressively; the rug should remain dense and cushioned. Lay it out flat to dry completely.
And there you have it—your very own Coral Cascade Bathroom Rug. This project is a beautiful way to bring a handcrafted, coastal touch to your home. The textured stitch is not only visually stunning but also feels wonderful underfoot. Enjoy the process and the beautiful, functional art you've created!