Driftwood Dune Coasters Free Knitting Pattern – Textured Sand & Sea Table Accents

Driftwood Dune Coasters: A Free Knitting Pattern for Coastal Home Decor
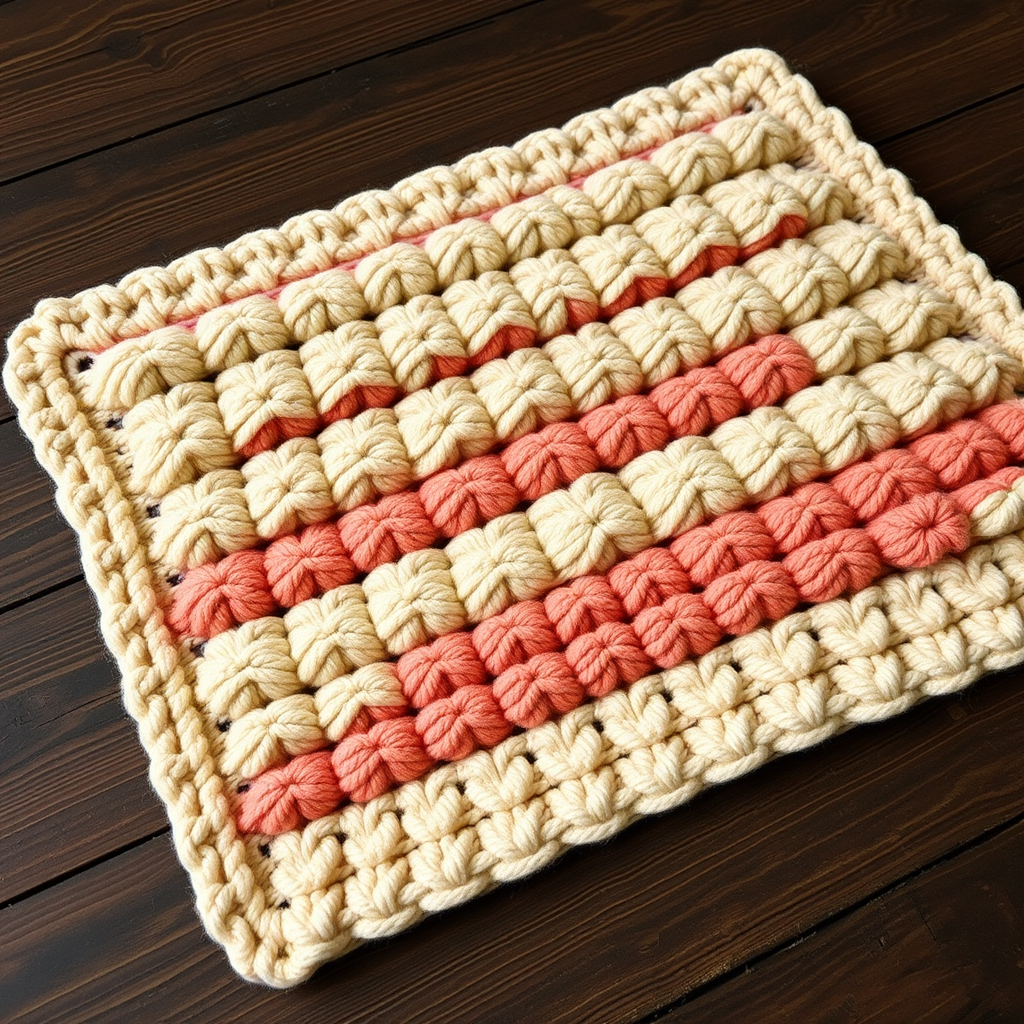
Bring the serene beauty of a coastal shoreline to your coffee table with these chunky, textured coasters that mimic rippled sand and driftwood. Each coaster is a quick, satisfying knit that adds organic warmth to any room. This beginner-friendly pattern uses super bulky yarn and simple stitches to create four unique textures—from subtle eyelet ripples to woven slip-stitch patterns—all inspired by the natural beauty of the beach. Whether you're a seasoned knitter looking for a weekend project or a beginner eager to practice new techniques, these coasters are the perfect way to add a handmade, coastal touch to your home.
Materials Needed
Before you begin, gather the following supplies. This project is wonderfully portable and requires minimal materials, making it ideal for travel or a cozy evening at home.
- Yarn: Super bulky weight yarn (approx. 100% wool or wool blend) in two colors: Sand (Color A) and Driftwood (Color B) – approximately 20 yards of each color. A wool blend is recommended for its durability and ability to block well.
- Needles: US 11 (8.0 mm) knitting needles. Straight or circular needles both work fine.
- Gauge: 10 stitches x 14 rows = 4 inches in stockinette stitch. Gauge is not critical for this project, but aim for a dense, firm fabric so the coasters lie flat and provide good protection.
- Other Tools: Tapestry needle for weaving in ends, scissors, and a steam iron or spray bottle for blocking (optional but recommended).
Step-by-Step Instructions
This pattern creates a set of four coasters, each with its own unique texture. The finished size is approximately 5 inches square, but you can easily adjust the size by changing your cast-on stitch count (use any multiple of 4 for the ribbed patterns).
Abbreviations
- CO: Cast on
- K: Knit
- P: Purl
- K2tog: Knit two stitches together (decrease)
- Sl1: Slip one stitch purlwise (insert needle as if to purl, but just transfer the stitch to the right needle without knitting)
- YO: Yarn over (bring yarn to front, then over the needle to create a new loop)
- Rep: Repeat
Coaster 1 – Sand Ripple
This coaster features a subtle eyelet ripple pattern that evokes the gentle movement of waves on sand. The combination of ribbing and a yarn-over row creates a delicate, textured fabric.
- Cast On: With Color A (Sand), CO 20 stitches.
- Row 1 (Right Side): K2, *P2, K2; rep from * to end of row.
- Row 2 (Wrong Side): P2, *K2, P2; rep from * to end of row.
- Rows 3-4: Repeat Rows 1 and 2. This creates a 2x2 ribbing border.
- Row 5: Knit all stitches across the row.
- Row 6: Purl all stitches across the row.
- Row 7 (Eyelet Ripple Row): K2, *K2tog, K1, YO, K1; rep from * to last 2 stitches, K2. Note: The YO creates a small hole (eyelet), and the K2tog decreases the stitch count back to the original number, keeping the fabric flat.
- Row 8: Purl all stitches across the row.
- Rows 9-10: Repeat Rows 5 and 6 (knit one row, purl one row).
- Rows 11-14: Repeat Rows 1 and 2 twice (this creates the bottom ribbing border).
- Bind Off: Bind off loosely in pattern (knit the knit stitches and purl the purl stitches as you bind off). This keeps the edge stretchy and matches the ribbed border.
- Finish: Weave in all loose ends with a tapestry needle.
Coaster 2 – Driftwood Weave
This coaster uses slipped stitches to create a beautiful woven texture, reminiscent of weathered driftwood planks. The slip-stitch pattern is surprisingly simple but yields a rich, dimensional fabric.
- Cast On: With Color B (Driftwood), CO 20 stitches.
- Row 1 (Right Side): *K2, P2; rep from * to end of row.
- Row 2 (Wrong Side): *P2, K2; rep from * to end of row.
- Rows 3-4: Repeat Rows 1 and 2 to establish the ribbed border.
- Row 5 (Weave Pattern): *Sl1, K1, P1, K1; rep from * to end of row. Remember to slip the stitch purlwise with the yarn in back (for RS rows) to keep the slipped stitch loose and create the woven effect.
- Row 6 (Weave Pattern): *P1, K1, P1, Sl1; rep from * to end of row. On this wrong-side row, slip the stitch purlwise with the yarn in front.
- Rows 7-8: Repeat Rows 5 and 6. This creates a two-row repeat that forms the woven texture.
- Rows 9-12: Repeat Rows 1 and 2 twice to create the bottom ribbing border.
- Bind Off: Bind off loosely in pattern (knit the knits, purl the purls).
- Finish: Weave in all loose ends.
Coaster 3 – Sand & Sea Stripe
This coaster is the simplest of the four, featuring clean horizontal stripes that alternate between garter stitch and stockinette stitch. It's a perfect project for practicing color changes and reading your knitting.
- Cast On: With Color A (Sand), CO 20 stitches.
- Rows 1-4 (Garter Stitch): Knit every row. This creates a bumpy, textured border.
- Switch to Color B (Driftwood): Cut Color A, leaving a 6-inch tail, and join Color B.
- Rows 5-8 (Stockinette Stitch): Knit on the right side (Row 5), purl on the wrong side (Row 6). Repeat Rows 5 and 6 for Rows 7 and 8. This creates a smooth, flat section.
- Switch back to Color A: Cut Color B, leaving a 6-inch tail, and join Color A.
- Rows 9-12 (Garter Stitch): Knit every row for 4 rows.
- Bind Off: Bind off loosely in knit.
- Finish: Weave in all loose ends, being careful to secure the color change tails securely.
Coaster 4 – Pebble Texture
This coaster uses a simple seed stitch pattern to create a pebbled, bumpy texture that mimics the look of smooth beach stones. It's an excellent pattern for beginners to practice alternating knit and purl stitches.
- Cast On: With Color B (Driftwood), CO 20 stitches.
- Row 1 (Right Side): Knit all stitches.
- Row 2 (Wrong Side): Purl all stitches.
- Row 3 (Seed Stitch): *K1, P1; rep from * to end of row.
- Row 4 (Seed Stitch): *P1, K1; rep from * to end of row. Note: The seed stitch is created by knitting the purl stitches and purling the knit stitches from the previous row, creating a staggered, bumpy texture.
- Rows 5-6: Repeat Rows 1 and 2 (knit one row, purl one row).
- Rows 7-8: Repeat Rows 3 and 4 (seed stitch).
- Rows 9-12: Repeat Rows 1 and 2 twice (knit two rows, purl two rows).
- Bind Off: Bind off loosely in knit.
- Finish: Weave in all loose ends.
Finishing Touches
Once all four coasters are complete, take a few extra minutes to finish them properly. This will ensure they lie flat and look professional.
- Steam Block: Gently steam block each coaster to flatten and even out the stitches. Lay the coasters flat on a blocking mat or towel, pin them to the desired square shape if needed, and apply steam from an iron held a few inches above the fabric. Do not press down with the iron, as this can flatten the texture. Allow them to cool and dry completely before unpinning.
- Optional Fringe: For extra coastal charm, add a simple fringe to one edge of each coaster. Cut 4-inch lengths of yarn, fold them in half, and use a crochet hook to pull the loop through the edge of the coaster, then pull the ends through the loop and tighten.
Your set of Driftwood Dune Coasters is now complete! These textured, handmade accents will bring a touch of the shore to your home and make wonderful gifts for beach lovers. Enjoy the satisfaction of creating something beautiful and functional with your own hands.