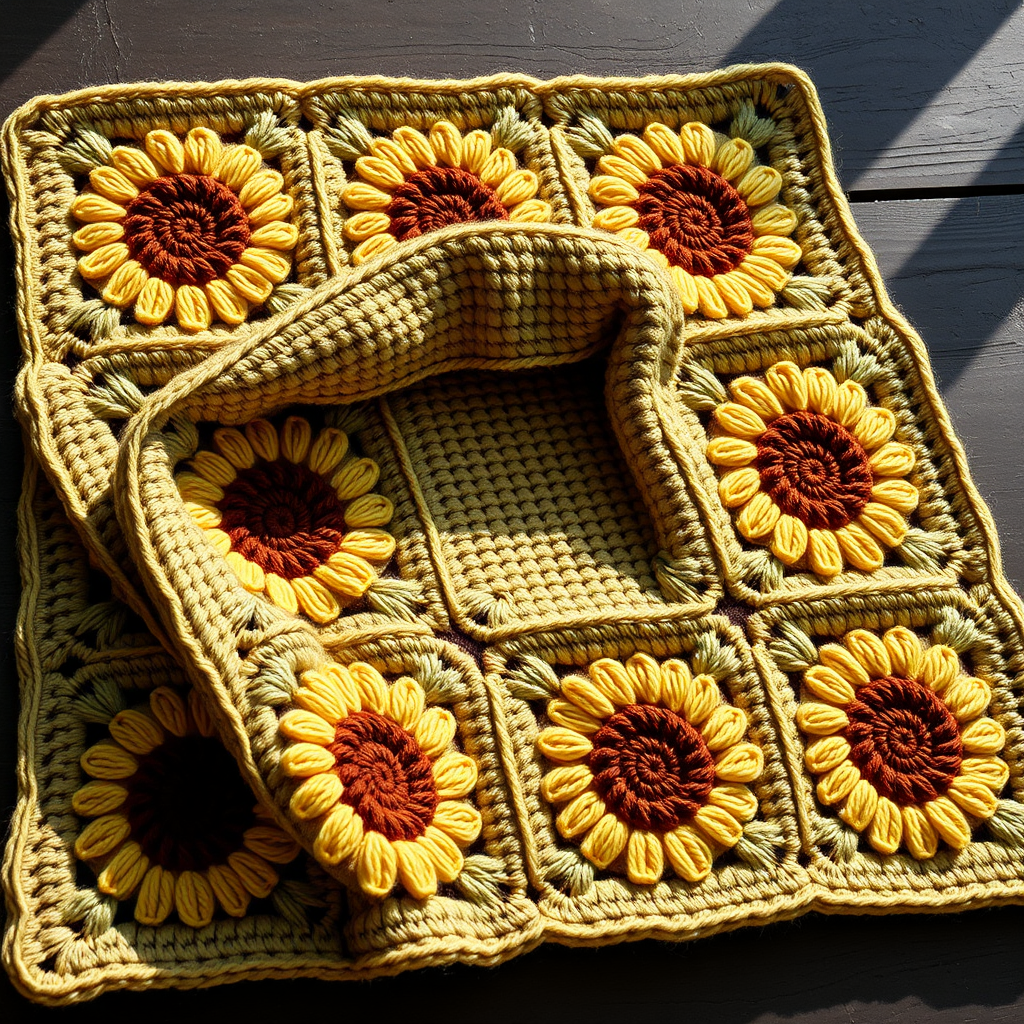
Whispering Pines Forest Floor Blanket Free Pattern – Crochet a Textured Woodland Throw

Introducing the Whispering Pines Forest Floor Blanket
Imagine wrapping yourself in the quiet beauty of a mossy forest floor, where every stitch tells a story of pine needles, ferns, and rich earth. The Whispering Pines Forest Floor Blanket is a richly textured crochet throw that brings the tranquility of the woodland into your home. This pattern is designed for crocheters who love texture and nature-inspired design, and it's surprisingly beginner-friendly thanks to its modular construction.
This blanket is built from twelve individual 6x6 inch squares, each featuring a unique stitch pattern that mimics organic forest layers. You'll create four distinct square designs—Pine Needle, Fern Frond, Mossy Pebble, and Earth Layer—then seam them together in a beautiful 3x4 grid. The result is a plush, dimensional masterpiece with a clean cream border that frames the entire piece perfectly.
Whether you're an experienced crocheter or a confident beginner looking for a rewarding project, this pattern offers clear instructions, manageable pieces, and a stunning finished product. Let's gather our materials and begin this woodland journey together.
Materials Needed
Before you begin, make sure you have all the necessary supplies. This project uses worsted weight yarn in five earthy shades to create the forest floor palette.
Yarn Requirements
- Deep Forest Green – for pine needle squares (approx. 400-500 yards)
- Moss Green – for fern frond squares (approx. 400-500 yards)
- Warm Brown – for earth layer squares (approx. 400-500 yards)
- Cream – for mossy pebble squares and border (approx. 400-500 yards)
- Rust Orange – accent color for variety (approx. 200-300 yards)
Total yarn needed: approximately 1800-2200 yards of worsted weight yarn.
Tools and Notions
- 5.5 mm (I-9) crochet hook – the perfect size for worsted weight yarn
- Tapestry needle – for seaming squares and weaving in ends
- Scissors – for cutting yarn
- Stitch markers – optional, but helpful for keeping track of rounds
Gauge Information
Gauge: 4 double crochet stitches x 2 rows = 1 inch in standard double crochet. This gauge ensures your squares come out to the correct 6x6 inch size. Always check your gauge before starting to ensure consistent sizing.
Step-by-Step Instructions
This blanket is worked in modular squares, each measuring 6x6 inches. You'll make three of each square type for a total of twelve squares. Each square is worked in the round, starting with a magic ring. Let's break down each square pattern in detail.
Square 1 – Pine Needle Stitch (Make 3)
This square features raised vertical ridges that resemble the texture of pine needles scattered on the forest floor. The stitch pattern creates a beautiful, dimensional surface.
Round 1: Begin with a magic ring. Chain 3 (this counts as your first double crochet). Work 11 double crochet into the ring. Slip stitch to the top of the beginning chain-3 to close the round. (12 double crochet total)
Round 2: Chain 3 (counts as first double crochet). Work 1 double crochet in the same stitch (this creates your increase). Work 2 double crochet in each stitch around. Slip stitch to the top of the beginning chain-3. (24 double crochet total)
Round 3: Chain 3 (counts as first double crochet). Work 1 double crochet in the same stitch. *Work 1 double crochet in the next stitch, then 2 double crochet in the next stitch.* Repeat from * to * around. Slip stitch to close. (36 double crochet total)
Round 4: Chain 3 (counts as first double crochet). Work 1 double crochet in the same stitch. *Work 1 double crochet in each of the next 2 stitches, then 2 double crochet in the next stitch.* Repeat from * to * around. Slip stitch to close. (48 double crochet total)
Round 5: Chain 3 (counts as first double crochet). Work 1 double crochet in the same stitch. *Work 1 double crochet in each of the next 3 stitches, then 2 double crochet in the next stitch.* Repeat from * to * around. Slip stitch to close. (60 double crochet total)
Fasten off and weave in the end. Your square should measure approximately 6x6 inches.
Square 2 – Fern Frond Stitch (Make 3)
This square uses front post double crochet to create a beautiful, fern-like texture that fans outward from the center. The raised stitches give the illusion of delicate fronds.
Round 1: Begin with a magic ring. Chain 3 (counts as first double crochet). Work 11 double crochet into the ring. Slip stitch to the top of the beginning chain-3. (12 double crochet total)
Round 2: Chain 3 (counts as first double crochet). *Work 1 front post double crochet around the next stitch, then 1 double crochet in the next stitch.* Repeat from * to * around. Slip stitch to close. (12 front post double crochet, 12 double crochet)
Round 3: Chain 3 (counts as first double crochet). *Work 1 front post double crochet around the next front post double crochet, then 1 double crochet in the next double crochet, then 2 double crochet in the next double crochet.* Repeat from * to * around. Slip stitch to close. (18 front post double crochet, 18 double crochet)
Round 4: Chain 3 (counts as first double crochet). *Work 1 front post double crochet around the next front post double crochet, then 1 double crochet in each of the next 2 double crochet, then 2 double crochet in the next double crochet.* Repeat from * to * around. Slip stitch to close. (24 front post double crochet, 24 double crochet)
Round 5: Chain 3 (counts as first double crochet). *Work 1 front post double crochet around the next front post double crochet, then 1 double crochet in each of the next 3 double crochet, then 2 double crochet in the next double crochet.* Repeat from * to * around. Slip stitch to close. (30 front post double crochet, 30 double crochet)
Fasten off and weave in the end.
Square 3 – Mossy Pebble Stitch (Make 3)
This square creates a bumpy, pebbled surface that mimics the look of moss growing on stones. The chain spaces add a lovely, airy texture that contrasts beautifully with the denser squares.
Round 1: Begin with a magic ring. Chain 3 (counts as first double crochet). Work 11 double crochet into the ring. Slip stitch to the top of the beginning chain-3. (12 double crochet total)
Round 2: Chain 3 (counts as first double crochet). *Work 1 double crochet in the next stitch, chain 1, skip the next stitch.* Repeat from * to * around. Slip stitch to close. (12 double crochet, 6 chain-1 spaces)
Round 3: Chain 3 (counts as first double crochet). *Work 1 double crochet in the next double crochet, then 1 double crochet in the chain-1 space, then chain 1.* Repeat from * to * around. Slip stitch to close. (18 double crochet, 6 chain-1 spaces)
Round 4: Chain 3 (counts as first double crochet). *Work 1 double crochet in each of the next 2 double crochet, then 1 double crochet in the chain-1 space, then chain 1.* Repeat from * to * around. Slip stitch to close. (24 double crochet, 6 chain-1 spaces)
Round 5: Chain 3 (counts as first double crochet). *Work 1 double crochet in each of the next 3 double crochet, then 1 double crochet in the chain-1 space, then chain 1.* Repeat from * to * around. Slip stitch to close. (30 double crochet, 6 chain-1 spaces)
Fasten off and weave in the end.
Square 4 – Earth Layer Stitch (Make 3)
This square features a smooth, dense texture that represents the rich layers of forest soil. The even increases create a beautiful, solid surface that grounds the blanket.
Round 1: Begin with a magic ring. Chain 3 (counts as first double crochet). Work 11 double crochet into the ring. Slip stitch to the top of the beginning chain-3. (12 double crochet total)
Round 2: Chain 3 (counts as first double crochet). *Work 2 double crochet in the next stitch, then 1 double crochet in the next stitch.* Repeat from * to * around. Slip stitch to close. (18 double crochet total)
Round 3: Chain 3 (counts as first double crochet). *Work 2 double crochet in the next stitch, then 1 double crochet in each of the next 2 stitches.* Repeat from * to * around. Slip stitch to close. (24 double crochet total)
Round 4: Chain 3 (counts as first double crochet). *Work 2 double crochet in the next stitch, then 1 double crochet in each of the next 3 stitches.* Repeat from * to * around. Slip stitch to close. (30 double crochet total)
Round 5: Chain 3 (counts as first double crochet). *Work 2 double crochet in the next stitch, then 1 double crochet in each of the next 4 stitches.* Repeat from * to * around. Slip stitch to close. (36 double crochet total)
Fasten off and weave in the end.
Assembly and Finishing
Once you've completed all twelve squares, it's time to bring your forest floor to life. Follow these steps to assemble your blanket.
Arranging Your Squares
Lay out your squares in a 3x4 grid (3 squares across, 4 squares down). Alternate the stitch patterns and colors in a balanced, organic way. For a natural forest look, try distributing the colors so that no two identical squares are directly adjacent. Step back and admire your arrangement before seaming—this is your chance to create the perfect woodland composition.
Seaming the Squares
With right sides together, use a tapestry needle and matching yarn to whip stitch the squares together. Work row by row, then column by column, until all twelve squares are securely joined. Take your time with this step—neat seaming makes for a professional-looking finished blanket.
Adding the Border
To finish your blanket, join your cream yarn in any corner. Chain 3 (counts as first double crochet), then work 2 double crochet in the same corner. *Work 1 double crochet in each stitch across to the next corner, then work 3 double crochet in the corner.* Repeat from * to * around the entire blanket. Slip stitch to close.
Work 2 more rounds of double crochet, increasing 2 double crochet in each corner (work 3 double crochet in the center corner stitch of each round). This creates a clean, even border that frames your forest floor beautifully.
Fasten off and weave in all ends carefully. Your Whispering Pines Forest Floor Blanket is complete!
Final Thoughts
This textured woodland throw is more than just a blanket—it's a piece of art that brings the serenity of the forest into your living space. The modular construction makes it perfect for portable crochet, and each square is a small, satisfying project on its own. Whether you're curling up on the couch or draping it over a chair as a decorative accent, this blanket is sure to become a cherished heirloom.
Happy crocheting, and may your stitches always feel like a walk through the whispering pines!