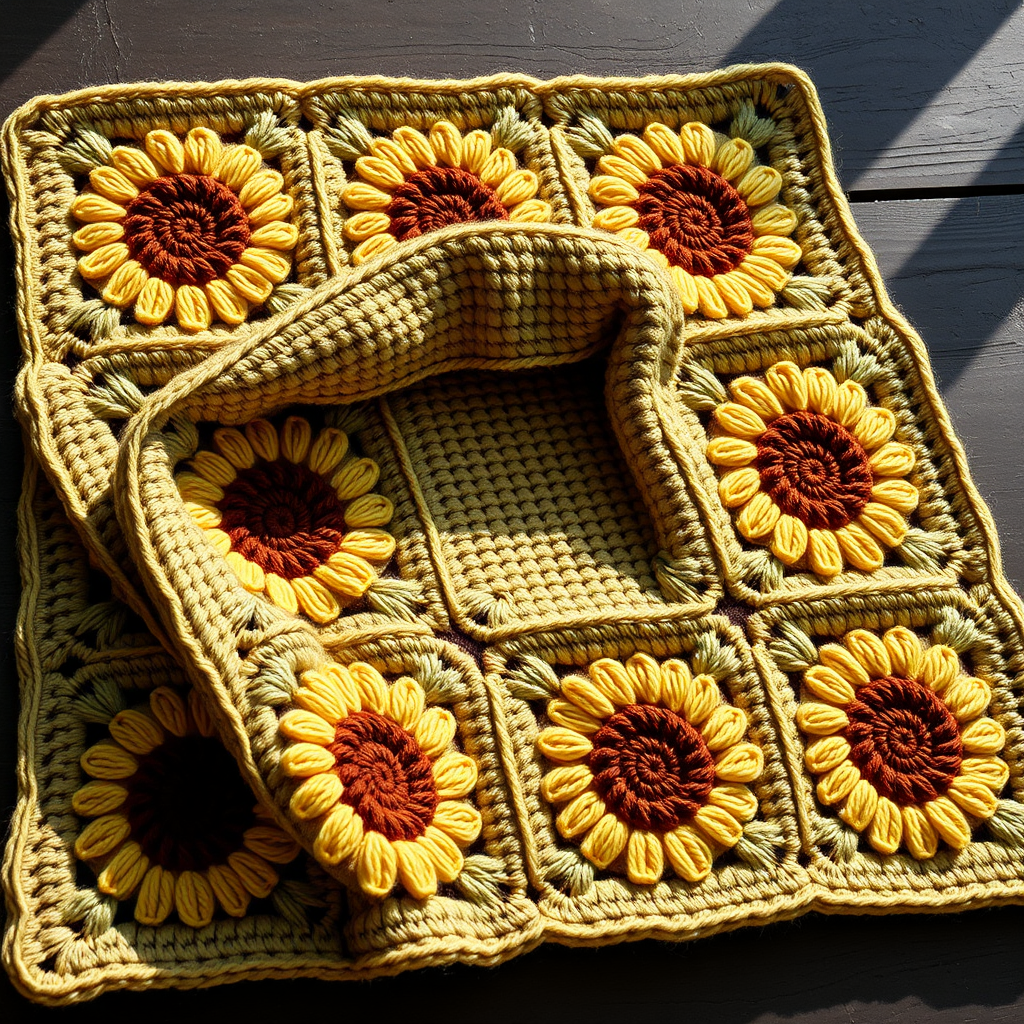
Driftwood Dunes Chunky Crochet Throw Free Pattern

Driftwood Dunes Chunky Crochet Throw: A Beginner-Friendly Textured Pattern
Wrap yourself in the cozy, organic texture of this chunky crochet throw, inspired by the sweeping lines of windswept sand dunes. The clever use of front and back post stitches creates a dense, reversible fabric that looks like intricate cabling without the complexity. This modern, farmhouse-style blanket works up quickly with super bulky yarn, making it the perfect weekend project for beginners and experienced crocheters alike. The subtle two-tone striping adds depth and warmth, evoking the calm, organic feel of coastal landscapes.
Materials Needed
Before you begin, gather the following supplies. All items are readily available at most craft stores or online yarn retailers.
- Yarn: Super Bulky Weight (Category 6) yarn, approximately 1200–1400 yards. The sample shown uses Lion Brand Wool-Ease Thick & Quick in two colors:
- Color A (Sandstone): Approximately 600–700 yards
- Color B (Oatmeal): Approximately 600–700 yards
- Crochet Hook: US Size P/16 (11.5 mm), or the size needed to obtain gauge. A larger or smaller hook will change the drape and finished dimensions.
- Other Tools: Yarn needle (for weaving in ends), scissors, measuring tape, and stitch markers (optional, but helpful for counting).
Gauge & Finished Size
- Gauge: 6 stitches and 5 rows = 4 inches in pattern stitch (after blocking). Exact gauge is not critical for this project, but it will affect the final size and yarn consumption.
- Finished Size: Approximately 48 inches wide x 60 inches long. You can easily adjust the width by chaining a different number (any odd number works). To adjust length, simply work more or fewer rows.
Step-by-Step Instructions
This pattern uses basic crochet stitches plus front and back post double crochet. If you are new to post stitches, don't worry—they are simple once you get the rhythm. The key is to insert your hook around the "post" (the vertical part of the stitch) rather than into the top loops.
Stitch Abbreviations
- ch = chain
- sc = single crochet
- dc = double crochet
- fpdc = front post double crochet
- bpdc = back post double crochet
- st(s) = stitch(es)
Special Stitch Tutorial
Front Post Double Crochet (fpdc): Yarn over, insert your hook from the front to the back around the post of the stitch in the row below (not through the top loops), yarn over, pull up a loop, then complete the stitch as a regular double crochet (yarn over, pull through two loops, yarn over, pull through two loops).
Back Post Double Crochet (bpdc): Yarn over, insert your hook from the back to the front around the post of the stitch in the row below, yarn over, pull up a loop, then complete as a regular double crochet.
Pattern Notes
- The throw is worked in rows, alternating between two colors to create a subtle striped effect. You can carry the unused color up the side, or cut and weave in ends for each color change. Carrying the yarn is easier and creates a cleaner edge for this project.
- The pattern repeat is a multiple of 2 + 1. For a 48-inch wide throw, chain 73 (or any odd number to achieve your desired width).
- The first dc of each row is worked into the first stitch unless otherwise noted. The turning chain counts as the first dc.
- The fabric is completely reversible; both sides show a beautiful, ribbed texture. Choose your favorite side as the "right" side.
Getting Started: Foundation Row
Foundation Row (Right Side): With Color A, chain 73 loosely. Double crochet in the 4th chain from your hook (this counts as your first double crochet). Double crochet in each chain across the row. Turn your work. (You should have 70 double crochet stitches total, counting the turning chain as one.)
Main Pattern Body
Now you will begin the post stitch pattern. Pay close attention to whether you are working a front post or back post stitch—this creates the beautiful ribbed texture.
Row 1 (Wrong Side): Chain 3 (counts as first dc). Skip the first stitch. *Work a fpdc around the post of the next stitch. Work a bpdc around the post of the next stitch.* Repeat from * to * across the row until you reach the last stitch. Work a dc in the top of the turning chain from the previous row. Turn.
Row 2 (Right Side): Chain 3 (counts as first dc). Skip the first stitch. *Work a bpdc around the post of the next stitch. Work a fpdc around the post of the next stitch.* Repeat from * to * across the row until you reach the last stitch. Work a dc in the top of the turning chain. Turn. (This row is the exact reverse of Row 1, which creates the alternating ribbed effect.)
Row 3: Repeat Row 1 exactly. At the end of Row 3, fasten off Color A and join Color B with a slip stitch.
Introducing the Second Color
Row 4: With Color B, chain 3 (counts as first dc). Skip the first stitch. *Work a fpdc around the post of the next stitch. Work a bpdc around the post of the next stitch.* Repeat from * to * across the row until you reach the last stitch. Work a dc in the top of the turning chain. Turn. (Notice that you are now working the same pattern as Row 1, but with the new color. This creates a clean, seamless color transition.)
Row 5: Chain 3 (counts as first dc). Skip the first stitch. *Work a bpdc around the post of the next stitch. Work a fpdc around the post of the next stitch.* Repeat from * to * across the row until you reach the last stitch. Work a dc in the top of the turning chain. Turn.
Row 6: Repeat Row 4 exactly. At the end of Row 6, fasten off Color B and join Color A.
Continuing the Pattern
Now that you have the rhythm, simply repeat Rows 1 through 6, alternating colors every 2 rows (2 rows of Color A, then 2 rows of Color B). Continue this pattern until your throw measures approximately 58 inches from the foundation chain. Be sure to end with a complete color block (meaning you finish 2 full rows of the same color) so that both ends of the blanket have a clean, finished look.
Adding a Clean Border (Optional)
For a polished finish, add a simple single crochet border around the entire perimeter. This helps stabilize the edges and gives the throw a professional look.
Border Round: With Color A, chain 1. Work single crochet evenly around the entire perimeter of the throw, placing 3 single crochet stitches in each corner to help the border lay flat. When you return to your starting point, join with a slip stitch to the first single crochet. Fasten off and weave in all loose ends with your yarn needle.
Finishing Touches
Once you have completed your throw and woven in all ends, it's time to block your work. Blocking helps even out the stitches and allows the fabric to relax into its final shape.
How to Block: Lay the throw flat on a clean surface or blocking mats. Gently mist it with water (or use a steam iron held above the fabric—do not press directly on the yarn). Gently stretch the throw to your desired dimensions (approximately 48 x 60 inches). Pin the edges in place if needed, and allow it to dry completely before removing the pins.
Your Driftwood Dunes Chunky Crochet Throw is now complete! The dense, textured fabric is perfect for snuggling on the couch, draping over a bed, or displaying as a modern farmhouse accent. Because the pattern is reversible, you can flip it to whichever side you prefer. Enjoy your handmade creation—it's sure to become a cherished piece in your home.