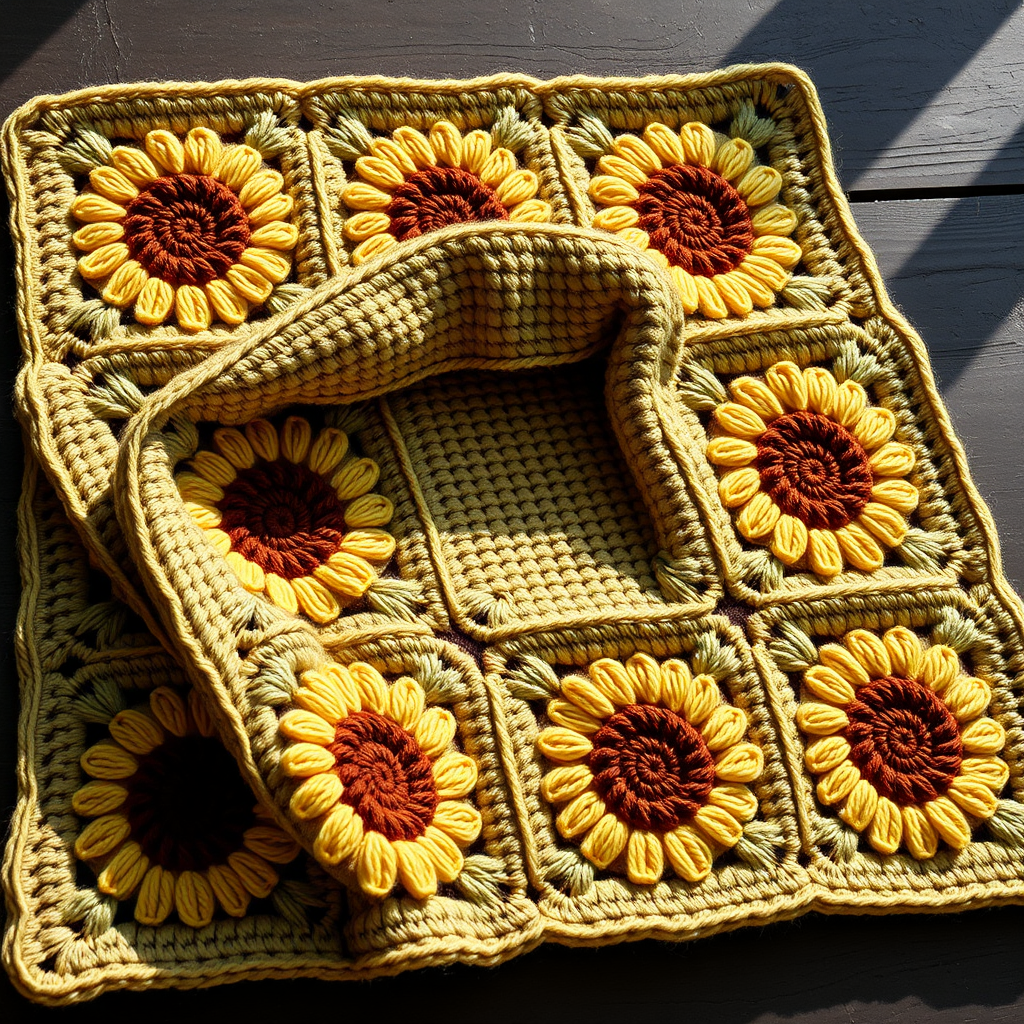
Midnight Meadow C2C Graphgan Free Pattern

Midnight Meadow C2C Graphgan: A Beginner-Friendly Pixel Art Crochet Blanket
Are you ready to transform a ball of yarn into a stunning piece of pixel art? The Midnight Meadow C2C Graphgan is the perfect project for crocheters looking to move beyond basic scarves and into the exciting world of corner-to-corner (C2C) crochet. This pattern creates a modern, geometric floral motif in rich jewel tones against a deep midnight navy background. Despite its intricate, artistic appearance, the technique is surprisingly simple—it is built entirely on chains and double crochets. By following our detailed, step-by-step guide, you will create a cozy, statement-making throw that looks like a digital illustration translated into soft, warm fabric. Let's grab your hook and start building this masterpiece from the corner up!
Materials Needed: Gathering Your Artist's Palette
Before you begin, ensure you have all the necessary supplies. This project uses standard worsted weight yarn, making it accessible and affordable. The exact amounts are estimates, so it is always wise to buy an extra skein of your main color to ensure you do not run out mid-project.
- Yarn: Worsted weight (4) yarn in the following colors:
- A) Midnight Navy (Background): Approx. 800g (This is your main color, used for the majority of the blanket).
- B) Deep Plum (Outer Petals): Approx. 400g
- C) Emerald Green (Leaves/Inner Petals): Approx. 350g
- D) Golden Yellow (Center): Approx. 200g
- E) Soft Cream (Highlight): Approx. 150g
- Crochet Hook: 5.5 mm (I/9) hook. Using the correct size is crucial to meet the gauge and achieve the proper drape.
- Other Tools: Yarn needle for weaving in ends, scissors, and stitch markers (optional, but helpful for counting rows).
Gauge: 8 pixel squares = 4 inches (10 cm). Always make a test swatch to check your gauge before starting the actual blanket.
Understanding the C2C Technique & Chart
This pattern is worked diagonally from the bottom right corner to the top left. Each "pixel" on the chart represents one C2C block. A block is created by chaining 3 (which counts as the first double crochet) and then working 3 double crochets into the same space. The chart below is read from the bottom row to the top. Each letter corresponds to the yarn color listed above.
The Color Chart (Read from bottom right to top left)
Here is the visual roadmap for your blanket. Each row lists the colors you will use from the "increasing" edge to the "decreasing" edge.
- Row 1: A
- Row 2: A A
- Row 3: A B A
- Row 4: A B B A
- Row 5: A B C B A
- Row 6: A B C C B A
- Row 7: A B C D C B A
- Row 8: A B C D D C B A
- Row 9: A B C D E D C B A
- Row 10: A B C D E E D C B A
- Row 11: A B C D E D C B A
- Row 12: A B C D D C B A
- Row 13: A B C D C B A
- Row 14: A B C C B A
- Row 15: A B C B A
- Row 16: A B B A
- Row 17: A B A
- Row 18: A A
- Row 19: A
Step-by-Step Instructions: Building Your Graphgan
We will break this down into three main sections: the Increase (Rows 1-10), the Straight section (Row 11), and the Decrease (Rows 12-19). Pay close attention to the "turn" instructions, as they differ between sections.
Part 1: The Increasing Section (Rows 1-10)
In this section, each row will have one more block than the previous row. We start at the bottom right corner.
Row 1: With color A, chain 6. Work 1 dc in the 4th chain from the hook. Work 1 dc in each of the next 2 chains. You have created your first block. (1 block total)
Row 2: Turn your work. Chain 6. Dc in the 4th chain from the hook and in the next 2 chains (this is your new block). Now, slip stitch (sl st) into the chain-3 space of the block from the previous row (this is the space created by the initial ch-3 of Row 1). Chain 3 (counts as first dc), then work 3 dc into that same chain-3 space. (2 blocks total)
Row 3: Turn. Chain 6. Dc in the 4th chain from the hook and in the next 2 chains. Sl st into the chain-3 space of the block directly below. Ch 3, 3 dc in that same space. *Sl st into the next chain-3 space of the next block below. Ch 3, 3 dc in the same space.* Repeat from * to * across the row. (3 blocks total)
Rows 4-10: Continue this exact pattern. Always start the row with a ch-6 to create the new "increase" block, then work one block into each chain-3 space across the row. Color Changes: To switch colors (e.g., from A to B), work the last double crochet of the block in the new color. This ensures a clean, seamless transition. Carry the unused yarn loosely along the back of the work, or cut and weave in ends at each row change to keep the back tidy. At the end of Row 10, you should have 10 blocks across.
Part 2: The Straight Section (Row 11)
This row does not increase or decrease the block count; it simply works even to create the square edge of the graphgan.
Row 11: Turn. Instead of chaining 6, you will slip stitch into the first chain-3 space of the row below to move to the edge. Sl st into the first ch-3 space. Ch 3, 3 dc in the same space. *Sl st into the next ch-3 space. Ch 3, 3 dc in the same space.* Repeat from * to * across the row. (10 blocks total).
Part 3: The Decreasing Section (Rows 12-19)
Now we will reduce the number of blocks each row to create the top left corner of the square.
Row 12: Turn. Sl st into the first ch-3 space of the row below. Sl st into the next ch-3 space (this skips the first block and moves you to the second). Ch 3, 3 dc in that same space. *Sl st into the next ch-3 space. Ch 3, 3 dc in the same space.* Repeat from * to * until you reach the last block on the row. (9 blocks total).
Row 13: Repeat the decrease method from Row 12. (8 blocks total).
Rows 14-19: Continue decreasing in this manner, following the color chart carefully. On Row 19, you will have just 1 block remaining. Fasten off and weave in the end.
Adding the Finishing Border
A clean border gives your graphgan a professional, polished look.
Round 1: With color A, join the yarn in any corner of the blanket. Chain 1. Work single crochet (sc) evenly around the entire perimeter of the blanket. When you reach a corner, work 3 sc into the corner stitch to turn the corner smoothly. Join with a slip stitch to the first sc.
Round 2: Chain 1. Work 1 sc in each sc around, working 3 sc in each corner sc (the middle stitch of the 3-sc corner group). Join with a slip stitch. Fasten off.
Final Step: Weave in all remaining yarn ends securely with your yarn needle. Lay your blanket flat to block it if desired, to help even out the stitches and define the square shape.
Congratulations! You have just completed the Midnight Meadow C2C Graphgan. This project is not just a blanket; it is a piece of geometric art that adds a cozy, modern touch to any room. The C2C technique is highly addictive once you get the rhythm, so do not be surprised if you find yourself planning your next pixel-art project before you have even woven in the last end. Happy crocheting!