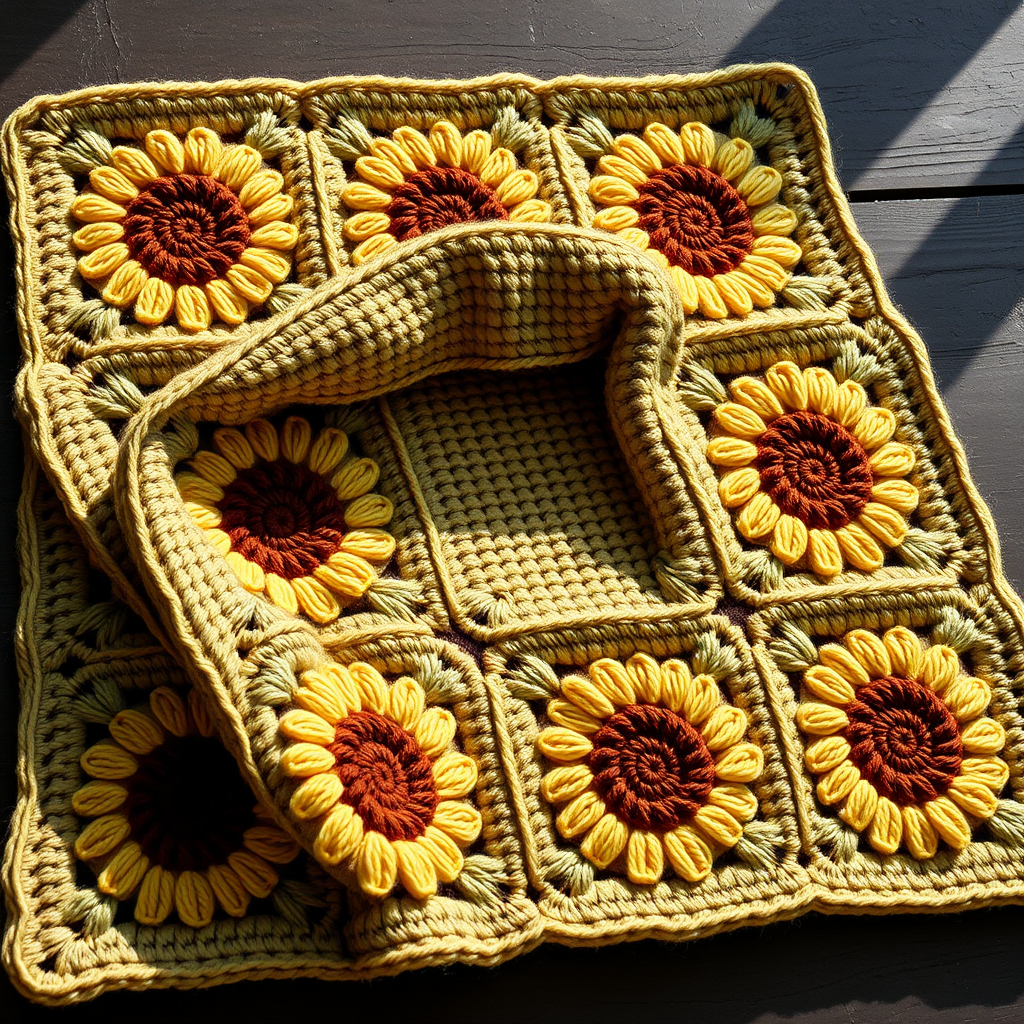
Cloudberry Dreams Chunky Throw Free Pattern

Cloudberry Dreams Chunky Throw: A Beginner-Friendly Crochet Blanket
If you have never held a crochet hook before, this is the perfect first blanket for you. The Cloudberry Dreams Chunky Throw is worked entirely in one simple, soothing stitch called half double crochet, so you only need to learn a single technique to make the whole thing. Because it uses a thick, fluffy bulky yarn and a big 8.0 mm hook, it stitches up quickly — you will see real progress in a single evening of crocheting. The finished throw is a generous 40-inch square, dense and plush with a soft, slightly fuzzy texture that feels like wrapping up in a cloud. Drape it over an armchair or the foot of your bed, and you will have a cozy, handmade piece you can be truly proud of.
Materials Needed
- Yarn: Bulky weight yarn (yarn weight category 5), fluffy or chenille-style. Approximately 900–1000 yards total. A great choice is Bernat Blanket or any similar chenille/blanket yarn. For a 40" x 40" throw you will need roughly 6–7 standard 150g/108-yard skeins, so buy a little extra to be safe.
- Crochet hook: Size L/11 (8.0 mm). (The "L/11" is the US size and "8.0 mm" is the metric size — they are the same hook.)
- Stitch markers: At least 4, to mark your first stitch, your last stitch, and your corners.
- Tapestry needle: A large-eye, blunt-tipped needle (sometimes called a yarn needle) for weaving in ends.
- Scissors: Any sharp pair for cutting yarn.
- Measuring tape: For checking gauge and the finished size.
Finished size: Approximately 40 inches by 40 inches (a square throw).
Abbreviations and Beginner Glossary
Every abbreviation used in this pattern is listed below and explained in plain English. Read through this list once before you begin — you do not need to memorize it.
- ch – chain. Make a slip knot on your hook, then wrap the yarn over the hook and pull it through the loop on your hook. That is one chain. A row of chains is your starting foundation.
- st / sts – stitch / stitches. A "stitch" is one completed loop of yarn in your fabric. "Sts" just means more than one.
- hdc – half double crochet. Yarn over (wrap yarn around hook), insert hook into the stitch, yarn over, pull up a loop (you now have 3 loops on your hook), yarn over again, and pull through all 3 loops at once. That is one half double crochet.
- sc – single crochet. Insert hook into the stitch, yarn over, pull up a loop (2 loops on hook), yarn over again, and pull through both loops. That is one single crochet.
- sl st – slip stitch. Insert hook into the stitch, yarn over, and pull the yarn straight through both the stitch and the loop on your hook in one motion. It creates almost no height and is used to join rounds.
- yo – yarn over. Wrap the working yarn (the yarn coming from the ball) over your hook from back to front. This is the motion used inside every stitch.
- sk – skip. Do not work into that chain or stitch; simply move past it to the next one.
- tog – together (not used in this pattern, but you may see it in others).
- turn – flip your work over (like turning a page) so you can work back across the row you just made.
- RS / WS – right side / wrong side. The "right side" is the front, prettier face of the fabric; the "wrong side" is the back.
- fasten off – cut the yarn a few inches from your work, then pull the tail all the way through the last loop on your hook to lock it.
- weave in ends – thread a yarn tail onto a tapestry needle and sew it back and forth through the fabric so it disappears and cannot unravel.
- block – gently dampen the finished piece and lay it flat to dry in shape, which evens out the stitches.
Gauge
Gauge: 12 stitches and 16 rows = 4 inches in half double crochet.
Why gauge matters: Gauge is simply how big your stitches turn out. If your stitches are bigger than the pattern's, your blanket will come out larger than 40 inches and you may run out of yarn; if they are smaller, the blanket will be too small. Checking gauge first saves you from disappointment at the end.
How to make a gauge swatch: With your 8.0 mm hook and your blanket yarn, chain 20. Work half double crochet into the 3rd chain from the hook and in each chain across (18 stitches). Work 18 rows of half double crochet (chain 2, then hdc in each stitch across, turn). Lay the swatch flat and measure a 4-inch section in the middle. Count how many stitches fit across 4 inches and how many rows fit in 4 inches. If you have about 12 stitches and 16 rows, you are right on target. If you have more stitches than 12, your stitches are too small — switch to a larger hook. If you have fewer than 12, your stitches are too big — switch to a smaller hook.
Beginner Tips Before You Start
- Count your stitches every single row. You should always have 120 half double crochet stitches. If you lose or add one, the blanket edges will wobble. Count before you turn.
- Use stitch markers. Place one marker in the very first stitch of each row and one in the very last stitch. This stops you from accidentally working into the turning chain or skipping the final stitch — the two most common beginner mistakes.
- Do not pull your yarn too tight. Keep your tension relaxed and even. Tight stitches make a stiff, small blanket and are hard to work into. The fabric should feel soft and slightly squishy.
- Remember the chain 2 does not count as a stitch. At the start of each row you chain 2 only to bring your yarn up to the right height. Your first half double crochet goes into the very first stitch, not into the chain.
- Work in good light and take breaks. Chunky yarn is forgiving, but your hands and eyes will tire. A few minutes of rest every half hour keeps your tension consistent.
- Keep your starting chain loose. If your first row of chains is tight, the bottom edge of the blanket will pull in. Make the chains relaxed, or use a hook one size larger just for the starting chain.
Step-by-Step Instructions
Notes before you begin: The blanket is worked flat in rows, turning at the end of every row. The chain 2 at the beginning of each row does not count as a stitch. Use a larger hook for a looser, drapier fabric, or a smaller hook for a denser blanket.
Body of the Blanket
Row 1: Chain 122. Work 1 half double crochet (hdc) into the 3rd chain from your hook (the 2 skipped chains count as your first hdc), then work 1 hdc into each remaining chain all the way across. Turn your work. (120 hdc)
Row 2: Chain 2 (this does not count as a stitch). Work 1 hdc into the very first stitch, then 1 hdc into each stitch across to the end of the row. Turn. (120 hdc)
Row 3: Chain 2. Work 1 hdc into the first stitch and 1 hdc into each stitch across. Turn. (120 hdc)
Row 4: Chain 2. Work 1 hdc into the first stitch and 1 hdc into each stitch across. Turn. (120 hdc)
Row 5: Chain 2. Work 1 hdc into the first stitch and 1 hdc into each stitch across. Turn. (120 hdc)
Rows 6 through 160: Repeat exactly what you did in Row 2 — chain 2, work 1 hdc into the first stitch, work 1 hdc into each stitch across, then turn — for every row until you reach Row 160. Each and every one of these rows ends with (120 hdc). Continue until the piece measures approximately 40 inches from the beginning, ending on a wrong-side row (a row where you finish on the side facing away from you). Do not fasten off yet.
Border (Optional)
Border Round 1: Chain 1. Work single crochet (sc) evenly all the way around the entire blanket: work 1 sc into each stitch along the top and bottom edges, work 1 sc into the end of each row along both side edges, and work 3 sc into each of the four corners so the corners turn neatly. Join with a slip stitch (sl st) to the first sc of the round. (The exact stitch count will vary slightly; the key is even spacing and 3 sc in every corner.)
Border Round 2: Chain 1. Work 1 sc into each sc all the way around, working 3 sc into each corner stitch. Join with a sl st to the first sc. Fasten off. (Same count as Round 1, plus the corner increases.)
Assembly and Finishing
Weaving in ends: Thread each yarn tail onto your tapestry needle. Working on the wrong side, sew the tail back and forth through the backs of several stitches (about 3 inches of travel), then reverse direction and sew back through a few more stitches to lock it. Trim the yarn close to the fabric. Do this for the starting tail and the ending tail.
No seaming is required — this blanket is worked in one single piece from start to finish, so there are no panels to join.
Blocking: Lightly mist the finished blanket with clean water until barely damp (do not soak it). Lay it flat on a clean towel or blocking mat and gently pat it into a neat 40-inch square, squaring up the corners and smoothing the edges. Leave it to dry completely, away from direct heat. This relaxes the yarn and evens out any slightly uneven stitches.
Pro Tips and Variations
- Change colors for stripes: Work a few rows in one color, then fasten off and join a new color at the start of a row. Alternate colors every 10–20 rows for a striped throw, or use a self-striping bulky yarn so the color changes happen for you.
- Adjust the size: To make the blanket wider or narrower, change the starting chain by any even number of chains (each extra 12 chains adds about 4 inches of width). To make it longer or shorter, simply work more or fewer rows — just keep repeating the Row 2 instruction.
- Substitute yarn: Any bulky (weight 5) yarn will work, but stay with the same gauge of 12 stitches and 16 rows per 4 inches. If you switch to a thinner yarn, hold two strands together and check your gauge again before starting.
- Add texture: For a subtle ridged look, work every other row in the back loop only (insert your hook under the back loop of the stitch instead of both loops). This creates a pretty raised line across the blanket without any extra difficulty.