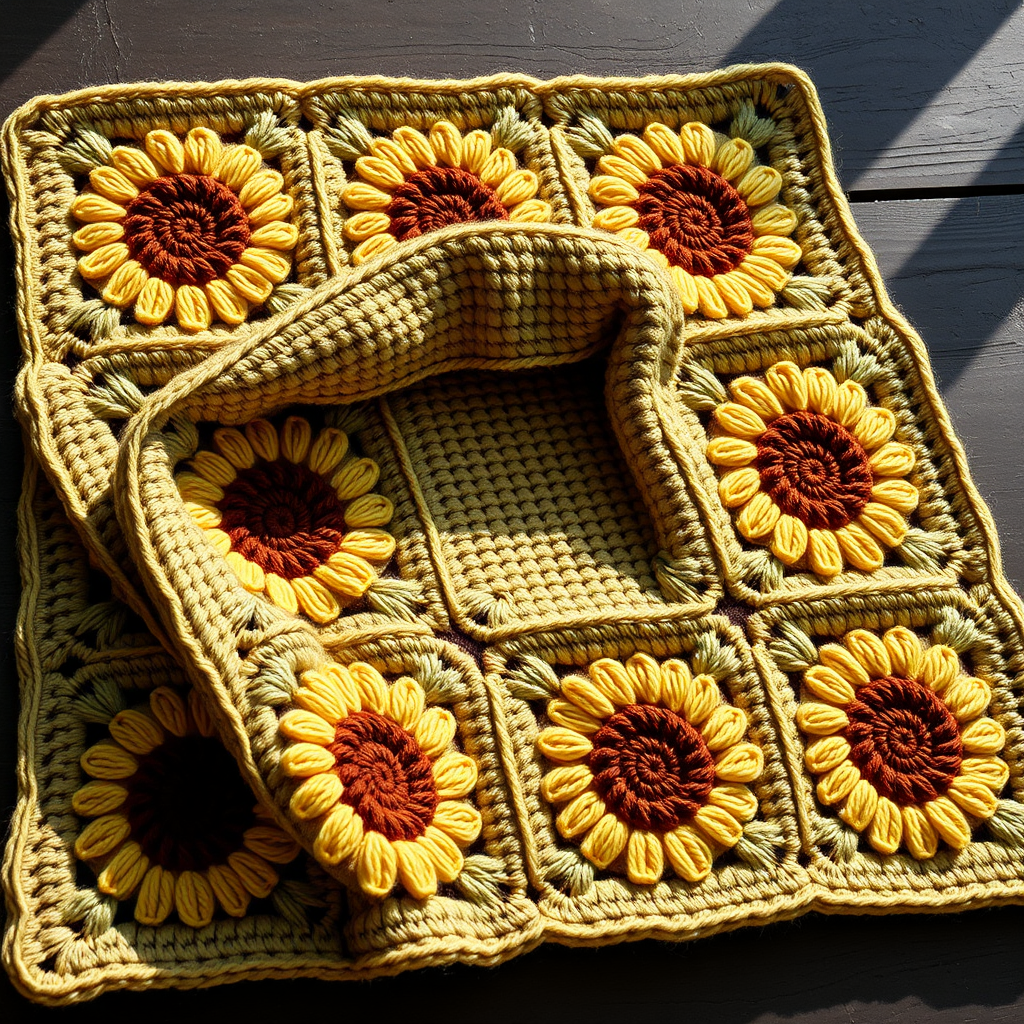
Celestial Drift: A Modern Temperature Blanket Pattern with Free Pattern

Celestial Drift: A Modern Temperature Blanket Pattern
Imagine wrapping yourself in a year of memories—each row a day, each color a whisper of the sky's mood. The Celestial Drift Temperature Blanket transforms daily temperature data into a stunning, textured heirloom. This isn't just a crochet project; it's a daily meditation, a visual journal, and a beautiful way to mark the passage of time. With a simple, rhythmic stitch pattern that creates a gentle wave reminiscent of drifting clouds, this blanket is surprisingly beginner-friendly while offering endless creative satisfaction. Let's embark on this year-long crafting journey together.
Why You'll Love This Temperature Blanket
Unlike traditional temperature blankets that use simple stripes, Celestial Drift features a subtle scalloped wave pattern. This is achieved by alternating plain rows of half-double crochet with rows that include gentle increases and decreases. The result is a fabric with beautiful drape and visual interest, mimicking the ebb and flow of weather patterns. The gradient palette—from deep navy to soft cream—evokes the transition from midnight to dawn, making it a piece of art for your home.
Materials Needed
Before you begin, gather these supplies. The quality of your yarn will greatly affect the final drape and feel of your blanket.
- Yarn: Worsted weight (#4) cotton or acrylic blend in 10 colors. Suggested palette: deep navy, indigo, periwinkle, dusty blue, soft teal, sage, warm grey, pale gold, blush pink, and cream. You will need approximately 200-300 yards per color for a throw-size blanket.
- Crochet Hook: 5.5 mm (I-9) crochet hook. Ensure you have a comfortable grip, as you'll be using this for many hours.
- Other Tools: Yarn needle for weaving in ends, scissors, and stitch markers (optional but helpful for counting).
Gauge & Size
Gauge: 4-inch square = 14 stitches x 12 rows in half double crochet. Always make a gauge swatch first to ensure your blanket turns out the correct size.
Finished Size: The pattern below creates a throw approximately 50" wide. You can easily adjust the width by changing your starting chain.
Understanding Your Temperature Chart
This is the heart of your temperature blanket. Before you start crocheting, you need to set up your color key.
- Determine Your Temperature Ranges: Divide your 10 colors into 5-degree Fahrenheit ranges. For example:
- Below 0°F: Deep Navy
- 0-4°F: Indigo
- 5-9°F: Periwinkle
- 10-14°F: Dusty Blue
- 15-19°F: Soft Teal
- 20-24°F: Sage
- 25-29°F: Warm Grey
- 30-34°F: Pale Gold
- 35-39°F: Blush Pink
- 40°F and above: Cream
- Record Daily Temperatures: Each day, note the average temperature for your location. You can use a weather app, website, or your own thermometer. Keep a journal or spreadsheet to track this.
Step-by-Step Instructions
This blanket is worked in rows, with one row representing one day of the year. The pattern is simple to memorize after a few rows. Let's break it down.
Foundation Chain
Chain a multiple of 10 + 2. For a throw-size blanket (approx. 50" wide), chain 152. If you want a wider or narrower blanket, adjust this number accordingly (e.g., chain 112 for a smaller lapghan, or 192 for a larger bedspread).
Row 1 (Day 1)
Using the color assigned to Day 1's temperature, work 1 half double crochet (hdc) in the 3rd chain from your hook and in each chain across. Turn your work. You should have 150 hdc stitches.
Row 2 (Day 2)
Switch to the color for Day 2. Chain 2 (this counts as your first hdc). Now we begin the wave pattern:
- *Hdc in the next 4 stitches.
- Hdc2tog (half double crochet decrease): Yarn over, insert hook into next stitch, yarn over and pull up a loop, yarn over, insert hook into the following stitch, yarn over and pull up a loop (you now have 5 loops on your hook), yarn over and pull through all 5 loops. This creates a decrease.
- Hdc2tog again (second decrease).
- Hdc in the next 4 stitches.
- 2 hdc in the next stitch (increase). This creates the peak of the wave.
- Repeat from * across the row, ending with 1 hdc in the last stitch. Turn. You should still have 150 stitches.
Row 3 (Day 3)
Switch to the color for Day 3. Chain 2 (counts as first hdc). Hdc in each stitch across the row. Turn.
Row 4 (Day 4)
Switch to the color for Day 4. Repeat Row 2 exactly.
Row 5 (Day 5)
Switch to the color for Day 5. Repeat Row 3 exactly.
Continuing the Pattern
You will now continue alternating Row 2 (the wave row) and Row 3 (the plain row) for each subsequent day of the year. Remember to:
- Change colors at the beginning of each row according to your temperature chart.
- Always chain 2 at the start of each row (this counts as your first hdc).
- Work the last hdc of each row into the top of the turning chain from the previous row to keep your edges straight.
Pro-Tips for Success
- Weave in ends as you go: This will save you hours of work at the end. Weave in the yarn tails at the beginning and end of each row before starting the next day's row.
- Use stitch markers: Place a marker every 50 stitches to help you keep count, especially during the wave rows.
- Stay consistent: Try to work on your blanket at the same time each day. It becomes a lovely daily ritual.
- Don't stress about perfection: This is a memory keeper. Small variations in tension add to its charm.
Finishing Your Blanket
After you complete Row 365 (the last day of the year), you're ready to finish your masterpiece.
- Fasten Off: Cut your yarn, leaving a 6-inch tail. Pull the tail through the last loop on your hook to secure.
- Weave in All Ends: Use your yarn needle to weave in any remaining loose ends securely.
- Add a Border (Optional but Recommended): This gives your blanket a polished, professional look.
- Attach your cream (or any color of your choice) yarn to any corner.
- Work 1 round of single crochet (sc) around the entire blanket.
- At each corner, work 3 sc in the corner stitch to help the corners lay flat.
- When you return to your starting corner, slip stitch to the first sc to join. Fasten off and weave in ends.
Blocking Your Blanket (For a Professional Finish)
Blocking helps even out your stitches and gives the blanket a beautiful, crisp drape.
- Fill a basin with cool water and add a small amount of gentle wool wash.
- Submerge your blanket and let it soak for 15-20 minutes. Do not agitate.
- Gently squeeze out excess water (do not wring).
- Lay the blanket flat on a clean towel, roll it up to remove more water.
- Place the blanket on a blocking mat or dry towel. Gently stretch it to the desired dimensions and pin the edges if needed.
- Allow it to dry completely before removing pins.
Your Year of Memories Awaits
The Celestial Drift Temperature Blanket is more than just a craft project—it's a journey. Each stitch captures a moment, each color tells a story of a particular day's weather. As you work through the year, you'll watch your blanket grow and evolve, just like the seasons. Whether you're a seasoned crocheter or a beginner looking for a meaningful project, this pattern offers a rewarding experience that culminates in a beautiful, functional piece of art you'll treasure for years to come.
Ready to start your own celestial journey? Gather your yarn, set up your temperature chart, and let the first row of your memory blanket begin. Happy crocheting!