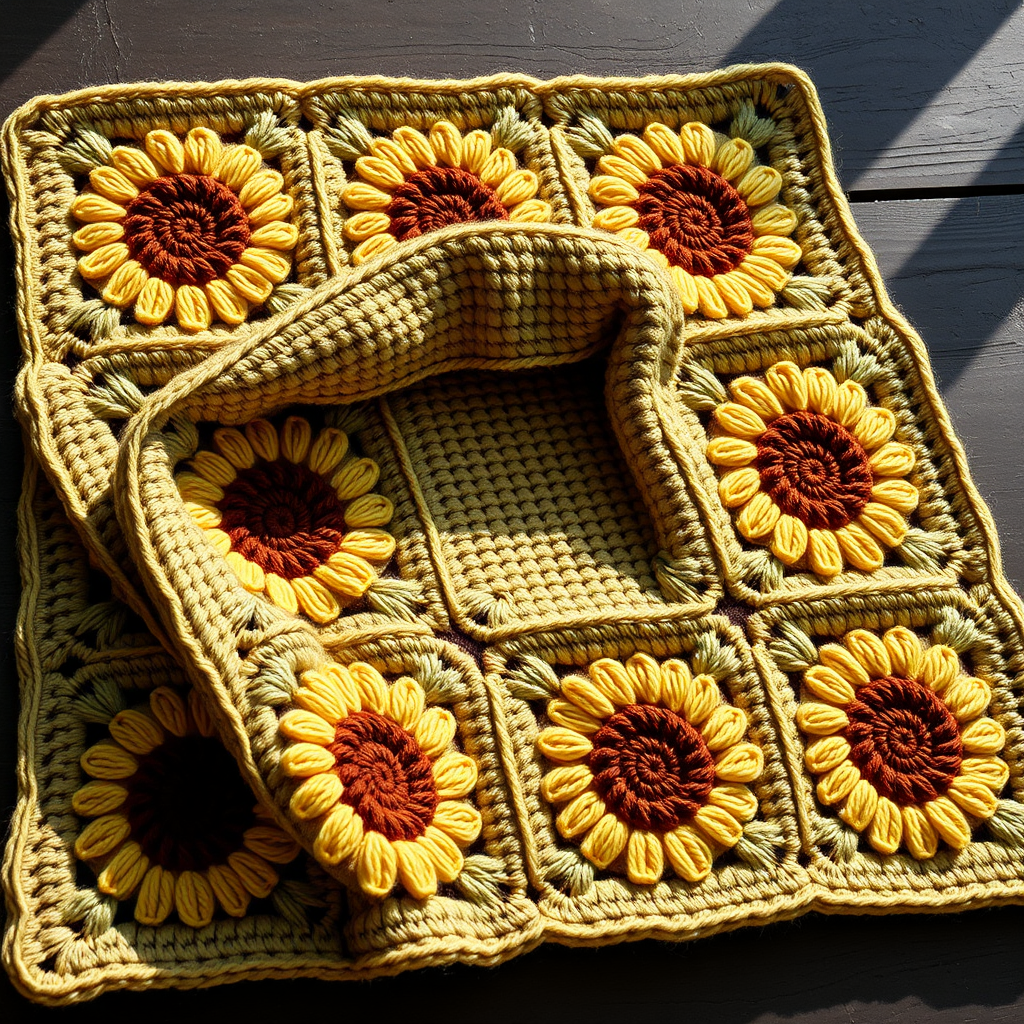
Enchanted Evergreen Forest Floor Blanket Free Pattern – Crochet a Mossy Woodland Throw

Enchanted Evergreen Forest Floor Blanket Free Pattern – Crochet a Mossy Woodland Throw
Wrap yourself in the quiet magic of a forest floor with this richly textured crochet blanket. Featuring a tapestry of mossy greens, earthy browns, and soft cream, each stitch mimics the organic beauty of lichen, ferns, and fallen leaves. This cozy, nature-inspired heirloom piece is perfect for snuggling on cool evenings or adding a touch of woodland charm to your living space. Best of all, it's a free pattern that even beginners can tackle with confidence!
This blanket is worked in one piece using a combination of front post double crochet (fpdc), back post double crochet (bpdc), and standard double crochet (dc) to create a dense, textured fabric. The color changes are worked in a tapestry style, carrying the unused yarn along the back. The result is a symmetrical gradient that starts and ends with deep green, transitioning through moss, sage, brown, and cream in the center—just like walking through an enchanted forest.
Materials Needed
Before you begin your woodland adventure, gather these supplies:
- Yarn: Worsted weight yarn in 5 colors:
- Deep Forest Green (A) – approximately 400 yards
- Moss Green (B) – approximately 350 yards
- Sage (C) – approximately 350 yards
- Bark Brown (D) – approximately 350 yards
- Cream (E) – approximately 350 yards
- Hook: US Size I/9 (5.5 mm) crochet hook
- Other: Yarn needle for weaving in ends, scissors
Gauge: 14 dc x 8 rows = 4 inches in pattern stitch. Be sure to check your gauge to ensure your blanket comes out the right size.
Step-by-Step Instructions
Getting Started: Foundation and Ribbed Base
Foundation: With color A (Deep Forest Green), chain 121.
Row 1: Dc in 4th ch from hook and in each ch across. Turn. (118 dc)
Row 2: Ch 3 (counts as dc), *fpdc around next st, bpdc around next st; repeat from * across, ending with dc in top of turning ch. Turn.
Row 3: Ch 3, *bpdc around next st, fpdc around next st; repeat from * across, ending with dc in top of turning ch. Turn.
Rows 4-6: Repeat rows 2 and 3 alternately, maintaining the ribbed pattern. This creates a beautiful, stretchy border that anchors your blanket.
Color Section 1: Moss Green (B)
Row 7 (Color change to B): Ch 3, dc in next 2 sts, *fpdc around next st, dc in next 3 sts; repeat from * across, ending with dc in last 2 sts. Turn.
Row 8: Ch 3, dc in each st across. Turn.
Row 9: Ch 3, *fpdc around next st, dc in next 4 sts; repeat from * across, ending with dc in last 3 sts. Turn.
Row 10: Repeat row 8.
Color Section 2: Sage (C)
Row 11 (Color change to C): Ch 3, dc in next 4 sts, *fpdc around next st, dc in next 5 sts; repeat from * across, ending with dc in last 4 sts. Turn.
Row 12: Repeat row 8.
Row 13: Ch 3, *fpdc around next st, dc in next 6 sts; repeat from * across, ending with dc in last 5 sts. Turn.
Row 14: Repeat row 8.
Color Section 3: Bark Brown (D)
Row 15 (Color change to D): Ch 3, dc in next 6 sts, *fpdc around next st, dc in next 7 sts; repeat from * across, ending with dc in last 6 sts. Turn.
Row 16: Repeat row 8.
Row 17: Ch 3, *fpdc around next st, dc in next 8 sts; repeat from * across, ending with dc in last 7 sts. Turn.
Row 18: Repeat row 8.
Color Section 4: Cream (E)
Row 19 (Color change to E): Ch 3, dc in next 8 sts, *fpdc around next st, dc in next 9 sts; repeat from * across, ending with dc in last 8 sts. Turn.
Row 20: Repeat row 8.
Row 21: Ch 3, *fpdc around next st, dc in next 10 sts; repeat from * across, ending with dc in last 9 sts. Turn.
Row 22: Repeat row 8.
Creating the Symmetrical Gradient
Rows 23-42: Repeat rows 7-22, but reverse the color order (E, D, C, B, A) to create a symmetrical gradient. This means you'll work the cream section again, then brown, then sage, then moss, and finally deep forest green. This creates the beautiful, balanced look of a forest floor.
Finishing Border
Rows 43-62: Repeat rows 2-3 alternately to create a border of ribbed texture. This mirrors the beginning of your blanket and gives it a polished, finished look.
Final Border: With color A (Deep Forest Green), work 1 round of single crochet (sc) evenly around the entire blanket, working 3 sc in each corner to keep the corners flat. Join with a slip stitch. Fasten off and weave in all ends with your yarn needle.
Tips for Success
- Carrying yarn: When changing colors, carry the unused yarn loosely along the back of your work. This keeps the back neat and prevents bulky tangles.
- Post stitches: Remember that fpdc is worked around the post of the stitch from front to back to front, while bpdc is worked from back to front to back. This creates the raised rib effect.
- Count your stitches: Each row should have 118 stitches (including the turning chain). If you find yourself off count, take a moment to recount before proceeding.
- Blocking: Once finished, gently block your blanket to even out the stitches and enhance the texture. Lay it flat, mist with water, and let it dry completely.
This Enchanted Evergreen Forest Floor Blanket is more than just a cozy throw—it's a journey through the woods, captured in yarn. The dense, tactile texture and earthy color palette make it a stunning addition to any home. Whether you're an experienced crocheter or a beginner looking for a rewarding project, this pattern offers both beauty and satisfaction. So grab your hook, choose your forest colors, and let the magic of the woodland come to life in your hands!
Happy crocheting, and may your stitches always feel like a walk in the woods!