Whispering Dunes Crescent Shawl Free Pattern – A Knitted Desert Mirage Wrap
Whispering Dunes Crescent Shawl Free Pattern – A Knitted Desert Mirage Wrap
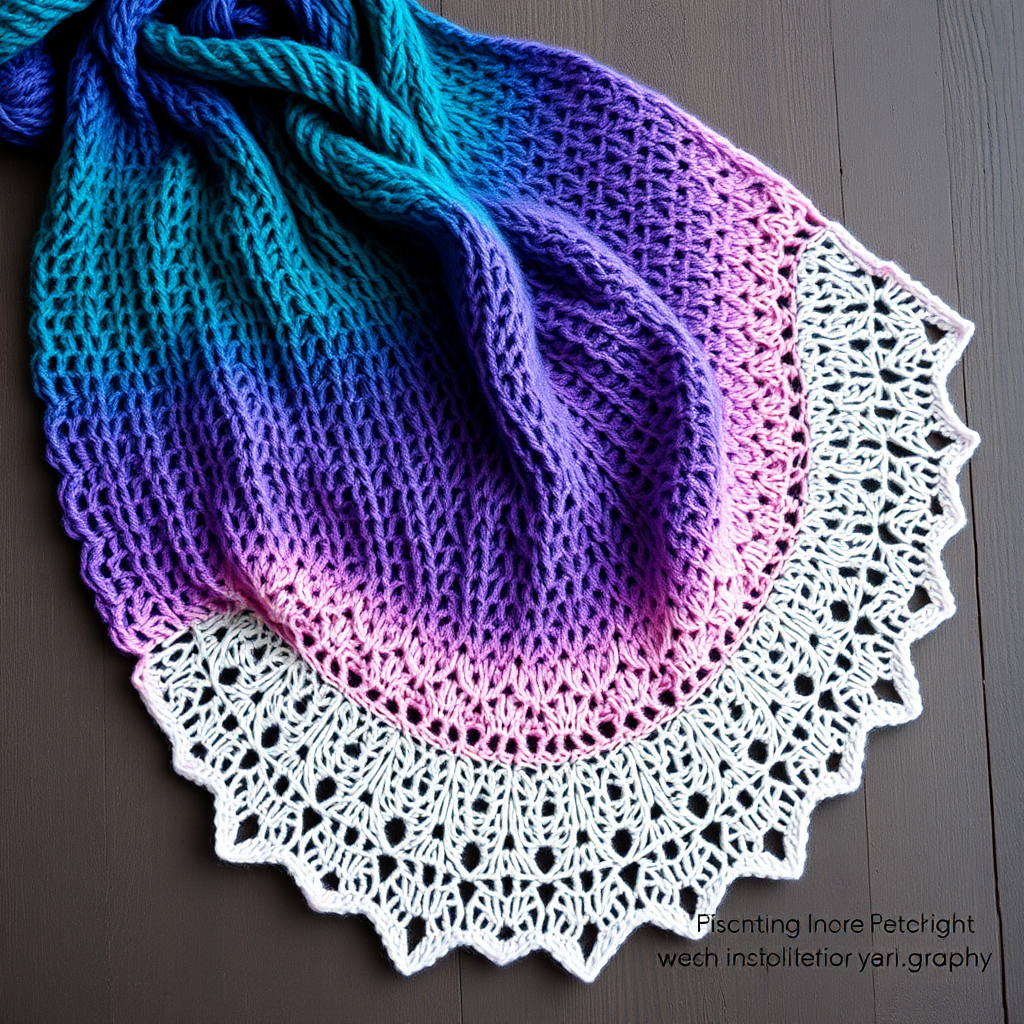
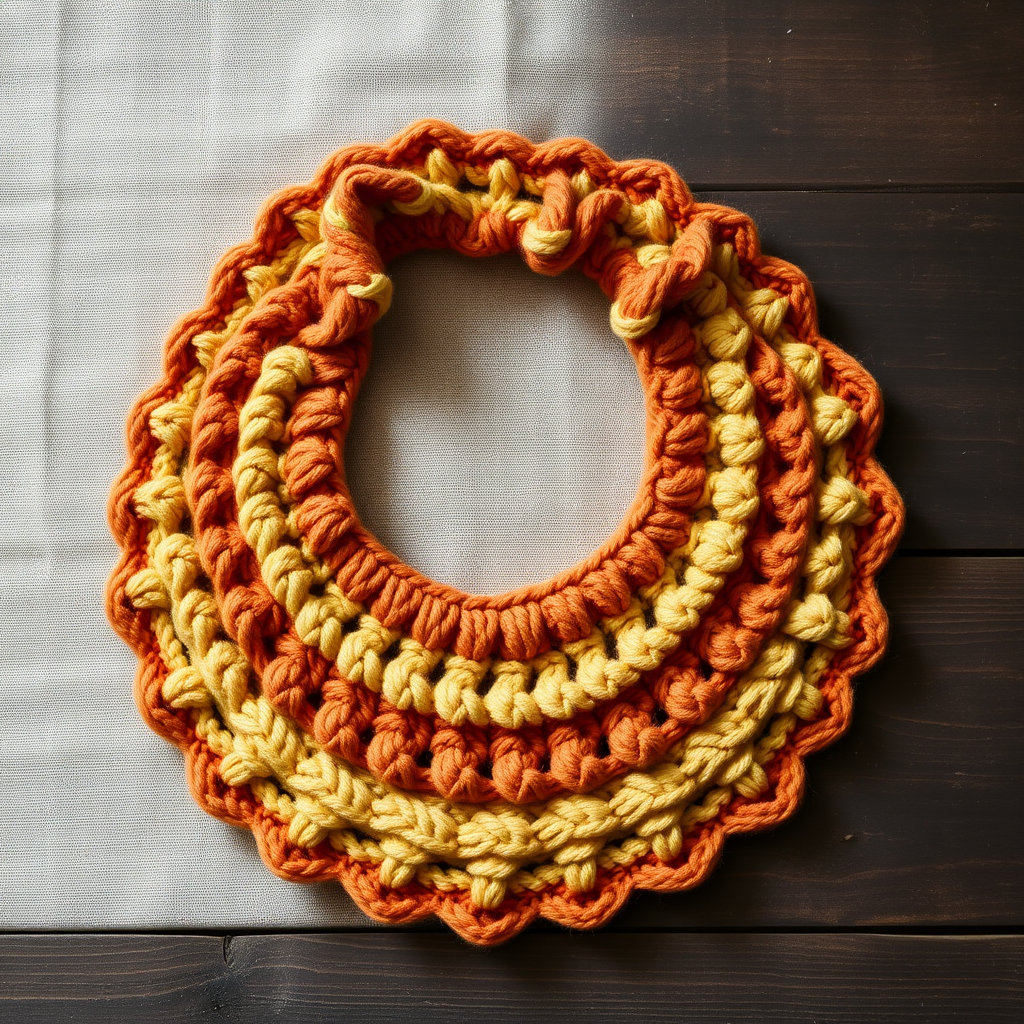
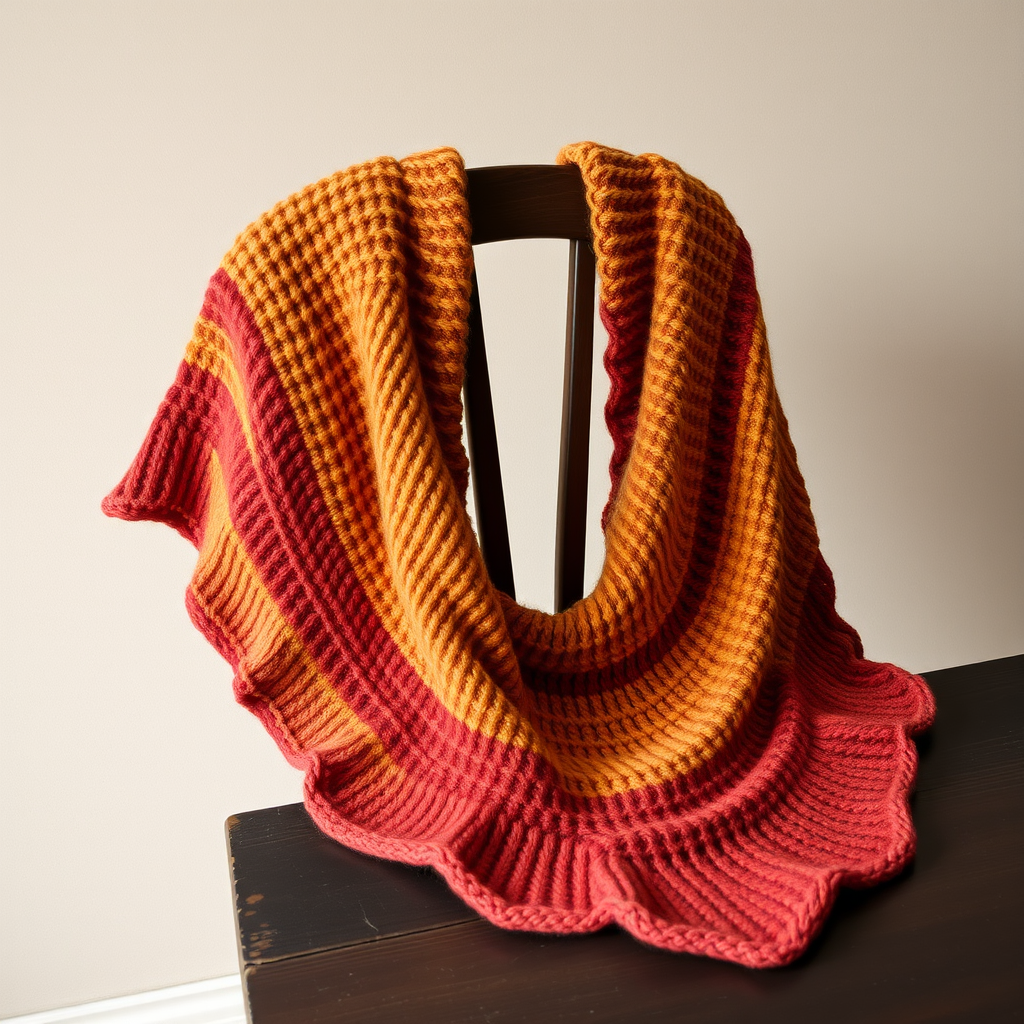
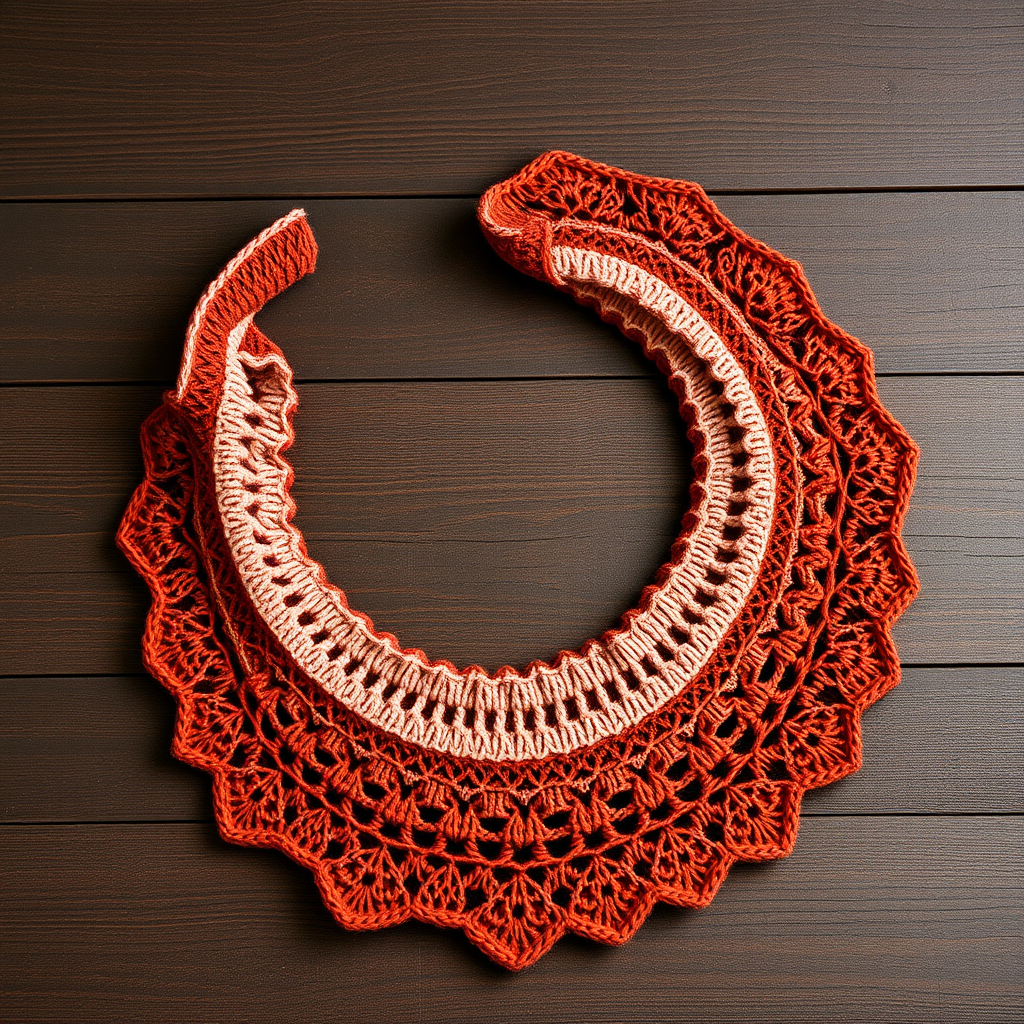
Imagine wrapping yourself in the shifting sands of a desert sunset, where terracotta melts into ochre and fades into dusty rose. The Whispering Dunes Crescent Shawl captures this breathtaking gradient in a cozy, artistic accessory that feels like a warm embrace. This free knitting pattern creates a crescent-shaped shawl with a mesmerizing textured stitch that mimics wind-rippled dunes, complete with delicate eyelets and a scalloped edging. Whether you're a seasoned knitter or a confident beginner ready for a rewarding project, this wrap is your ticket to a wearable piece of art.
This pattern is designed to be both meditative and achievable. You'll start from the top center and work downward, increasing on both sides to form the graceful crescent shape. The combination of garter ridges, stockinette, and a simple lace repeat creates a fabric that is soft, drapey, and slightly crinkled—perfect for draping over your shoulders on cool evenings. Let's dive into the details and create your own desert mirage.
Materials Needed
Before you begin, gather the following supplies. The quality of your yarn will greatly affect the drape and feel of your finished shawl, so choose a soft, breathable fingering weight yarn.
Yarn
- Fingering weight yarn in 3 colors (approx. 400g total):
- Color A (Terracotta): approx. 150g
- Color B (Ochre): approx. 100g
- Color C (Dusty Rose): approx. 150g
- Recommended yarn: Malabrigo Sock (100% superwash merino, 440 yds/100g) or any similar fingering weight yarn that holds its shape well.
Needles & Notions
- US 6 (4.0mm) circular knitting needle, 32 inches or longer (to accommodate the growing number of stitches)
- Stitch markers (at least 2, to mark the center stitch and edges)
- Tapestry needle for weaving in ends
- Blocking mats and pins for finishing
Gauge
22 stitches and 32 rows = 4 inches in stockinette stitch (blocked). Gauge is important for the final size and drape, so take a moment to knit a swatch and adjust your needle size if needed.
Step-by-Step Instructions
This pattern is worked from the top center down to the crescent points. You'll increase on both sides of a center stitch to create the shape. All increases are worked on right-side (RS) rows. Use a stitch marker to mark the center stitch, and place markers a few stitches in from each edge to help you keep track of the border.
Abbreviations
- k = knit
- p = purl
- yo = yarn over
- k2tog = knit two together (right-leaning decrease)
- ssk = slip, slip, knit (left-leaning decrease)
- pm = place marker
- sm = slip marker
- RS = right side
- WS = wrong side
Setup (Rows 1-6)
With Color A, cast on 3 stitches.
- Row 1 (RS): k1, yo, k1, yo, k1 (5 stitches)
- Row 2 (WS): k2, p1, k2
- Row 3 (RS): k2, yo, k1, yo, k2 (7 stitches)
- Row 4 (WS): k3, p1, k3
- Row 5 (RS): k2, yo, k1, yo, k1, yo, k1, yo, k2 (11 stitches)
- Row 6 (WS): k4, p3, k4
After Row 6, place a marker in the center stitch (the 6th stitch). You now have 5 stitches on each side of the center.
Increase Section (Rows 7-30)
This section builds the foundation of the shawl with simple increases and garter ridges.
- Row 7 (RS): k2, yo, knit to center marker, yo, sm, k1, yo, knit to last 2 stitches, yo, k2 (increase 4 stitches)
- Row 8 (WS): knit all stitches (garter ridge)
Repeat Rows 7-8 until you have 43 stitches on the needle, ending with a WS row. You will have 21 stitches on each side of the center stitch. This is a great time to double-check your stitch count and ensure your markers are in place.
Dune Texture Section (Rows 31-70)
Now we introduce the beautiful lace pattern that mimics wind-rippled sand. This section uses a 4-row repeat. Pay close attention to the pattern, especially around the center marker.
Row 31 (RS): k2, yo, *k2tog, yo, k1, yo, ssk, k3* repeat from * to * until 2 stitches before center marker, k2tog, yo, sm, k1, yo, ssk, *k3, k2tog, yo, k1, yo, ssk* repeat from * to * until last 2 stitches, yo, k2 (increase 4 stitches)
Row 32 (WS): knit all stitches
Row 33 (RS): k2, yo, *k1, yo, ssk, k1, k2tog, yo, k2* repeat from * to * until 2 stitches before center marker, k2tog, yo, sm, k1, yo, ssk, *k2, yo, ssk, k1, k2tog, yo, k1* repeat from * to * until last 2 stitches, yo, k2
Row 34 (WS): knit all stitches
Color Changes: Work 10 rows of Color A (Rows 31-40), then switch to Color B for 10 rows (Rows 41-50), then switch to Color C for 10 rows (Rows 51-60), and continue with Color C until the end of the shawl.
Continue repeating Rows 31-34 until you have 111 stitches on the needle, ending with a WS row. The color transitions will create a beautiful gradient effect as the shawl grows.
Final Increase Section (Rows 71-90)
This section adds a few more stitches to widen the shawl before the edging.
- Row 71 (RS): k2, yo, knit to center marker, yo, sm, k1, yo, knit to last 2 stitches, yo, k2 (increase 4 stitches)
- Row 72 (WS): knit all stitches
Repeat Rows 71-72 until you have 131 stitches on the needle, ending with a WS row.
Edging (Rows 91-92)
The final rows create a delicate, scalloped edge that beautifully frames the crescent shape.
- Row 91 (RS): k2, yo, *k2tog, yo* repeat from * to * until 2 stitches before center marker, k2tog, yo, sm, k1, yo, ssk, *yo, k2tog* repeat from * to * until last 2 stitches, yo, k2 (increase 4 stitches)
- Row 92 (WS): knit all stitches
Bind off loosely on the next RS row (knitwise). A loose bind-off is crucial to maintain the stretchy, scalloped edge—consider using a larger needle or a stretchy bind-off method if needed.
Finishing
Weave in all ends with your tapestry needle, being careful to secure them discreetly within the fabric.
Blocking: This step is essential to reveal the true beauty of the lace and shape the crescent. Soak the shawl in lukewarm water with a drop of wool wash for 20-30 minutes. Gently squeeze out excess water (do not wring). Lay the shawl on a clean towel and roll it up to remove more water. Then, pin it to shape on a blocking mat, stretching the crescent points and the top edge to your desired dimensions. Allow it to dry completely before unpinning.
Your Whispering Dunes Crescent Shawl is now complete! The gradient of terracotta, ochre, and dusty rose will evoke the warmth of a desert sunset, and the textured lace will catch the light beautifully. This shawl is perfect for cozy evenings, special occasions, or as a thoughtful handmade gift. Enjoy wearing your knitted mirage!