Sunlit Dune Shawl Free Knitting Pattern – Textured Waves of Sand
Sunlit Dune Shawl Free Knitting Pattern – Textured Waves of Sand
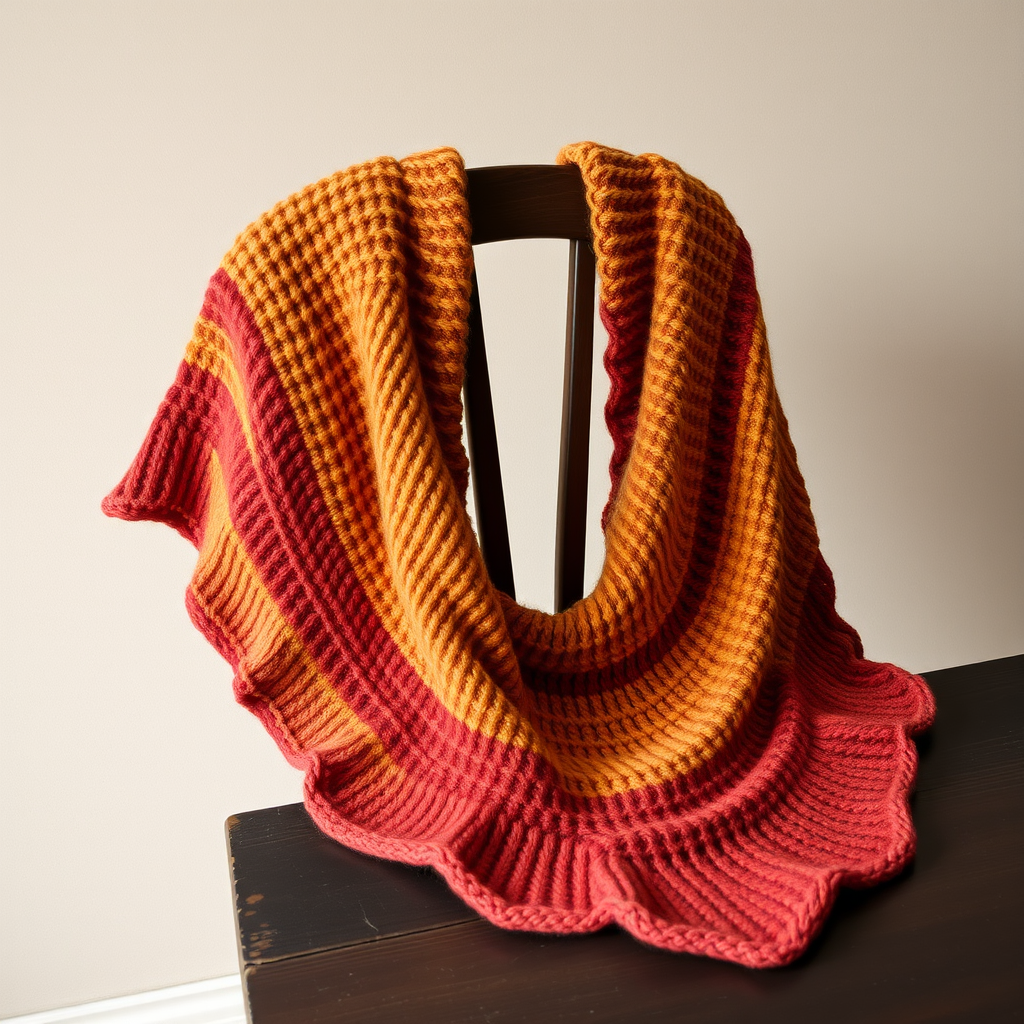
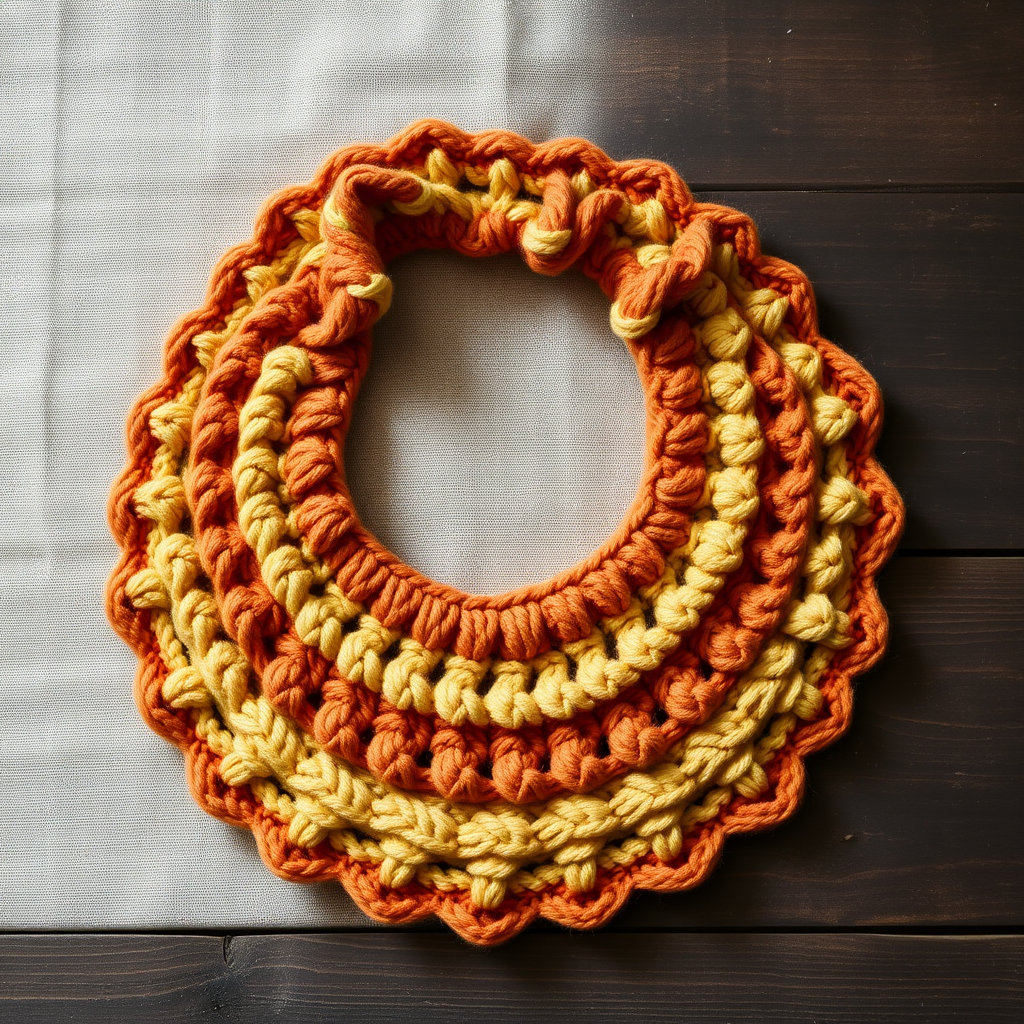
Wrap yourself in the warmth of a desert sunset with this flowing shawl, where undulating ridges mimic the shifting sands. The open, airy stitch keeps you cool while the rich terracotta and gold hues add a touch of bohemian elegance. This crescent-shaped shawl is the perfect lightweight layering piece for summer evenings, beach walks, or adding a boho-chic accent to any outfit. The rhythmic wave pattern is meditative to knit, and the two-color design creates a stunning visual effect that resembles sunlit dunes. Best of all, this pattern is beginner-friendly, using only basic stitches and simple repeats.
Materials Needed
Before you begin, gather the following supplies to ensure a smooth and enjoyable knitting experience:
- Yarn: Worsted weight cotton or cotton-blend yarn in two colors: Color A (terracotta) and Color B (golden sand), approximately 400g total (about 200g of each color).
- Needles: US 8 (5.0 mm) circular knitting needle, 32 inches or longer (the long cable is essential to accommodate the growing number of stitches).
- Notions: Stitch markers (optional but helpful), tapestry needle for weaving in ends, blocking pins and mat (for finishing).
Gauge
18 stitches and 24 rows = 4 inches in stockinette stitch (blocked). While gauge is not critical for a shawl, matching it will help you achieve the intended drape and size. Always knit a swatch and block it before measuring.
Step-by-Step Instructions
This shawl is knit from the top center down, increasing at the edges to form a crescent shape. The pattern uses a combination of knit, purl, and yarn over stitches to create a textured wave effect. Worked in two alternating colors, each section forms a distinct band of waves that beautifully mimic the ripples of desert sand.
Abbreviations
- CO: cast on
- K: knit
- P: purl
- YO: yarn over
- K2tog: knit two together (right-leaning decrease)
- SSK: slip, slip, knit (left-leaning decrease) – Note: This pattern uses K2tog for simplicity, but you may substitute SSK for symmetry if desired.
- St(s): stitch(es)
- Rep: repeat
- RS: right side
- WS: wrong side
Setup Section
This initial section establishes the center point of your shawl and begins the edge increases that will create the crescent shape.
With Color A: CO 3 sts.
Row 1 (RS): K1, YO, K1, YO, K1 (5 sts)
Row 2 (WS): K1, P3, K1
Row 3 (RS): K1, YO, K1, YO, K1, YO, K1, YO, K1 (9 sts)
Row 4 (WS): K1, P7, K1
Increase Section (Worked in Color A)
This section builds the foundation of your shawl, increasing two stitches every right-side row to create the triangular/crescent base.
Row 5 (RS): K1, YO, K to last st, YO, K1 (11 sts)
Row 6 (WS): K1, P to last st, K1
Repeat Rows 5-6 until you have 51 sts, always ending with a WS row. This will take approximately 20 repeats. The edge stitches (K1 at each end) create a neat, finished edge.
Wave Pattern Section 1 (Color A)
Now you will begin the signature wave texture. This 4-row repeat creates the undulating ridges reminiscent of sand dunes. The yarn overs at the edges continue to increase your stitch count, so the shawl keeps growing organically.
Row 1 (RS): K1, YO, *K2tog, YO* rep to last 2 sts, K1, YO, K1 (increase at edge)
Row 2 (WS): K1, P to last st, K1
Row 3 (RS): K1, YO, *YO, K2tog* rep to last 2 sts, K1, YO, K1
Row 4 (WS): K1, P to last st, K1
Repeat Rows 1-4 until the section measures 4 inches from the beginning of the wave pattern, ending with a WS row. Note: The YO increases at the edges will keep the shawl growing. Don't worry if the stitch count seems to grow quickly – that's exactly what we want for a crescent shape.
Transition Row (Color B)
This simple transition creates a clean color change and prepares the fabric for the next wave section.
With Color B: Knit one row (RS), then purl one row (WS).
Wave Pattern Section 2 (Color B)
Repeat the exact same 4-row wave pattern as Section 1, but now using Color B. This creates a beautiful band of golden sand waves.
Row 1 (RS): K1, YO, *K2tog, YO* rep to last 2 sts, K1, YO, K1
Row 2 (WS): K1, P to last st, K1
Row 3 (RS): K1, YO, *YO, K2tog* rep to last 2 sts, K1, YO, K1
Row 4 (WS): K1, P to last st, K1
Repeat Rows 1-4 until this section measures 4 inches, ending with a WS row.
Alternate Colors
Continue alternating Color A and Color B sections, each with the 4-row wave pattern, until the shawl reaches your desired length. For a standard shawl, aim for approximately 30 inches from the center cast-on edge. Here's a helpful guideline:
- Section 1: Color A (4 inches)
- Section 2: Color B (4 inches)
- Section 3: Color A (4 inches)
- Section 4: Color B (4 inches)
- Section 5: Color A (4 inches)
- Section 6: Color B (4 inches)
- Section 7: Color A (4 inches) – This will give you approximately 28 inches; add more sections if you prefer a longer shawl.
Always end with a WS row after a complete section. This ensures your color changes happen on the right side for a clean transition.
Final Edging (Color A)
This delicate edging frames your shawl beautifully and prevents curling. The yarn overs create a subtle scalloped effect that echoes the wave pattern throughout.
Switch to Color A.
Row 1 (RS): K1, YO, *K2tog, YO* rep to last 2 sts, K1, YO, K1
Row 2 (WS): K1, P to last st, K1
Row 3 (RS): K1, YO, *K2tog, YO* rep to last 2 sts, K1, YO, K1
Row 4 (WS): Bind off loosely in purl. Tip: To ensure a stretchy bind-off that won't pull the edge, use a needle one size larger for the bind-off row, or use a yarn-over bind-off method.
Finishing
The finishing touches are crucial for showcasing the beautiful wave texture of your shawl.
- Weave in all ends carefully with a tapestry needle, being sure to weave them in on the wrong side of the work. Take your time – well-woven ends will never show.
- Block the shawl gently to open up the lace and set the waves. This step is essential for the pattern to truly shine. Soak the shawl in lukewarm water with a gentle wool wash for 15-20 minutes, then gently press out excess water (never wring or twist).
- Lay flat to dry on a blocking mat. Gently stretch the shawl to its intended dimensions, pinning the edges to create a smooth crescent shape. Pay special attention to the scalloped edges – pin each point to emphasize the wave pattern. Allow to dry completely before unpinning.
Tips for Success
- Count your stitches at the end of each wave section to ensure you haven't accidentally dropped or added a yarn over. The pattern is forgiving, but consistency is key.
- Use stitch markers to mark the beginning of your repeat sections if you find yourself losing your place.
- Keep your tension even – especially when switching between knit and purl rows. The wave pattern is most visible when tension is consistent.
- Don't be afraid to customize – you can add more color sections for a longer shawl, or use a gradient yarn for a completely different look.
Your Sunlit Dune Shawl is now complete! This beautiful, textured accessory is perfect for draping over your shoulders on cool summer evenings or adding a touch of bohemian elegance to any outfit. The combination of terracotta and golden sand creates a warm, earthy palette that complements any skin tone and pairs beautifully with neutral wardrobes. Enjoy wearing your handcrafted creation, and don't forget to share your finished shawl with fellow knitters – they'll be inspired by the beautiful wave pattern and the stunning color combination!