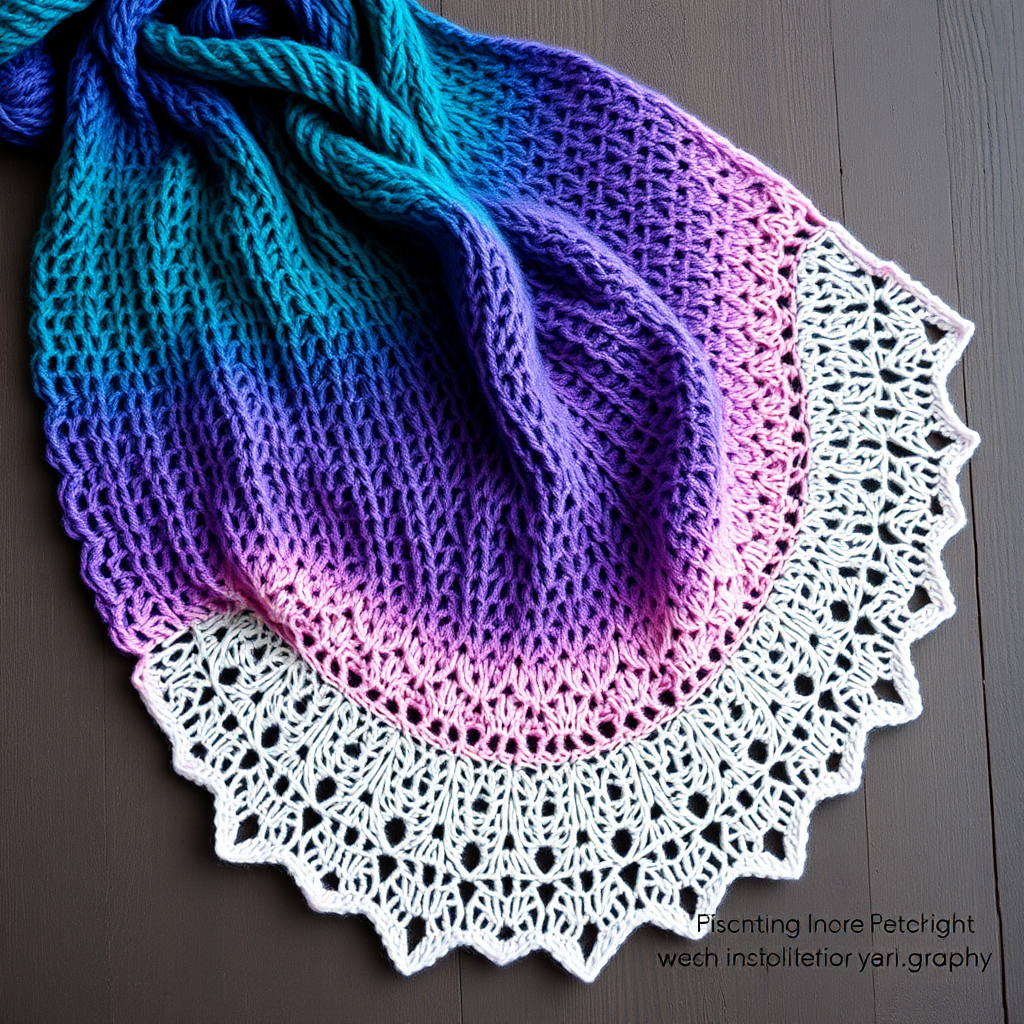
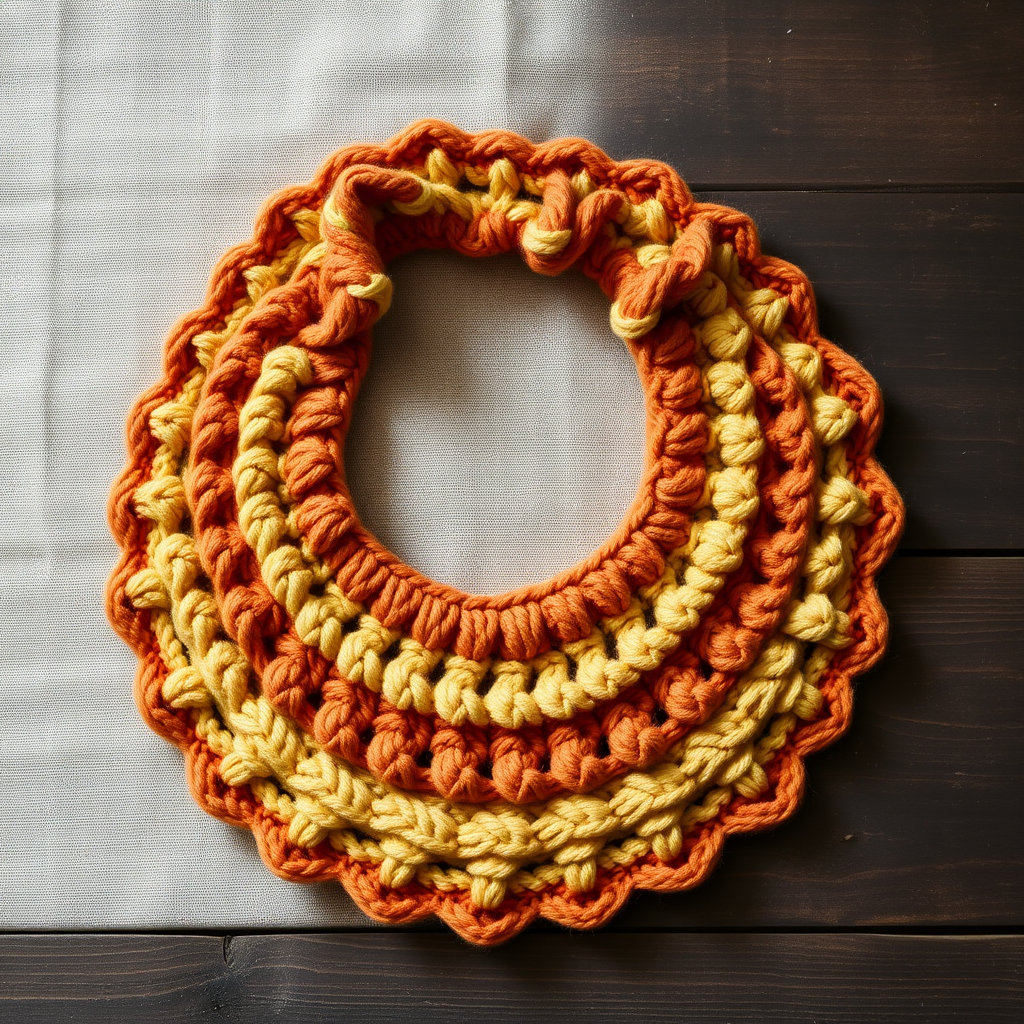
Ember Dune Sideways Shawl Free Pattern – A Knitted Desert Mirage Wrap
Wrap Yourself in Desert Poetry: The Ember Dune Sideways Shawl
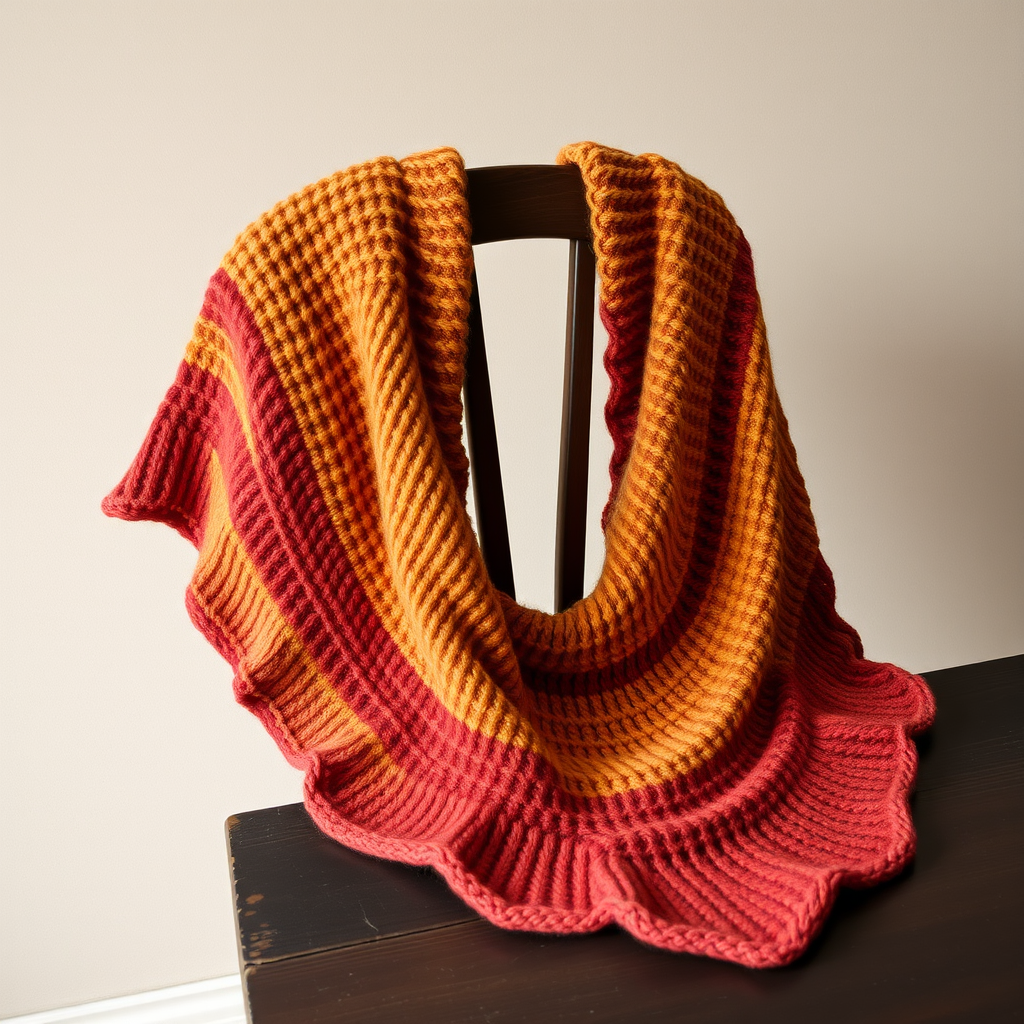
Imagine the last light of a desert sun painting the dunes in shades of burnt sienna, amber, and dusty rose. That breathtaking, fleeting beauty is now something you can wrap around your shoulders. The Ember Dune Sideways Shawl is a free knitting pattern that captures the shifting sands of a sunset in a wearable piece of art. This isn't just a shawl; it's a textured journey, knit sideways with undulating garter ridges that mimic wind-sculpted landscapes.
This pattern is perfect for the adventurous beginner or the seasoned knitter looking for a meditative, rewarding project. By using a clever sideways construction and simple short-row shaping, you'll create a crescent-shaped wrap with a gently curved top edge and a long, straight bottom. The result is a stunning, boho-chic accessory that adds a touch of warmth and artistic flair to any outfit. Let's dive into the sand and start knitting!
Materials Needed: Your Desert Palette
Before you begin, gather your supplies. The beauty of this pattern is its flexibility—you can use a single gradient skein or create your own desert sunset with three coordinating solid colors.
- Yarn: Fingering weight yarn (approx. 400-450 yards total). The sample uses Malabrigo Sock in three colors:
- MC (Main Color): 'Camel'
- CC1 (Contrast Color 1): 'Poppy'
- CC2 (Contrast Color 2): 'Dusty Rose'
- Needles: US 6 (4.0 mm) 32-inch circular needle (the long cord is essential for holding the large number of stitches).
- Notions: Stitch markers (at least 2), tapestry needle for weaving in ends.
- Gauge: 20 stitches and 32 rows = 4 inches in garter stitch (blocked). Gauge is not critical for this project, but a different gauge will change the final size and yardage needed.
Step-by-Step Instructions: Knitting the Dunes
This shawl is knit sideways, from one long edge to the other. We'll use short rows to create the crescent shape. Don't be intimidated by the short rows—they're a simple technique that adds incredible shaping and visual interest. Let's get started!
Abbreviations:
- K: Knit
- K2tog: Knit two stitches together (decrease)
- Kfb: Knit into the front and back of the same stitch (increase)
- W&T: Wrap and turn (slip next stitch purlwise, bring yarn to front, slip stitch back to left needle, turn work)
- PM: Place marker
- SM: Slip marker
Setup and Foundation
Cast On: With your Main Color (MC), loosely cast on 120 stitches. Do not join in the round; you will be working flat back and forth.
Rows 1 & 2: Knit across both rows. This creates a solid garter stitch base.
Row 3 (RS): Kfb, knit to the last 2 stitches, K2tog. (This starts the subtle shaping for the crescent.)
Row 4 (WS): Knit across all stitches.
The Short-Row Section: Creating the Curve
This is the heart of the pattern. We will work in MC to create the first "dune."
Row 5: Kfb, knit 90 stitches, W&T. (You will have unworked stitches on your left needle.)
Row 6: Knit back to the beginning of the row (do not work the wrapped stitch yet).
Row 7: Kfb, knit to 10 stitches before the wrapped stitch, W&T.
Row 8: Knit back to the beginning.
Row 9: Kfb, knit to 10 stitches before the previous wrapped stitch, W&T.
Row 10: Knit back to the beginning.
Continue this pattern, always knitting 10 fewer stitches before each W&T, until you have 5 wrapped sections on the right side. After the last W&T, knit all the way across the row, picking up the wraps as you go (knit the wrap together with the wrapped stitch to hide it).
Complete the Section: After finishing the short rows, work one full row across all stitches: Kfb, knit to last 2 stitches, K2tog. Then, knit 3 rows even (no increases or decreases).
Building the Color Blocks
Now we'll repeat the magic with your other colors to build the gradient.
Switch to CC1 (Poppy): Repeat the exact same short-row section you just completed (Rows 5-10 pattern). After completing the short rows, work a full row with Kfb at the beginning and K2tog at the end, then knit 3 rows even.
Switch to CC2 (Dusty Rose): Repeat the short-row section again. After completing, work a full row with Kfb and K2tog, then knit 3 rows even.
Switch back to MC (Camel): Repeat the short-row section one final time. After completing, work a full row with Kfb and K2tog, then knit 3 rows even.
Shaping the Opposite Edge
You've built the curved top edge. Now we'll shape the other long edge to balance the crescent.
Row 1 (RS): K2tog, knit to the last 2 stitches, Kfb. (Notice this reverses the increase/decrease edge.)
Row 2 (WS): Knit across all stitches.
Repeat these 2 rows until you have 120 stitches on your needle again. You will have decreased on the left edge and increased on the right, perfectly balancing the earlier increases.
Binding Off and Finishing Touches
Stretchy Bind Off: This is crucial for a shawl edge that drapes beautifully. Knit 2 stitches. *Insert your left needle into the two stitches on your right needle and knit them together (K2tog). Knit 1 stitch. Repeat from * until all stitches are bound off. This creates a lovely, elastic edge.
Weave in Ends: Use your tapestry needle to carefully weave in all loose yarn ends on the wrong side of the shawl.
Blocking: This step is essential to unleash the full beauty of the lace and shaping. Soak the shawl in lukewarm water with a drop of wool wash for 15-20 minutes. Gently squeeze out excess water (do not wring). Lay it flat on a towel, roll it up to remove more water, then lay it flat to dry. Gently stretch the top curved edge slightly to accentuate the crescent shape. Pin if desired, and allow it to dry completely.
Once dry, your Ember Dune Shawl is ready to wear. Drape it over your shoulders and let the desert sunset keep you cozy. This pattern is a joy to knit and an even greater joy to wear. Happy knitting!