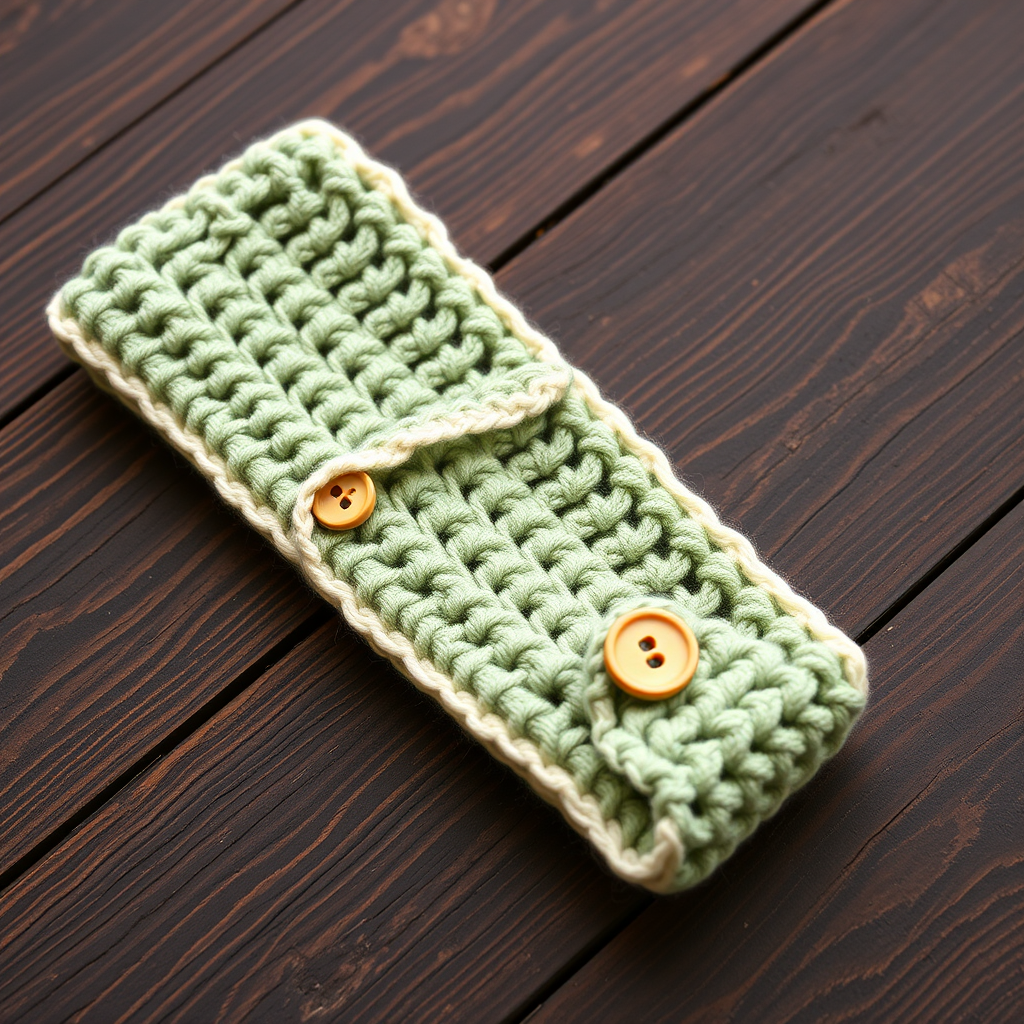
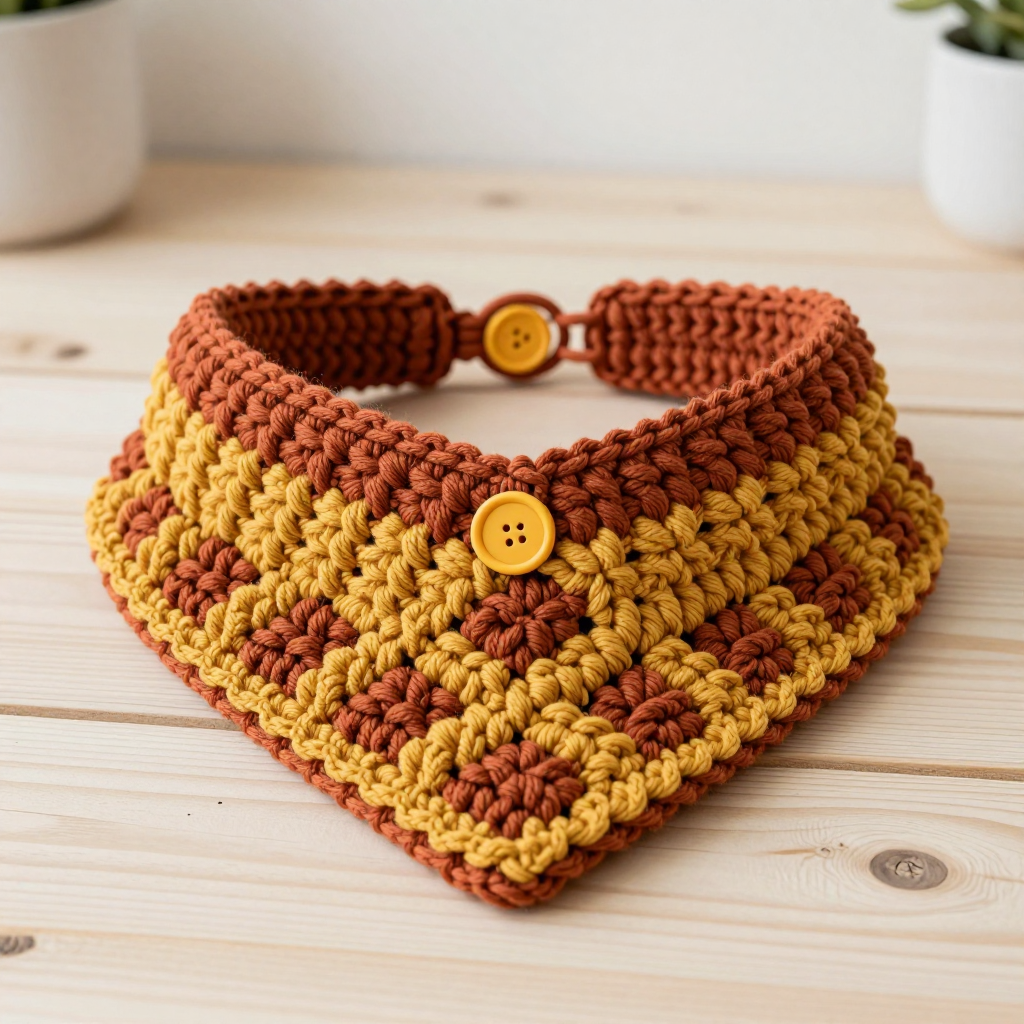
Whimsical Wisteria Wrap Crochet Headband Free Pattern

Whimsical Wisteria Wrap Crochet Headband – Free Pattern
There’s something utterly charming about a handcrafted accessory that feels both delicate and practical. The Whimsical Wisteria Wrap Crochet Headband is exactly that—a quick, satisfying project that brings a touch of botanical elegance to your everyday style. With its soft, textured half-double crochet fabric and a beautifully twisted top knot, this headband mimics the graceful cascade of wisteria vines. Whether you're a seasoned crocheter or picking up a hook for the first time, this pattern is designed to be approachable, forgiving, and deeply rewarding. In just an evening, you’ll have a stunning, handmade piece that adds a whisper of romance to any outfit.
This headband is worked flat in simple rows, then cleverly seamed and twisted to create that signature gathered knot at the center front. It’s a wonderful introduction to shaping and finishing techniques, and the result looks far more complex than it actually is. Let’s dive into everything you’ll need to bring this lovely accessory to life.
Materials Needed
Before you begin, gather the following supplies. The beauty of this project is its simplicity—you likely already have most of these items in your crafting kit.
- Yarn: Worsted weight (category 4) cotton or cotton-blend yarn in a soft lavender, dusty rose, or any pastel shade you adore. You’ll need approximately 100–150 yards. A cotton blend gives lovely stitch definition and a comfortable, breathable feel against the skin.
- Crochet Hook: Size H/8 (5.0 mm). This hook size pairs perfectly with worsted weight yarn to create a dense, warm fabric that still has a nice drape.
- Yarn Needle: For seaming the ends together and weaving in loose tails.
- Scissors: For cutting yarn.
Gauge: 16 stitches and 12 rows = 4 inches in half double crochet. Gauge is important here to ensure the headband fits comfortably. If your headband comes out too loose or too tight, simply adjust your hook size up or down until you match this gauge.
Finished Size: This pattern is written to fit an average adult head measuring 21–22 inches in circumference. The headband is designed to stretch slightly for a snug, secure fit.
Step-by-Step Instructions
This pattern is worked flat in rows, then seamed and twisted. Don’t worry—each step is broken down clearly below. Let’s get started!
Stitches & Abbreviations
Familiarize yourself with these standard crochet terms before you begin:
- ch: chain
- sc: single crochet
- hdc: half double crochet
- dc: double crochet
- sl st: slip stitch
- st(s): stitch(es)
- RS: right side
Foundation & First Rows
Foundation: Chain 10 stitches. This will be the width of your headband. If you prefer a wider or narrower band, you can adjust this number, but keep in mind that the pattern is written for 10 chains.
Row 1: Half double crochet in the 3rd chain from your hook. The two skipped chains count as your first half double crochet. Then, work 1 hdc in each chain across the row. You should have 8 hdc stitches total at the end of this row.
Row 2: Chain 2 (this counts as your first hdc), then turn your work. Work 1 hdc in each stitch across the row. You will again have 8 hdc stitches.
Rows 3–60: Repeat Row 2 exactly. Continue working back and forth until your piece measures approximately 21 inches in length. This measurement is crucial—it should be about 1 inch less than your actual head circumference to allow for stretch and the seam. If your head is larger or smaller, simply adjust the number of rows accordingly. Do not fasten off your yarn yet; you’ll need the working yarn for seaming.
Seaming the Ends Together
Now it’s time to turn your flat rectangle into a loop. This step is simple but requires a bit of care.
- Fold your crocheted rectangle in half lengthwise, bringing the two short ends together. Make sure the right sides (the front of your work) are facing each other on the inside.
- Using your yarn needle and the working yarn tail (or a separate length of yarn if you’ve already cut it), whip stitch or slip stitch the two short ends together. You can also use a crochet hook to slip stitch them together if you prefer. Work through both layers of stitches to create a secure seam.
- Once seamed, turn the loop right side out. You should now have a continuous circle of crochet fabric.
Creating the Twist
This is where the magic happens! The twist is what gives the headband its distinctive wisteria-inspired silhouette.
- Lay your crocheted loop flat on a table. Position the seam so it sits at the center back of the loop.
- Now, take the loop and twist it once in the middle. You want to create a figure-eight shape. Essentially, you’re crossing one side over the other at the center point.
- Place the twisted section at the center front of your head. The two loops created by the twist will wrap around your head on either side. The seam should remain at the back of your head.
Making the Top Knot
The final step is to secure that twist into a beautiful, gathered knot.
- Take the center twisted section—the point where the fabric crosses—and gently fold it over itself. You’re essentially bunching the fabric together to form a small, compact knot. This mimics the look of a wisteria flower cluster.
- Thread your yarn needle with the yarn tail. Sew a few tight, secure stitches directly through the base of the gathered knot. This will hold the knot in place and prevent it from unraveling.
- Weave in all loose yarn ends carefully with your needle, hiding them within the fabric of the knot or the band itself.
Optional Finishing Touch
For extra security and to prevent the headband from twisting during wear, you can add a few discreet stitches at the back seam. Simply sew a couple of small stitches through the seam allowance to tack it down flat. This isn’t strictly necessary, but it adds a polished, professional finish.
And there you have it—your very own Whimsical Wisteria Wrap headband! Slip it on, adjust the knot to your liking, and enjoy the compliments. This pattern is perfect for gifting, and once you’ve mastered the twist, you’ll want to make one in every color. Happy crocheting!