The Whispering Willow Wall Pocket: A Free Knitting Pattern for a Textured, Botanical Hanging Planter

Introducing the Whispering Willow Wall Pocket
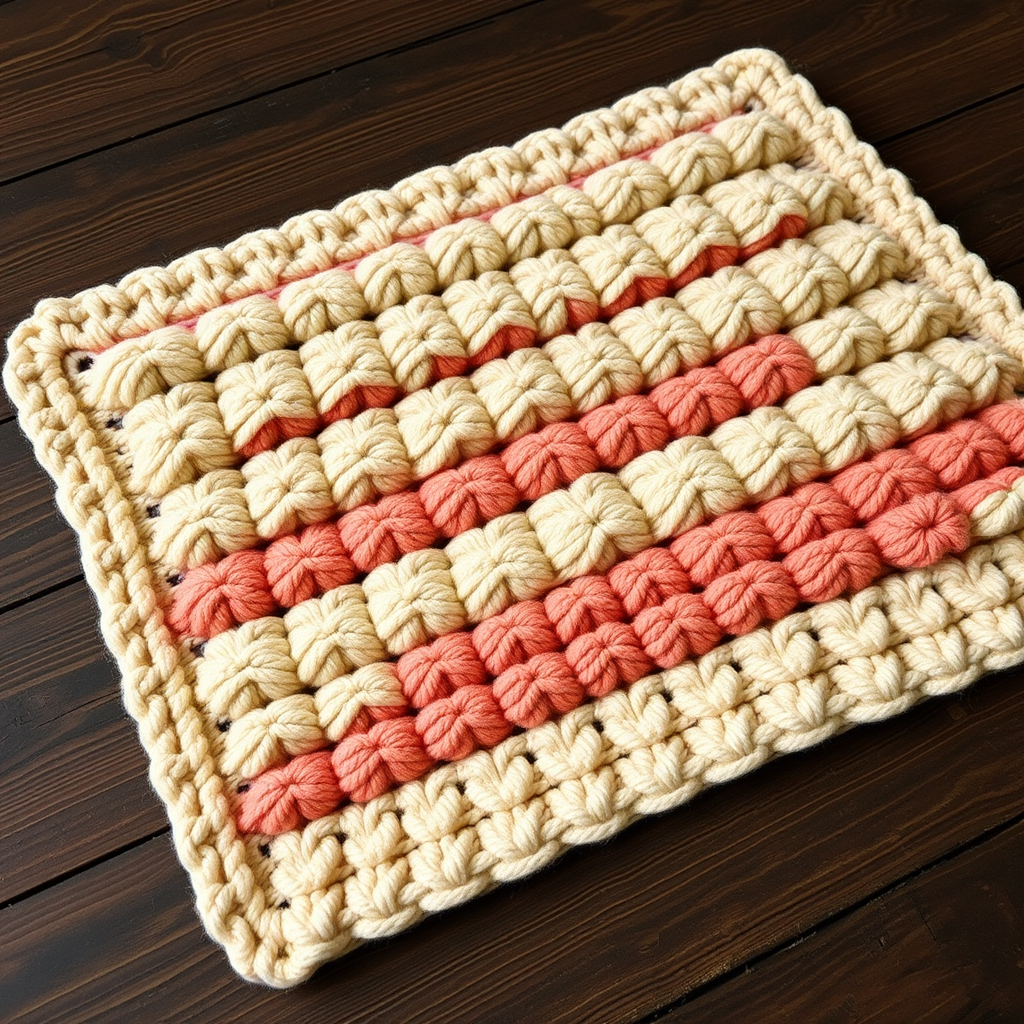
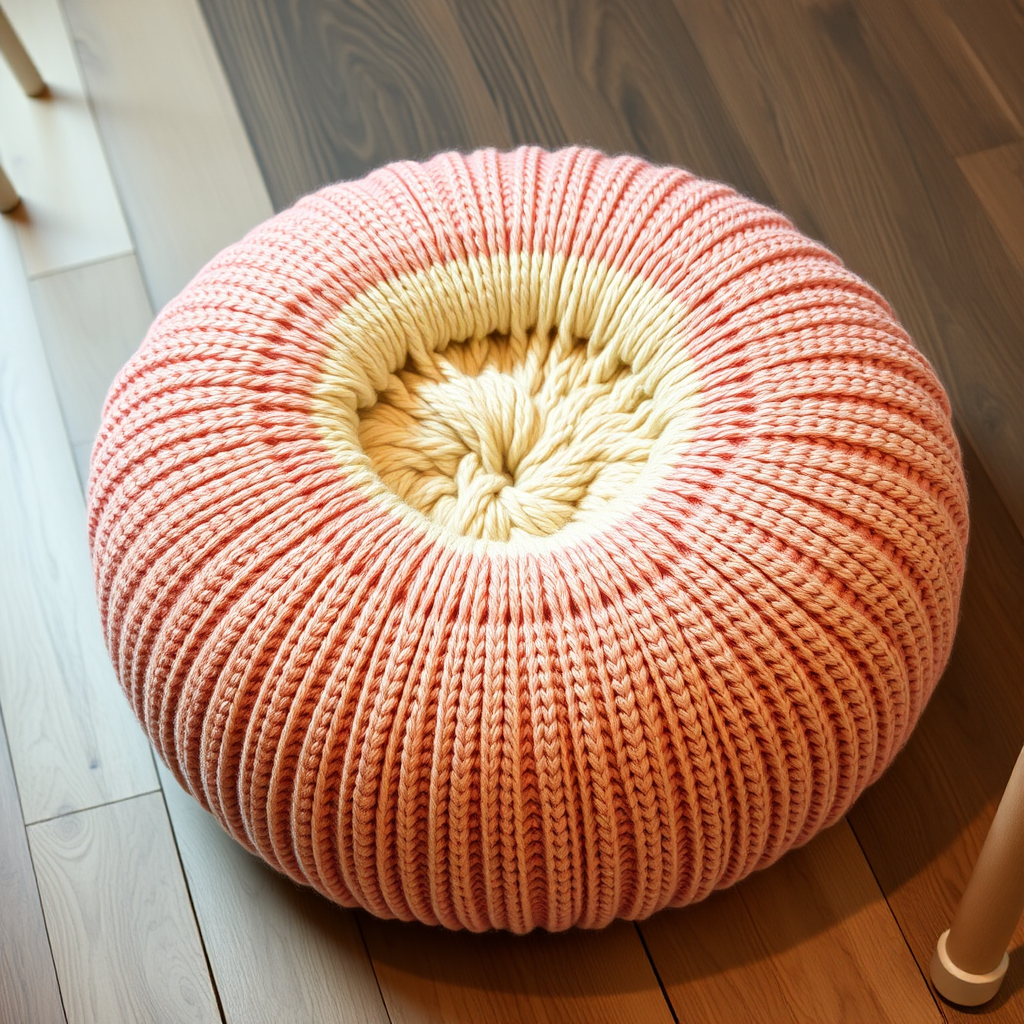
Transform your living space with a touch of serene, organic beauty. The Whispering Willow Wall Pocket is a modern, textured hanging planter designed to hold small succulents, air plants, or dried botanicals. Knitted in a soft, heathered green with a delicate cream trim, this piece brings a botanical, handcrafted feel to any room. Whether you're a seasoned knitter or a confident beginner, this free pattern will guide you through creating a stunning piece of knitted home decor that adds depth and warmth to your walls.
Materials Needed
Before you begin, gather the following materials to ensure a smooth knitting experience:
- Yarn: Worsted weight cotton or cotton-blend yarn (approx. 150 yards in main color, 30 yards in contrasting color for trim). Recommended: a heathered sage green for the main color and a soft cream for the trim.
- Knitting Needles: US 7 (4.5 mm) knitting needles.
- Crochet Hook: US G/6 (4.0 mm) crochet hook for edging and hanging loop.
- Gauge: 20 stitches x 28 rows = 4 inches in stockinette stitch. Adjust needle size if necessary to achieve gauge.
- Other: Yarn needle for weaving in ends, scissors, and a tape measure.
Step-by-Step Instructions
Finished Size
Approximately 6 inches wide x 8 inches tall (excluding hanging loop).
Abbreviations
- CO: Cast on
- K: Knit
- P: Purl
- St(s): Stitch(es)
- RS: Right side
- WS: Wrong side
- K2tog: Knit two together
- P2tog: Purl two together
- BO: Bind off
- Sc: Single crochet
- Sl st: Slip stitch
Pocket Back (Make 1)
This forms the smooth, stockinette back of the wall pocket.
- With main color, CO 30 sts.
- Row 1 (RS): K all sts.
- Row 2 (WS): P all sts.
- Repeat Rows 1-2 until piece measures 8 inches from cast-on edge, ending with a WS row.
- BO all sts loosely. Set aside.
Pocket Front (Make 1)
This features a textured 2x2 ribbed pattern that adds depth and a botanical feel.
- CO 30 sts.
- Row 1 (RS): K all sts.
- Row 2 (WS): P all sts.
- Row 3 (RS): K all sts.
- Row 4 (WS): P all sts.
- Row 5 (RS): K1, *P2, K2; repeat from * to last st, K1.
- Row 6 (WS): P1, *K2, P2; repeat from * to last st, P1.
- Repeat Rows 5-6 until piece measures 6 inches from cast-on edge, ending with a WS row.
Shape Pocket Opening
This section creates the opening for your botanicals.
- Next Row (RS): K1, P2, K2, P2, K2, P2, K2, P2, K2, P2, K2, P2, K1. (30 sts)
- Next Row (WS): P1, K2, P2, K2, P2, K2, P2, K2, P2, K2, P2, K2, P1.
- Repeat these 2 rows for 2 inches, ending with a WS row.
Top Edge
Finishes the top of the pocket front neatly.
- Row 1 (RS): K all sts.
- Row 2 (WS): P all sts.
- Row 3 (RS): K all sts.
- BO all sts loosely.
Assembly
Follow these steps carefully to create a sturdy, beautiful wall pocket.
- Position pieces: Place pocket front on top of pocket back, aligning bottom and side edges. The pocket front is shorter, so the back will extend above.
- Crochet edging: Using main color and crochet hook, join yarn at bottom right corner. Sc through both layers along the bottom and up the right side, working 1 sc per row. At the top of the pocket front, continue sc along the top edge of the front only, then down the left side and across the bottom. Join with sl st to first sc. Fasten off.
- Hanging Loop: With main color, crochet a chain of 30 sts. Sl st into the top center of the pocket back to form a loop. Fasten off.
- Trim: With contrasting color, crochet a row of sc along the top edge of the pocket front only, working 1 sc per stitch. Fasten off.
- Finishing: Weave in all ends with a yarn needle. Block lightly if desired to even out stitches and shape the piece.
Your Whispering Willow Wall Pocket is now ready to hang! Insert a small potted succulent or a bundle of dried lavender for a stunning, natural display. Enjoy the serene, botanical beauty you've created with your own hands.