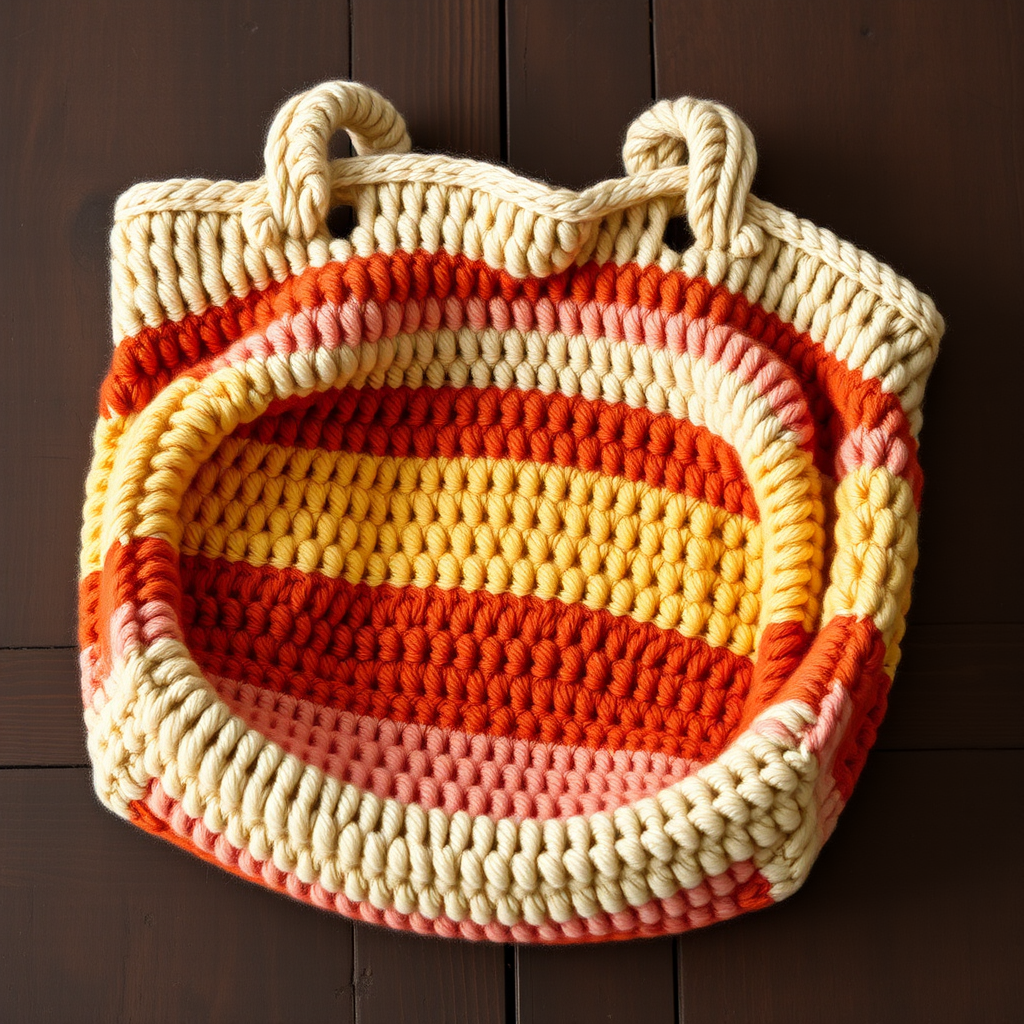
The Whimsical Woodland Tote: A Free Crochet Pattern for a Textured, Leaf-Appliqué Bag for Your Little Girl

Introduction: A Whimsical Woodland Tote for Your Little Explorer
Every little girl needs a special bag to carry her treasures—whether it's a handful of acorns, a favorite doll, or a collection of pretty rocks. This Whimsical Woodland Tote is designed to be just that: a charming, textured accessory that feels both rustic and magical. Made with soft, durable cotton yarn in a warm linen color, this tote features a simple single-crochet construction that creates a sturdy, slightly textured fabric. The real magic comes from the hand-crocheted leaf appliqués in sage green, buttercup yellow, and cranberry red, which are sewn onto the front in a delightful cluster. This pattern is perfect for adventurous beginners and intermediate crocheters alike, and it's a wonderful way to practice shaping and appliqué techniques. Your little one will love carrying her special finds in this one-of-a-kind, handmade bag.
Materials Needed
To create this whimsical tote, you'll need the following materials. All yarn is Lion Brand 24/7 Cotton (100% mercerized cotton; 100g/186 yds).
- Yarn - Main Color (MC): 'Linen' – 1 skein (for bag body and handles)
- Yarn - Contrast Color A (CA): 'Sage' – small amount (for one leaf)
- Yarn - Contrast Color B (CB): 'Buttercup' – small amount (for one leaf)
- Yarn - Contrast Color C (CC): 'Cranberry' – small amount (for one leaf)
- Hook: Size H/8 (5.0 mm) crochet hook
- Notions: Tapestry needle for sewing and weaving ends, stitch markers (optional, for counting rows)
Gauge: 14 single crochet stitches x 16 rows = 4 inches (10 cm) in single crochet. Always check your gauge to ensure your bag turns out the correct size.
Step-by-Step Instructions
Bag Body (Make 2 Identical Pieces)
Each piece forms one side of the bag. You will crochet two flat rectangles and then sew them together.
Row 1: With MC (Linen), chain 26. Single crochet (sc) in the 2nd chain from your hook and in each chain across. You should have 25 sc stitches. (25 sc)
Row 2: Chain 1, turn your work. Single crochet in each stitch across. (25 sc)
Rows 3-30: Repeat Row 2. Continue until your piece measures approximately 8 inches tall from the starting chain. You will have a total of 30 rows. Fasten off and weave in the end. Repeat this entire process to make a second identical piece.
Bag Assembly
Now you'll join the two pieces to form the bag.
- Place the two pieces together with their wrong sides (the inside of the bag) facing each other. The right sides (the outside of the bag) should be facing out.
- Thread your tapestry needle with a long strand of MC yarn (about 24 inches).
- Using a whip stitch, sew the bottom edge and both side seams together. Start at one top corner, sew down the side, across the bottom, and up the other side. Leave the top edge completely open. Make sure your stitches are even and secure.
- Once sewn, turn the bag right side out. The seams will now be on the inside.
Bag Handles (Make 2)
These handles are long, narrow strips that will be attached to the front and back of the bag.
Row 1: With MC, chain 6. Single crochet in the 2nd chain from your hook and in each chain across. (5 sc)
Rows 2-60: Chain 1, turn your work. Single crochet in each stitch across. (5 sc) Continue until your handle measures approximately 15 inches long. Fasten off, leaving a long tail (about 12 inches) for sewing. Repeat to make a second handle.
Attach Handles
- Fold each handle in half to find its center point.
- Position one handle on the front of the bag. The ends should be about 2 inches from the side seams. Pin or hold in place.
- Using the long tail from the handle, sew each end securely to the inside of the bag. Make several stitches through the handle and the bag fabric to ensure it's strong.
- Repeat for the second handle on the back of the bag, aligning it with the front handle.
Leaf Appliqués (Make 3-5 Leaves)
These leaves are crocheted flat and then sewn onto the bag. You will make one leaf in each color, but feel free to make more for a fuller cluster.
Leaf 1 (Sage - CA): With Sage yarn, chain 10. Starting in the 2nd chain from your hook: slip stitch (sl st), single crochet (sc), half double crochet (hdc), double crochet (dc), double crochet (dc), double crochet (dc), half double crochet (hdc), single crochet (sc), slip stitch (sl st). Fasten off, leaving a long tail (about 8 inches) for sewing.
Leaf 2 (Buttercup - CB): With Buttercup yarn, chain 8. Starting in the 2nd chain from your hook: slip stitch (sl st), single crochet (sc), half double crochet (hdc), double crochet (dc), half double crochet (hdc), single crochet (sc), slip stitch (sl st). Fasten off, leaving a long tail (about 8 inches) for sewing.
Leaf 3 (Cranberry - CC): With Cranberry yarn, chain 6. Starting in the 2nd chain from your hook: slip stitch (sl st), single crochet (sc), half double crochet (hdc), single crochet (sc), slip stitch (sl st). Fasten off, leaving a long tail (about 8 inches) for sewing.
Final Assembly: Attaching the Leaves
- Arrange the leaves on the front of the bag in a pleasing cluster. You can place them all together or spread them out slightly. Play with the arrangement until you love it.
- Using the long tails from each leaf, sew each leaf securely onto the bag. Make small, invisible stitches along the center base of each leaf. Weave the yarn tail through the back of the leaf and the bag fabric to secure it.
- Weave in all remaining ends from the bag body and handles using your tapestry needle. Trim any excess yarn.
Your Whimsical Woodland Tote is now complete! It's the perfect size for a little girl to carry her most precious treasures on her next woodland adventure.